My original goal for this week was simply to get the new dedicated 24-per-minute Crystal Oscillators factory running. I accomplished that yesterday, shortly before dinnertime. Then, of course, being me, I decided to go a bit extra. I decided that before starting in on writing the weekly post today I’d finish the Crystal O’s factory. Walls, roofing, ground supports. All of it.
On the upside, it’s done! And I’m moderately pleased with the results!
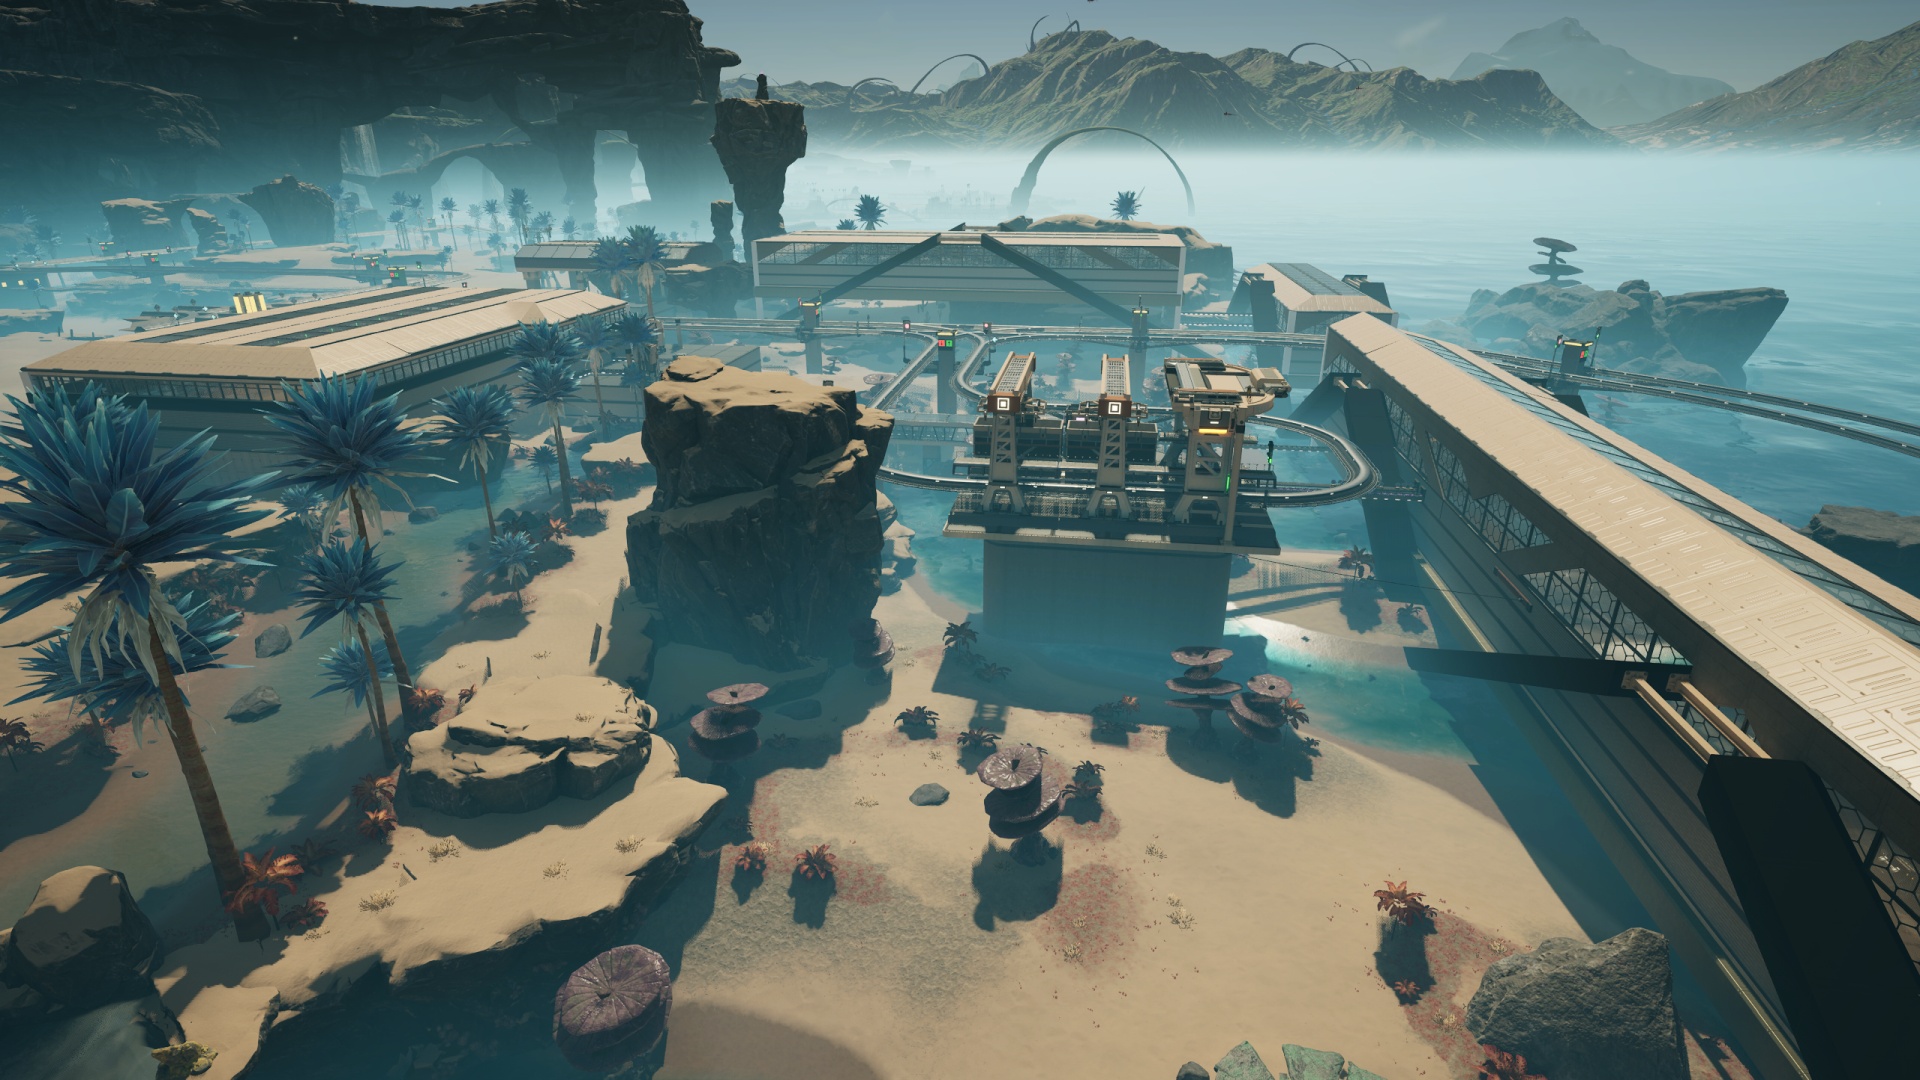
On the downside, that walling-and-roofing-and-supporting took nearly four hours out of my Sunday. Whoops.
Note that this worksite doesn’t include the Quartz Crystals production. That’s just up the coast a ways. If someone really wants a picture of it, say the word and I’ll add that to a later post.
The build order of the actual production lines went more-or-less like this: Cable production building (started). Crystal Oscillator manufacturers building (started and partly belted). Reinforced Iron Plate assemblers building (started and mostly belted). Iron products (Screws and Iron Plates) constructors building (started and finished). Iron miners & smelters (started and finished). RIPs production line buildings (fully belted). Cable production building (finished). Crystal Oscillator manufacturers building (belting completed, including output to train station/depot bin).
I’d started at one of the sources (copper for the Cables) but almost immediately realized that I was going to paint myself into a corner quickly if I didn’t place the big row of large manufacturers needed for the actual end product in question immediately. This entire project proved yet again that it’s a very, very good idea to start where you mean to end up, then work backward through the required building materials.
The manufacturers building also made a good entry & control point for power. One of my lower-priority (ha, ha) goals this save is to incorporate Priority Power Switches into the factory network so I can safely have lower-priority (ahem) factory buildings get shut down before higher-priority buildings if I mess up my power supply situation. For the Crystal O’s site, I managed to run the site’s power for several buildings through one Power Switch (minus the offsite Quartz Crystals production, of course).
All of that wrapped up yesterday. This morning I kicked off my “beautification” work with the iron supply section.

It’s not much to look at, but I really don’t feel like I need to “fancy up” a first-stage ore processing plant that doesn’t even involve refineries. Also, at some point I’m probably going to come up with a blueprinted “miner cover” so I can make things look nice without the machinery animation clipping through foundations like happens with this setup. It’ll do for now, though. And yes, you’ll note that I remain allergic to using plain ordinary power poles. No, I don’t know why either, honestly.
Since it was right across the tracks from the iron nodes, I spruced up the Cables building next. During this process I came up with an idea for something I could do with the other three “big” buildings, involving concrete pillars placed sideways.
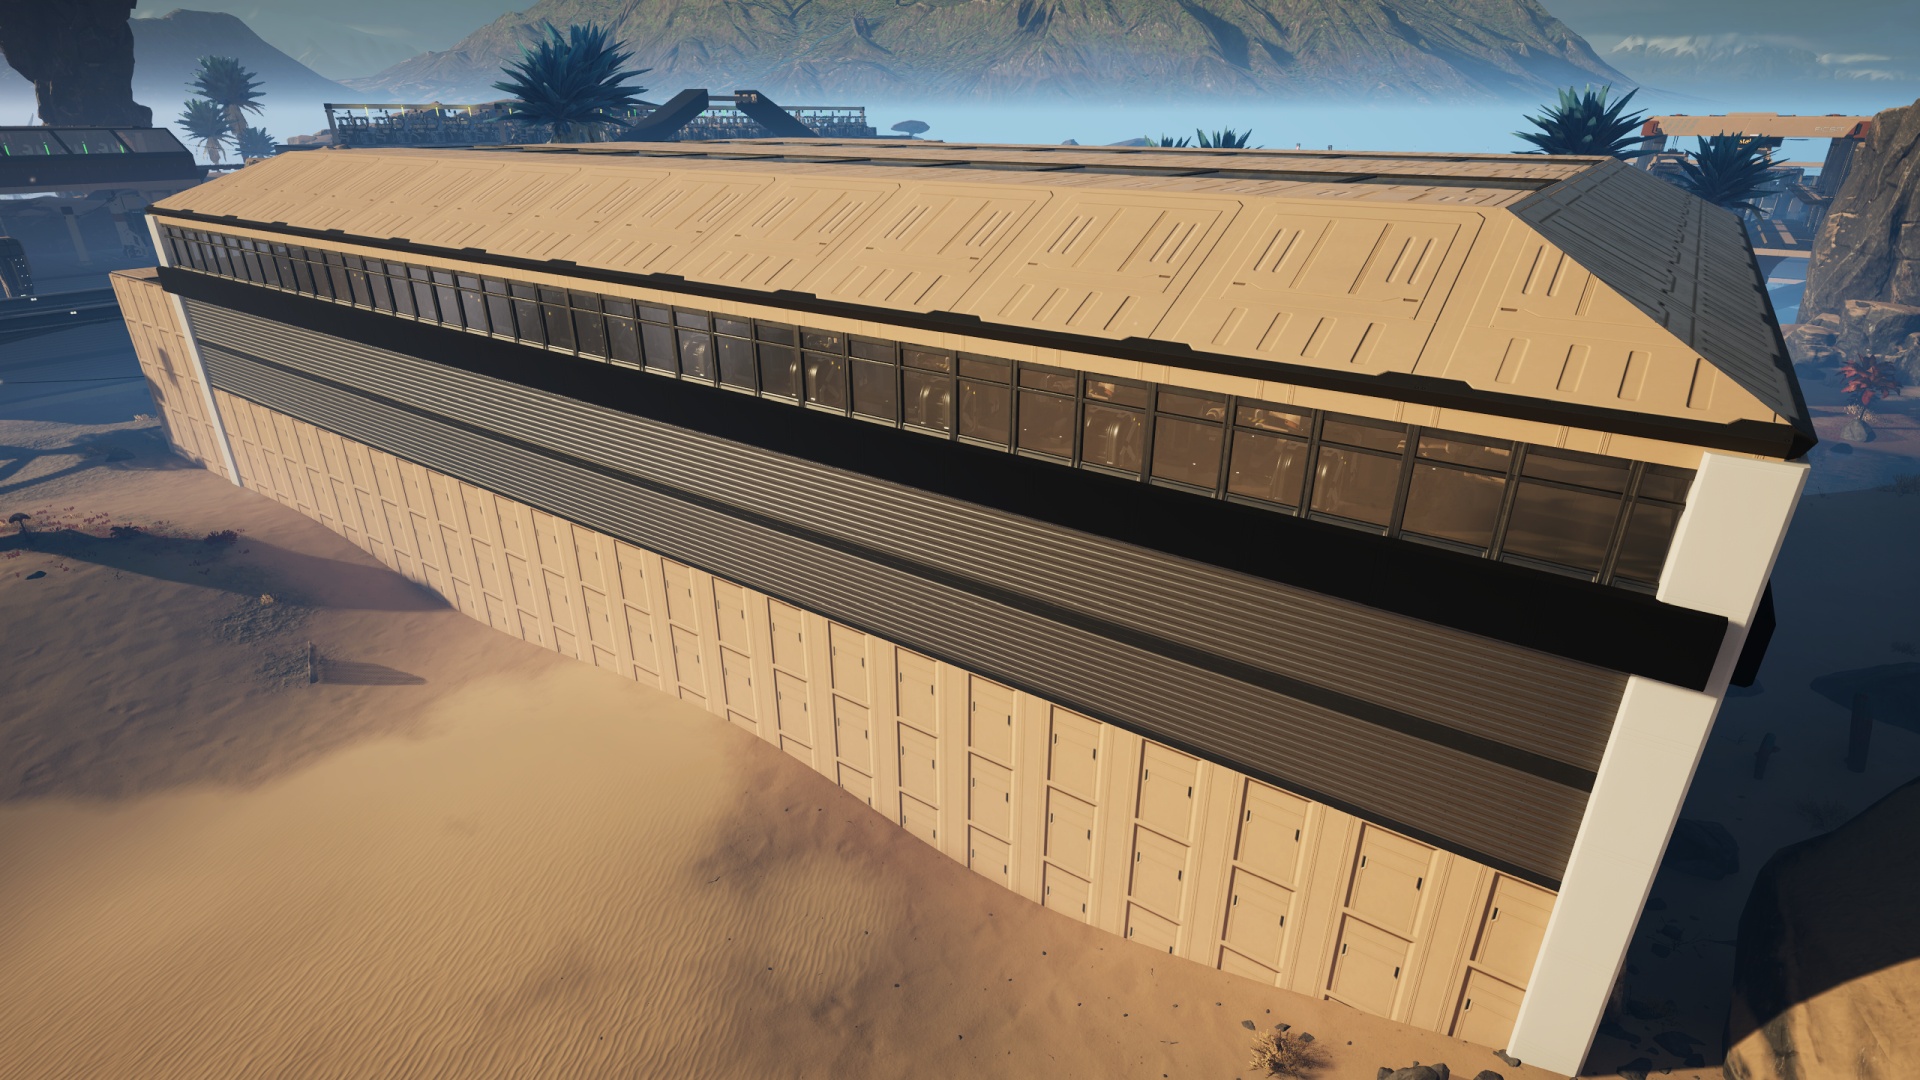
This isn’t my best work, and I still despise the “regular” walls design but as much as I like the “steel” wall it’s still best used in modest doses, and the “concrete” wall look is boring and terrible except when used for specific detail work. (It’d be better if we could paint them properly, Coffee Stain Studios. Ahem.)
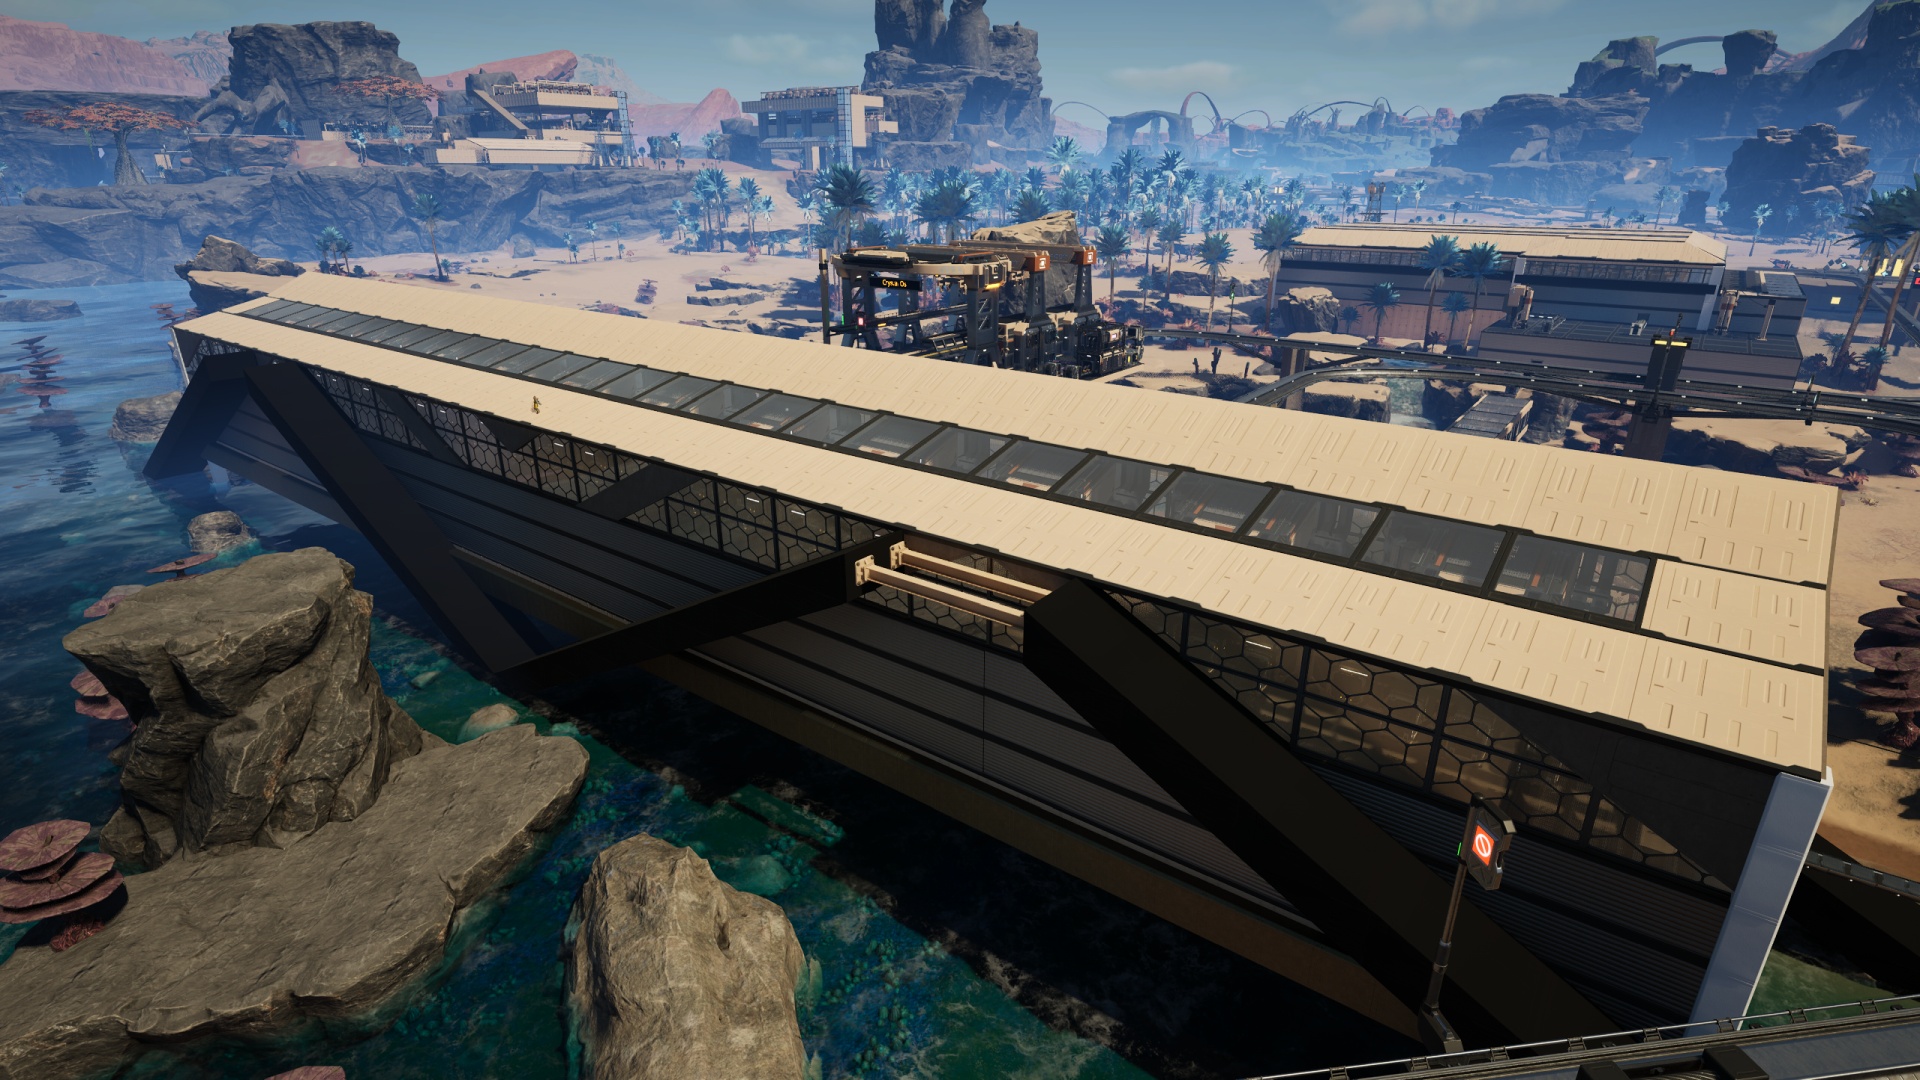
It was when I got to the plates-and-screws building’s design process that I feel like I actually landed on something kind of cool.
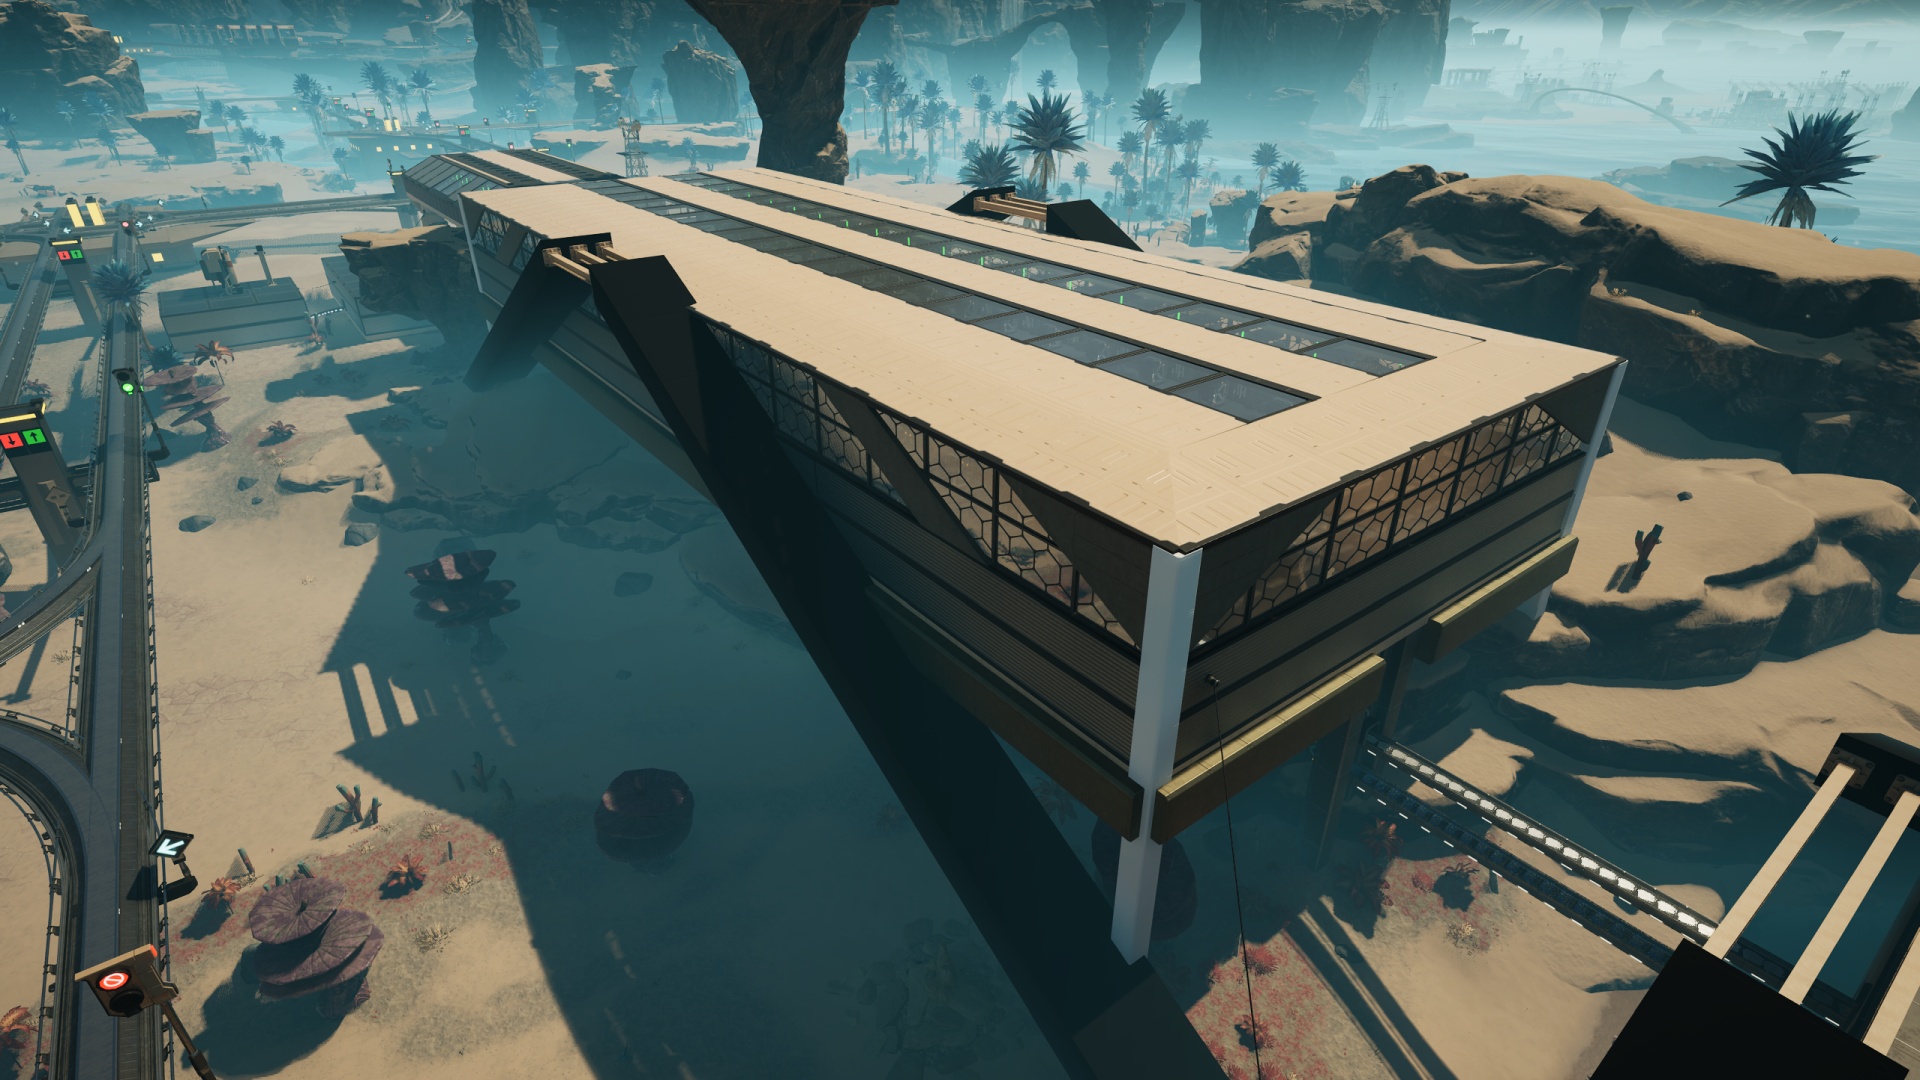
Now, I’d actually placed those slightly-embedded (“gently clipping”) concrete ramp “supports” into place during the build phase over the last few days as a sort of noodling-around process of trying some design ideas. Originally I intended to leave the tops “free standing” but for whatever reason yesterday afternoon I decided to bridge the gaps with I-beams and… it works. It really works. Also: Painting them “none more black” was the right call.
A few other design elements here:
- I fell back on my tried-and-true slightly-recessed hex window design with the angled “cutouts” look, figuring it would go well with the angled concrete supports. (I figured correctly.)
- The horizontal pillars are along the bottom of the building, lending the base a more weighty look that, paired with and overlapping into the big angled foundations, makes it almost look plausibly enough like a setup that could support a large building. Also? I painted them with the “Caterium” metallic sheen, because why not.
- Because corners of buildings are kind of cursed in this game, I stacked some concrete pillars (nudged just so) at each corner, then painted them “blinded by the white” for the joy of the contrast. I suppose I could’ve used painted beams as well, but… eh. My buildings, my choices.
- The exit belts for the Screws and Iron Plates are stacked one above & behind the other just a bit, and I decided to surround that exit point with two pair of steel pillars, offset just a bit from one another to give it some more “3D” visual texture.
All in all, I’m extremely happy with this experiment.
The remaining buildings were done up using the same basic design philosophy as the Screws-and-Iron-Plates building. I adjusted the “gap-bridging” I-beams placement a bit on the final building because the windows were clipping into the innermost beam. It’s fine, I’m the only person who’s really going to notice there are two instead of three each on these.
It’s a project I’m glad to have finished, truly finished, and it served as a playground for design elements I might use to finish up other project sites elsewhere. I still want to come up with a better windows-walls-and-roof arrangement, but… this’ll do for now.
Next? It’s finally time for Supercomputers (And Friends). Hooboy…