Most of this week’s game time went into:
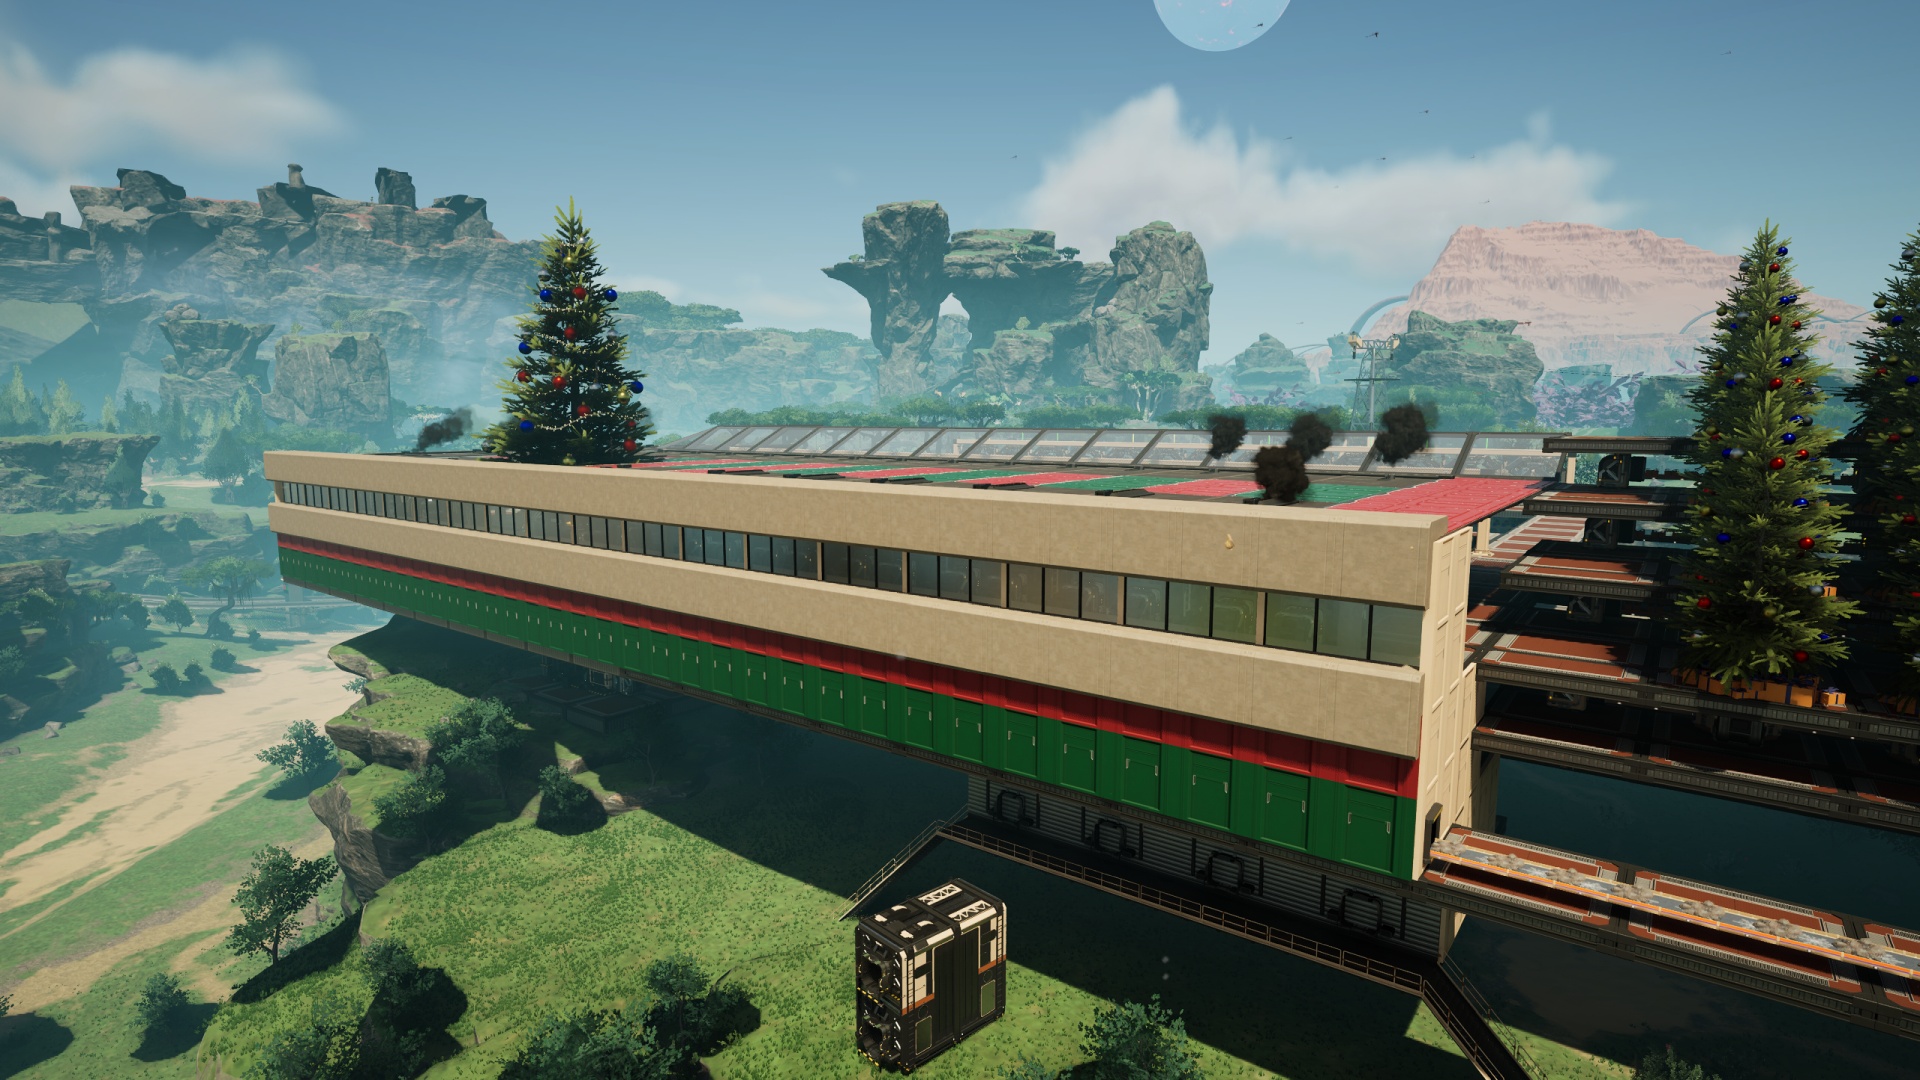
- FICSMASland Too, which is (as of midday today) completely operational and simply awaits decorating
- Building a rail line northward from the Oilands into the Rocky Desert, then east & up the long earthen ramp to the Crater Lakes area, then up a bit more elevation to get at all the lovely bauxite in the Bamboo Forest
- Reveling in having the Hoverpack unlocked in this save
Let’s have a quick chat about the various methods this game gives you to prevent becoming a Pioneer-shaped smear on the planetary surface when descending from great heights (on purpose or on accident).
You only get a few choices, and each an area in which it can shine.
Early in the game you can get your hands on the Parachute. Those who played Satisfactory during the “early access” years probably remember the disposable version that basically nobody bothered with because… who wants a one-off item that you’ll need to craft more of? Especially when the crafting involves either hiking back to home base or carrying those materials around with you all the time, an extra burden when depotspace wasn’t a thing so you were carrying a whole lot of stuff everywhere already.
With Update 8 came the permanent form of the Parachute, and there was… some rejoicing. (“Yay.”)
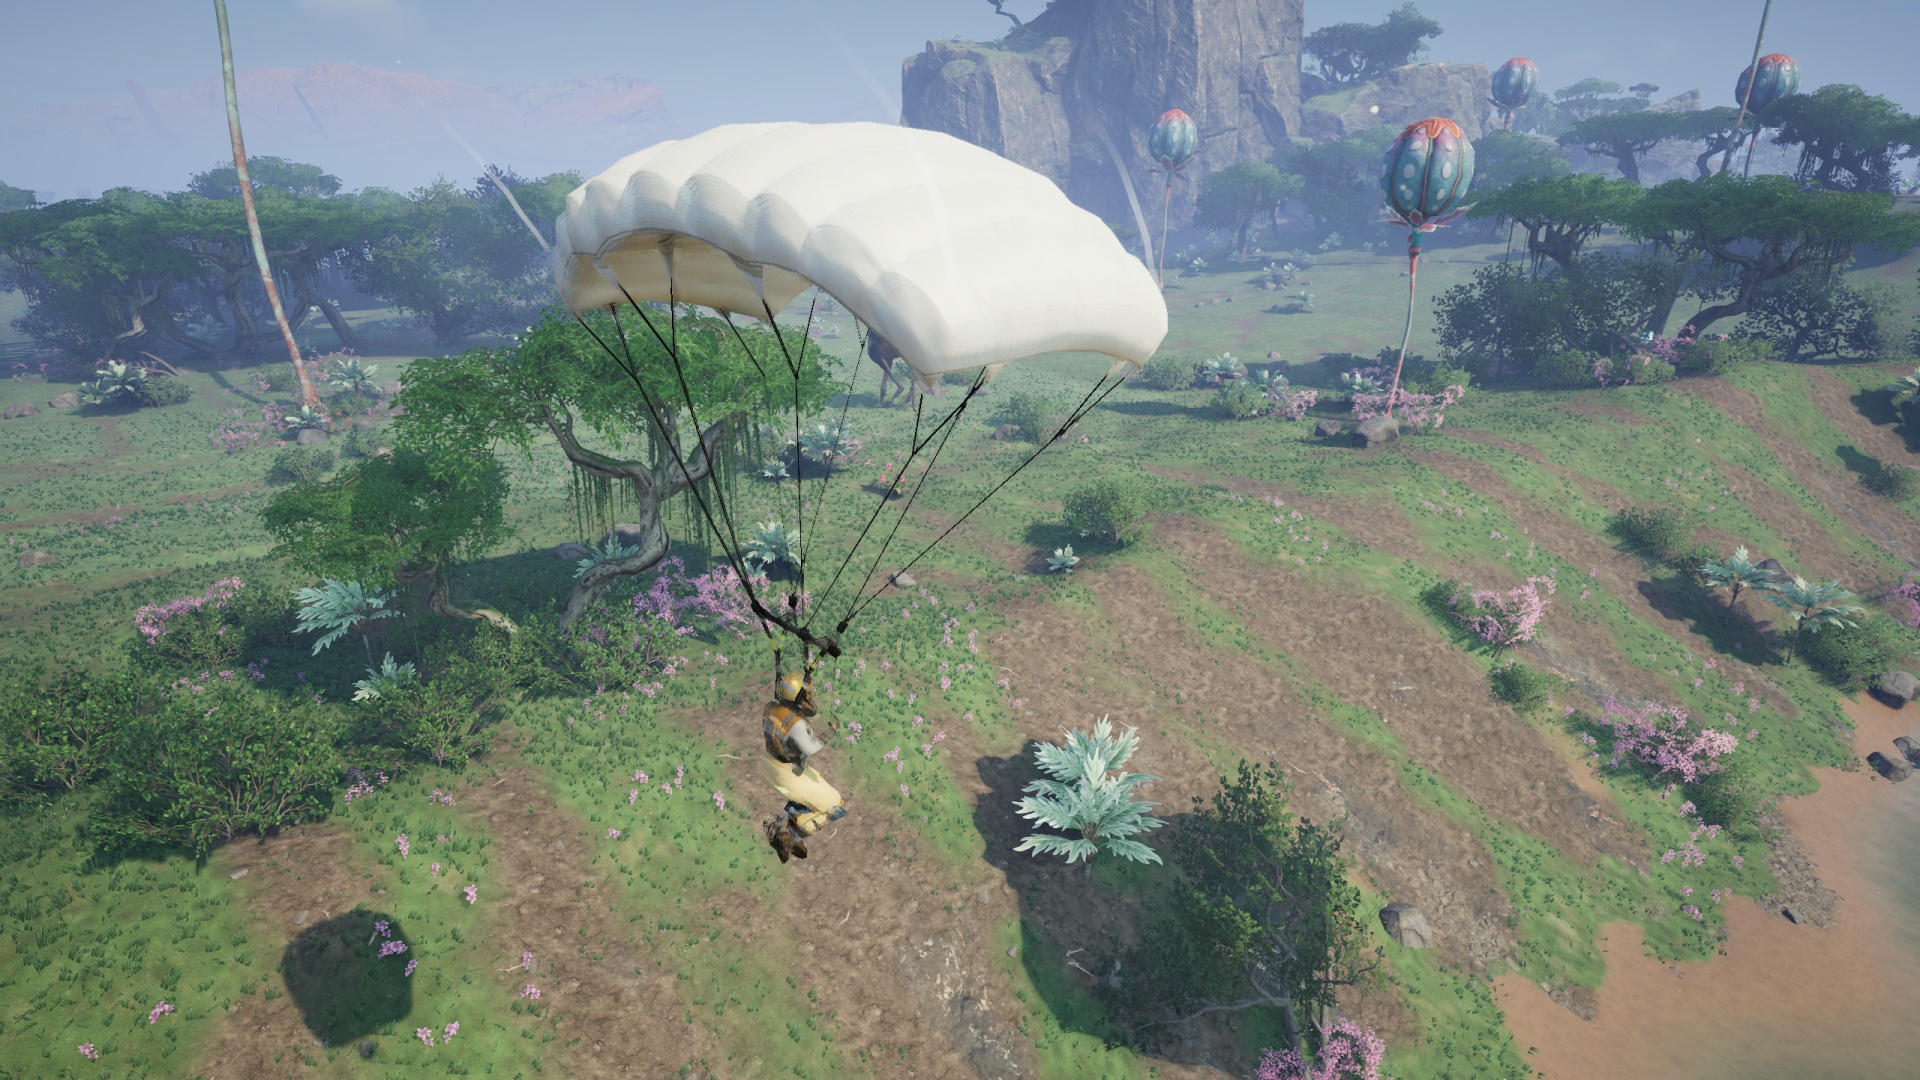
The primary value of this back piece is that all you have to do is deploy it while falling, then aim in the general direction you’d like to travel across the map. It isn’t powered, it doesn’t rely on proximity to anything in particular. It does the job as advertised. Even in the late game, choosing to equip the Parachute over the Jetpack while exploring is a valid choice when you just don’t want to deal with having to watch fuel levels and remaining drop height to ground level.
And the Parachute has a surprisingly good glide ratio! From a tall enough starting point you can get a respectable fraction of the way across one of the biomes by just holding a finger on the assigned “forward” control button/key.
Downsides? It’s not exactly fast, and there’s considerable camera wobble at deployment and at landing. Do a lot of parachuting in a short time frame and you might set off some motion sickness.
So let’s upgrade to… the Jetpack.
Overall, this piece has the best versatility. Put it on, make sure you always have some fuel in your personal inventory (the game offers a half dozen possible fuel options to choose from), press the “jump” control button/key as necessary when approaching the ground to reduce the speed at which you impact said ground. Pair it with some kind of launch control (an available fast-moving conveyor belt or, for the truly adventurous, a “Hypertube Cannon”) and “feather” your fuel usage just right, and you can get from one end of the entire world map to the other… or go splat trying. No risk no reward, right?
The Jetpack comes with a couple of downsides. While you have fuel choices, several of them are too complicated and/or expensive to be viable for all but the most dedicated enthusiast. For example: Packaged Biofuel has great burn time but not much vertical thrust, and can’t really be properly automated because one of the required materials is hand-collected plant & animal matter. All of the fuel choices are “choose your downsides” like that, too. Packaged Rocket & Ionized Fuels can achieve some great heights… if you don’t mind how expensive they are to create, and watch out for those relatively low burn times so you don’t go splat because you pulled an Icarus.
See, the Jetpack will burn through a stack of fuel while airborne and… won’t recharge until you’ve stood safely on a solid surface for a few seconds. Found yourself 100 meters off the ground and your fuel charge is out? How quickly can you change to the Parachute while falling? I wonder. Oh, oops, not quickly enough.
Those are your main exploration and general cross-map travel options. I use them both throughout the game at various times, though to be clear the Parachute is by far my least-used back piece. The remaining back piece option is all about getting you airborne in a useful, productive fashion for general factory-building purposes. Though, as we’ll see, it also works as map exploration gear.

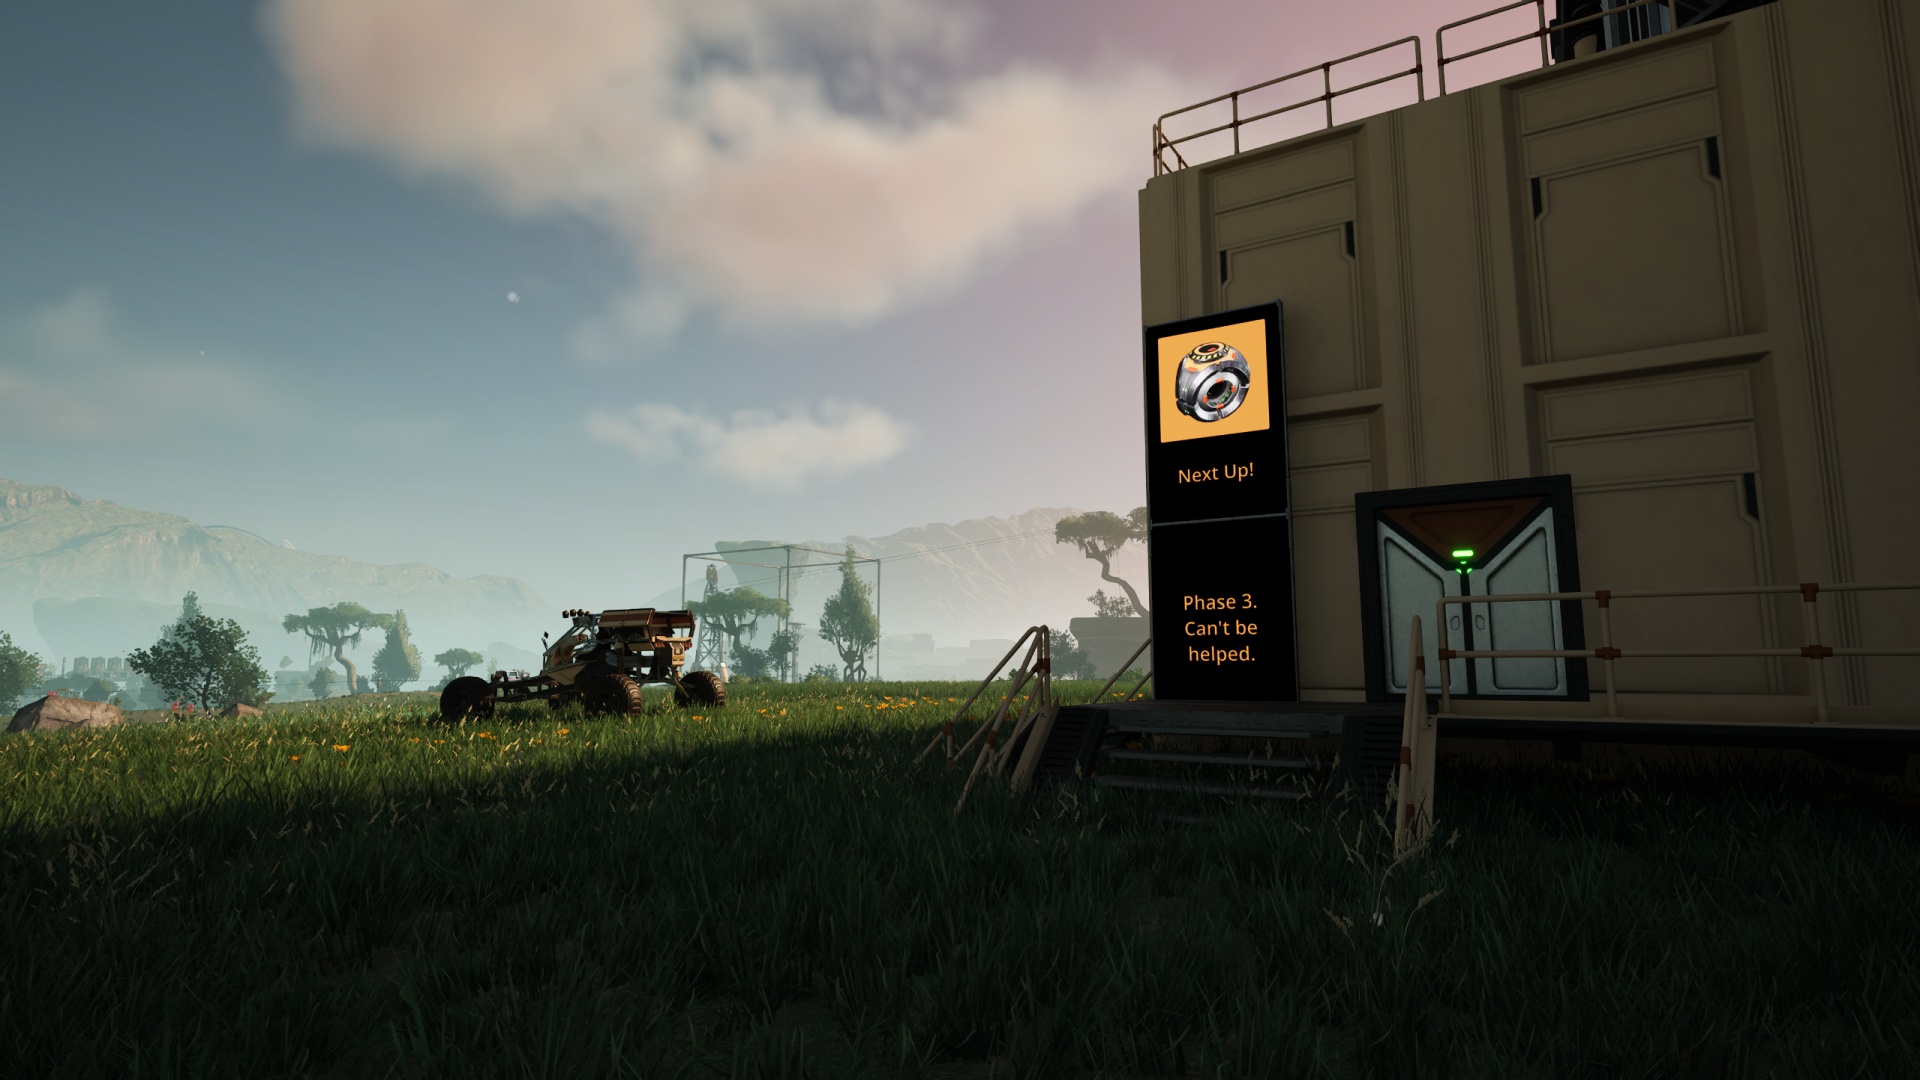
You unlock the Hoverpack while gaining access to aluminum products after clearing the Phase 3 shipment hurdle. In nearly every game save I will happily spend shop tickets to buy a couple stacks of the aluminum sheets required to unlock and craft the piece, because building a big high-output Aluminum Ingot factory is best done from an overhead vantage point.
Who am I kidding? All building projects are best done from a safe, steady, overhead vantage point.
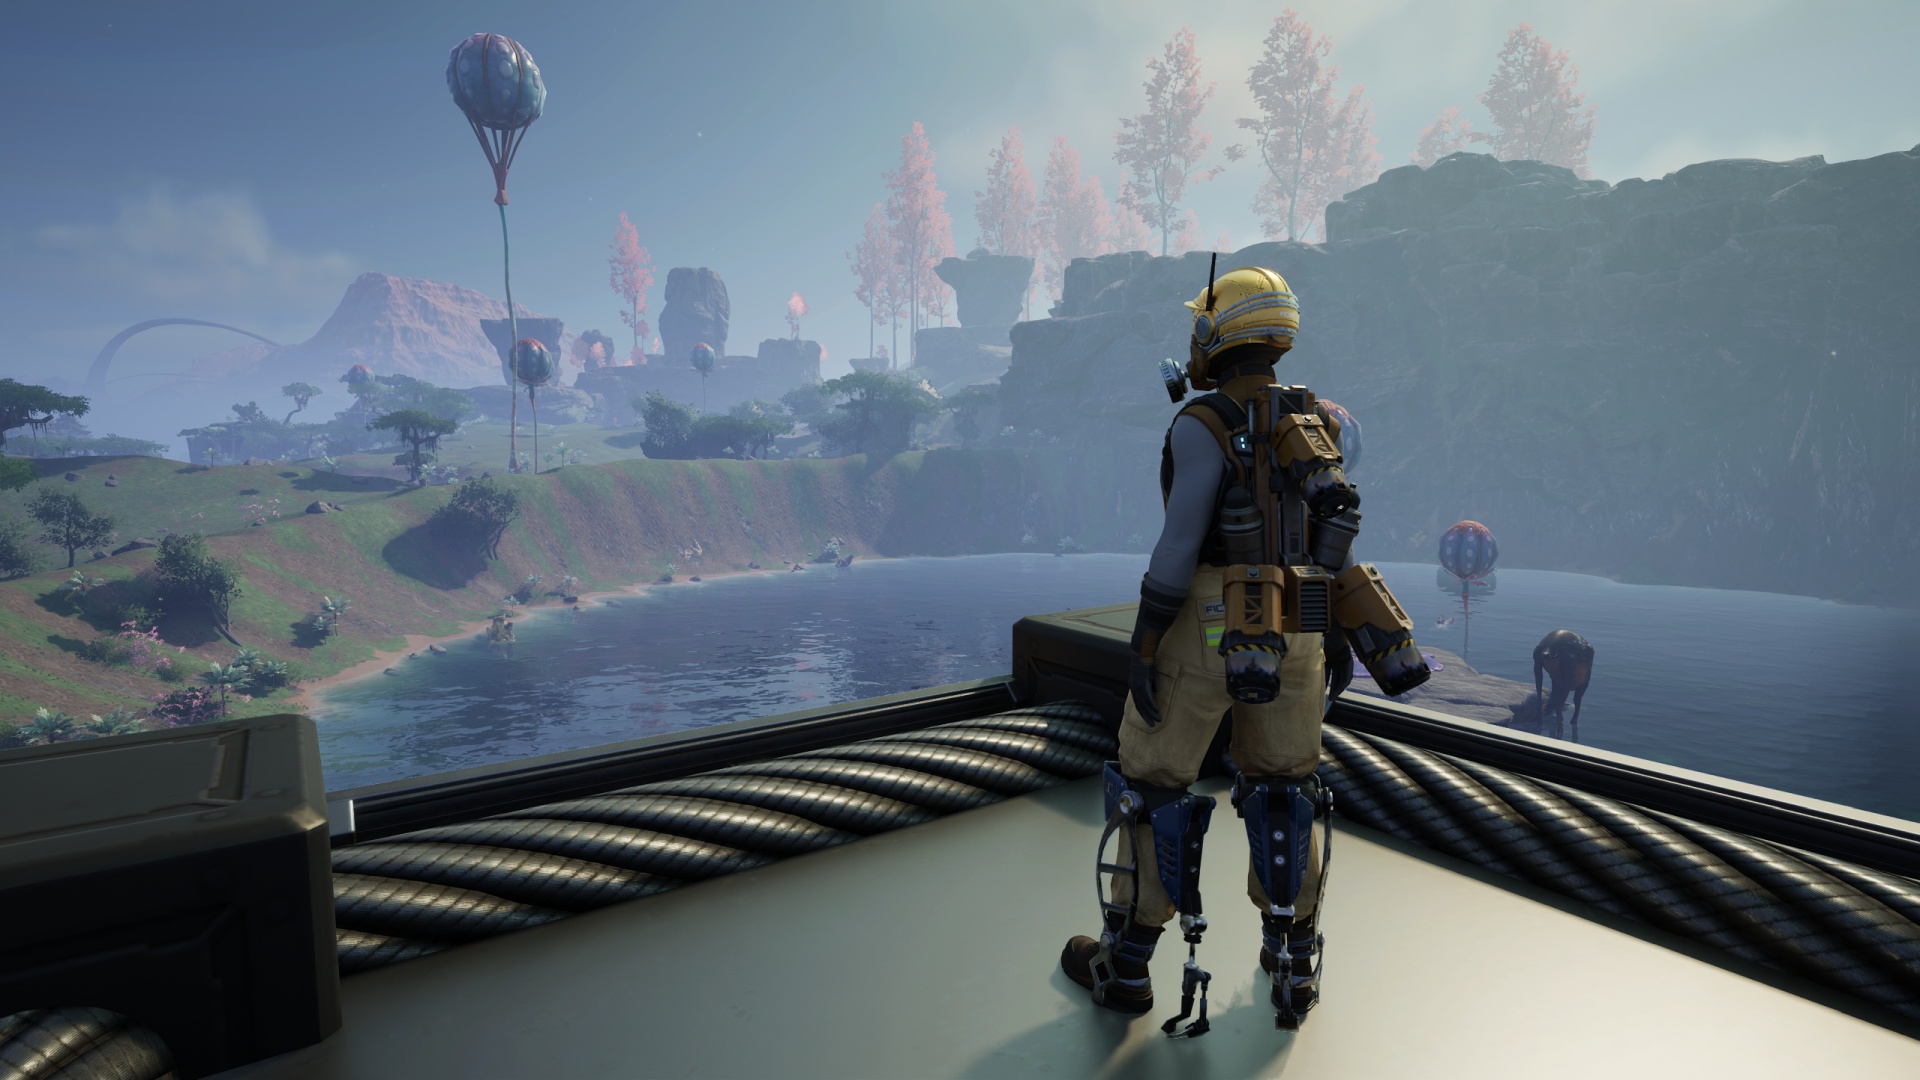
With the Hoverpack equipped, all you need is to be near a powered source of electricity. That can be a power pole, a running factory machine, or a rail line. Use the “jump” control/key to get airborne, then move around as normal. The “jump” and “crouch” controls provide Z-axis movement. Pretty much the only downside is there’s a bit of drift action, a kind of aerial inertia in the horizontal movement after you stop pressing a control key. You get used to it fairly quickly, learning not to make a habit of adding equipment while in motion. Otherwise you’re simply a stationary object in 3D space. This is, no joke, one of the most game-changing pieces of technology you’ll get access to. Laying down rows of machines is so much easier when you’re not standing on the ground right next to them. Having a bird’s eye view of your factory layout gives you a better grasp on your spacing and your materials flow. It’s when I get the Hoverpack that I start taking building decoration seriously, because at that point I can simply hang in space well outside of a tall building and decide what window style I want to use, what colors to paint the walls, and so forth.
Heck, one time I used the Hoverpack to do pixel art on the side of a cliff.
And you have reach. Your ability to interact with things is extended, which feels like a bug but it’s one I hope the developers never fix. You can change machine configurations and open containers from quite some distance. This also counts for picking up items off the ground while exploring.
Exploring? Sure! All you need is to run a line of power poles in the direction you’re headed. With the (frankly ridiculous) range at which you get to hover from the nearest power source, there’s basically nothing you can’t get to as long as you can snap a power pole to the scenery somewhere near enough to your goal. It’s not fast, but we’re not here for speed. We’re here for steady, methodical exploration and acquisition of everything the planet has to offer. Not to mention that a lot of hard drive drop pods require power to open, which goes from “frustration” to “convenience” now that you don’t need to throw down a miniature biomass generator electrical grid on-the-spot. And when you’re headed back “home” again: If you aren’t going to need those power poles later, just… remove them. It’s like you were never there!
The main downside to the Hoverpack is that you simply must be within range of an active power source. Leave that range? Find yourself reintroduced to the ground.
(The Hoverpack seems to have a kind of “emergency reserve” to let you reduce your fall speed very, very briefly… but you can’t really count on it to do much. Tap your “jump” control right as you’re about to hit ground and hope it’s enough.)
The only other “gotcha” with the device is that it’s constantly drawing power, even when you’re standing on the ground. This can be a problem on rare occasions, such as when trying to open a drop pod with power requirements using biomass generators. The Hoverpack will claim power priority over the drop pod and your tiny bespoke “electrical grid” will crash. The solution is to… unequip the Hoverpack during this operation.
Yeah, it’s kind of weird and counterintuitive. Satisfactory can be that way sometimes, I suppose.
Anyway: I love the Hoverpack. Reaching the Phase 4 stretch of the game is, to me, in large part worth it just to get that thing on my Pioneer. The nuclear power and other goodies are just side benefits.
Well. Kind of. You get the idea.
Now, if you’ll excuse me, I have an aluminum production factory to design…