It’s been an entire month since my last Satisfactory post, hasn’t it? Not that I haven’t been playing, it’s just that I haven’t done anything particularly noteworthy. I haven’t picked up any more strange bomb-shaped gifts, don’t worry! I’ve just been chugging away, making progress toward nuclear power.
(What’s that, you ask? What about the Turbofuel plant? Have I maxed that out yet? Of course I haven’t. Never mind, though! It’s time for the new and the shiny!)
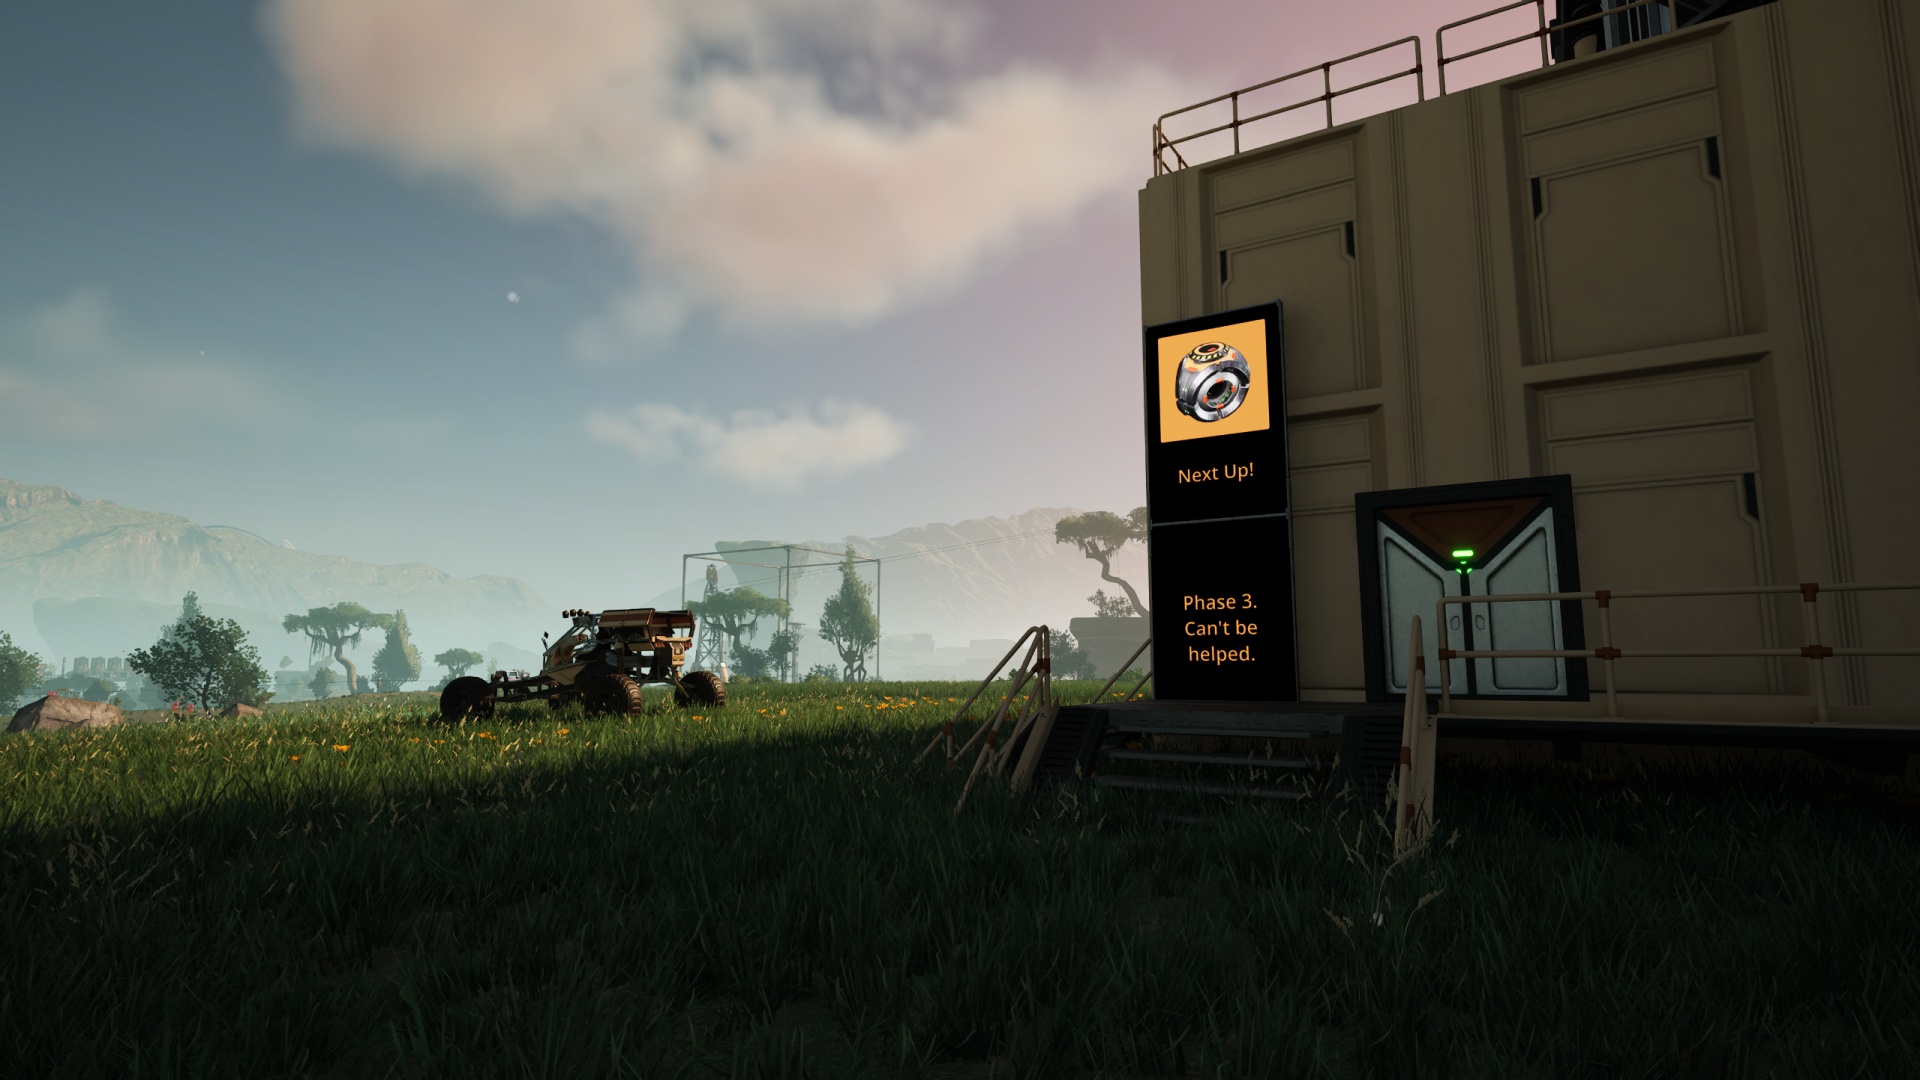
To that end, I needed a factory that can churn out a sufficient quantity of something called an Electromagnetic Control Rod. Today I completed that factory… and actually put a roof and some walls & windows on it, even.

The details of the factory itself aren’t that interesting. What I want to highlight is the use of logistics floors.
What’s a “logistics floor,” you ask? Easy: It’s where you hide the worst of the conveyor belt “spaghetti” needed to make sure all of the machinery in the next floor upward gets all the materials needed to produce the goods.
I tend to build “up.” Start with the basic parts at the ground floor, then above that build the next stage’s part, and so on until the final desired result gets made in what could be considered the “penthouse suite.” It’ll certainly have the best view, at least. And that’s great. What makes the whole plan even better is what happens if one is willing to add some extra height to the building as you go: You can reduce the amount of readily visible conveyor belt messiness. I don’t mind some belts at floor level but I absolutely can’t stand having a lot of overhead belts cluttering the space. To solve that unsightly mess, I cram as much of it under the floor as I can.
(Note that I don’t actually put everything under the floor. I could, and it would result in some very tidy-looking factory floors, but that’s even more work and I have my limits. Yes, my desire for tidiness is in constant battle with my inherent laziness. Some day I’ll build a “showcase” factory… but that day is not this day.)
Using my “ECR” site as an example, I started with two rows of Smelters (iron and copper) off to the side of the main building, then I fed the results of those outbuildings into the ground floor of the main building. This contains a whole lot of Constructors making various items (Copper Sheets, Steel Pipe, etc) which need to go upstairs to some Assemblers to be turned into AI Limiters and Stators. Great, but the problem is how to handle collection and distribution. Each Constructor chain’s output needs to be assembled onto one belt, and then that belt needs splitting off to the inputs of multiple Assemblers… without getting in the way of the other belts feeding the other inputs for those Assemblers (and the other ones nearby).
This is where the logistics floor comes in. You build up a few four-meter walls’ worth (high enough to clear the current floor’s machinery), lay down a fresh chunk of flooring, then go two more walls’ worth and lay down another fresh chunk of flooring. This two-high space between main factory floors is where your belting’s going to live. Find a good place to send a conveyor lift upward from the lower floor, pop it into the logistics floor and use that space to route belts to splitters.
You need to go up top and place your next working factory floor’s Assemblers (or whatever) first, keeping in mind the logistics challenge you’re making for yourself as you go. Then place Conveyor Lift Floor Holes next to the inputs, followed by attaching the lifts from each floor hole to its adjacent input. (Make note of which speed of belt will feed each input and attach lifts accordingly.) Now you can safely go down to the logistics floor and pull down conveyor lifts to the desired height. For Assemblers I usually bring one down to floor level and leave the other up at the ceiling. Manufacturers can be trickier, and in some cases you might be better off making a three-high space for your logistics floor if you need to fill all four inputs for those beasts. Your mileage may vary, experiment on your own to determine your best results. For the Assembler you only have to worry about two heights, and since three Splitters stacked will reach the “ceiling” level lifts, that makes things fairly easy if you pick one input material to be delivered “up top” and the other “at the bottom.”

Now that you have your inputs, and you previously delivered the source materials “upward” from downstairs, it’s just a matter of routing materials to splitters to machinery inputs like one would normally do… and it doesn’t matter how messy things look, because as soon as you’re done you can wall this entire floor up and never look at it again.
Lather, rinse, and repeat until your factory is done. Now you just have to figure out how you’re going to deliver the end product, either by routing a conveyor lift all the way back to ground level (as I’ve done here) or just stick a drone port off to the side and send things skyward. It’s all up to you.