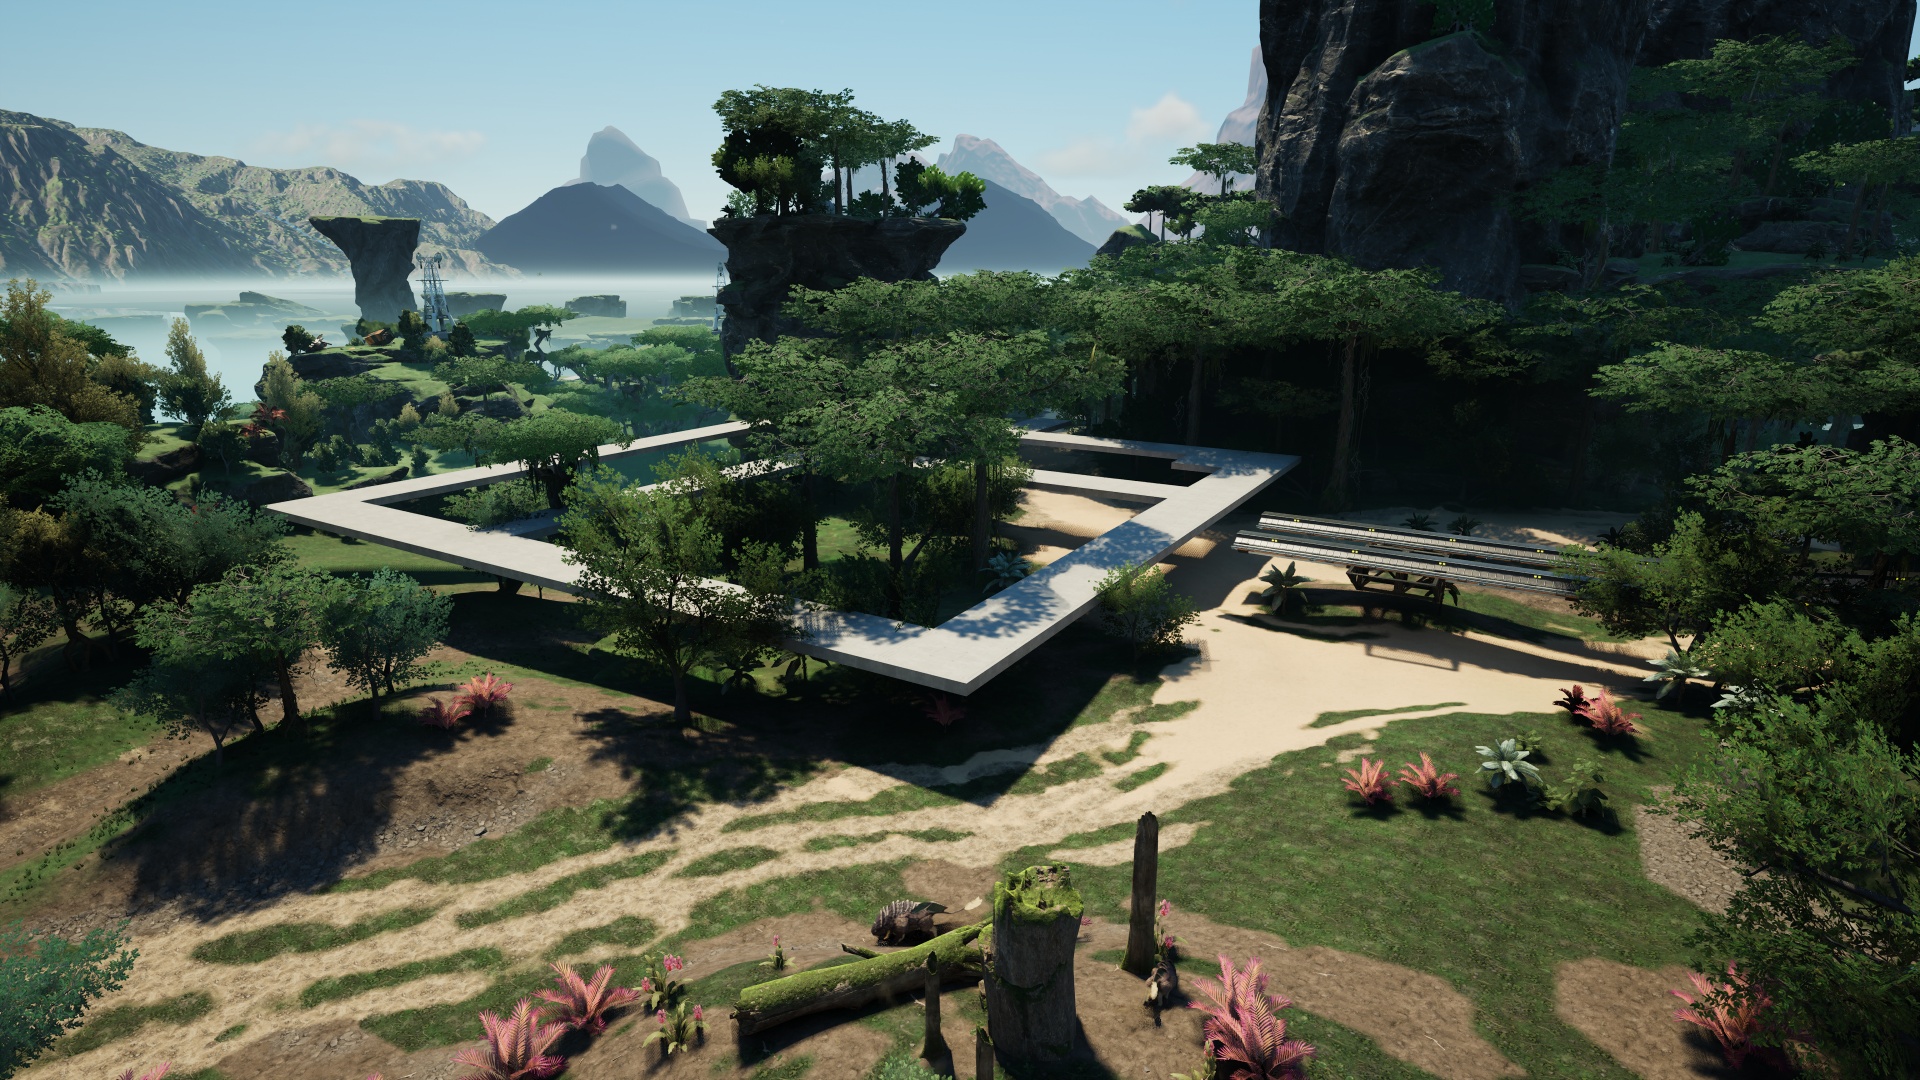
So there I was, building a rail line through the jungle, when I reached a point on the map at which it made sense to place a roundabout. As I started in on the build process I’ve used a couple dozen times now (type ’roundabout’ into the search field to see other posts about the development of this process) I realized that the requirements of the approach and exit placement weren’t going to fit the location. I needed an alternative.

At first I thought of doing a criss-cross interchange but I prefer having the option of letting a train loop back around if necessary at every one of these intersections. Still, I figured that an interchange would probably fit this particular location better than a roundabout so I went looking for information on how best to build one.
I didn’t find that. Instead, I found guidance on how to build a different style of roundabout, approaching it as more of a modified diamond than a rounded square. The difference is largely academic in the long run, but the practice of building it is definitely trickier.
I should mention that my adaptation of the aforementioned guidance is centered on the fact that I have blueprinted dual-rail support structures that build out from a center foundation tile line. I place one of these structures just outside the middle of each side of the build square. If you don’t use blueprints, or the spacing of your rail lines in your blueprint is different from mine, your mileage may indeed vary. Experiment!
Instead of an “empty” 9 x 9 square, we instead start with a filled-in 13 x 13 square. (We’ll be removing pretty much all of the foundations once we’re done, and the end result actually takes a bit less space than the previous method, so it’s all good.) Then, starting at one corner tile, go toward the center diagonally for three further tiles.
Now you need paint. You have color modification unlocked, I hope? It doesn’t matter what color you choose, just pick something that will stand out from the normal gray of the foundation tile. Also? Concrete tiles are better than the default foundation style, since they have those lines and indentations to track item placement.
Anyway: As you’re still facing the center of the 13 x 13 square, paint the adjacent tiles to the one you’re standing on, to the left and to the right.
Repeat this sequence (starting at each of the other three corners) until you have four pairs of painted tiles. This tells you where to build your short starter rail segments for the roundabout.
Place a short rail segment going diagonally for a short distance across both of those tiles. You know how when you’re building on foundations things tend to snap to various grid points on the tile? The ends of the rail segments should be three “snap points” inward in both directions from the farthest opposing corners of the painted tiles.
Which is a heck of a thing to try to explain in words (and finicky as heck to accomplish sometimes) but once you play around with trying to get the segments placed you’ll know what I mean.
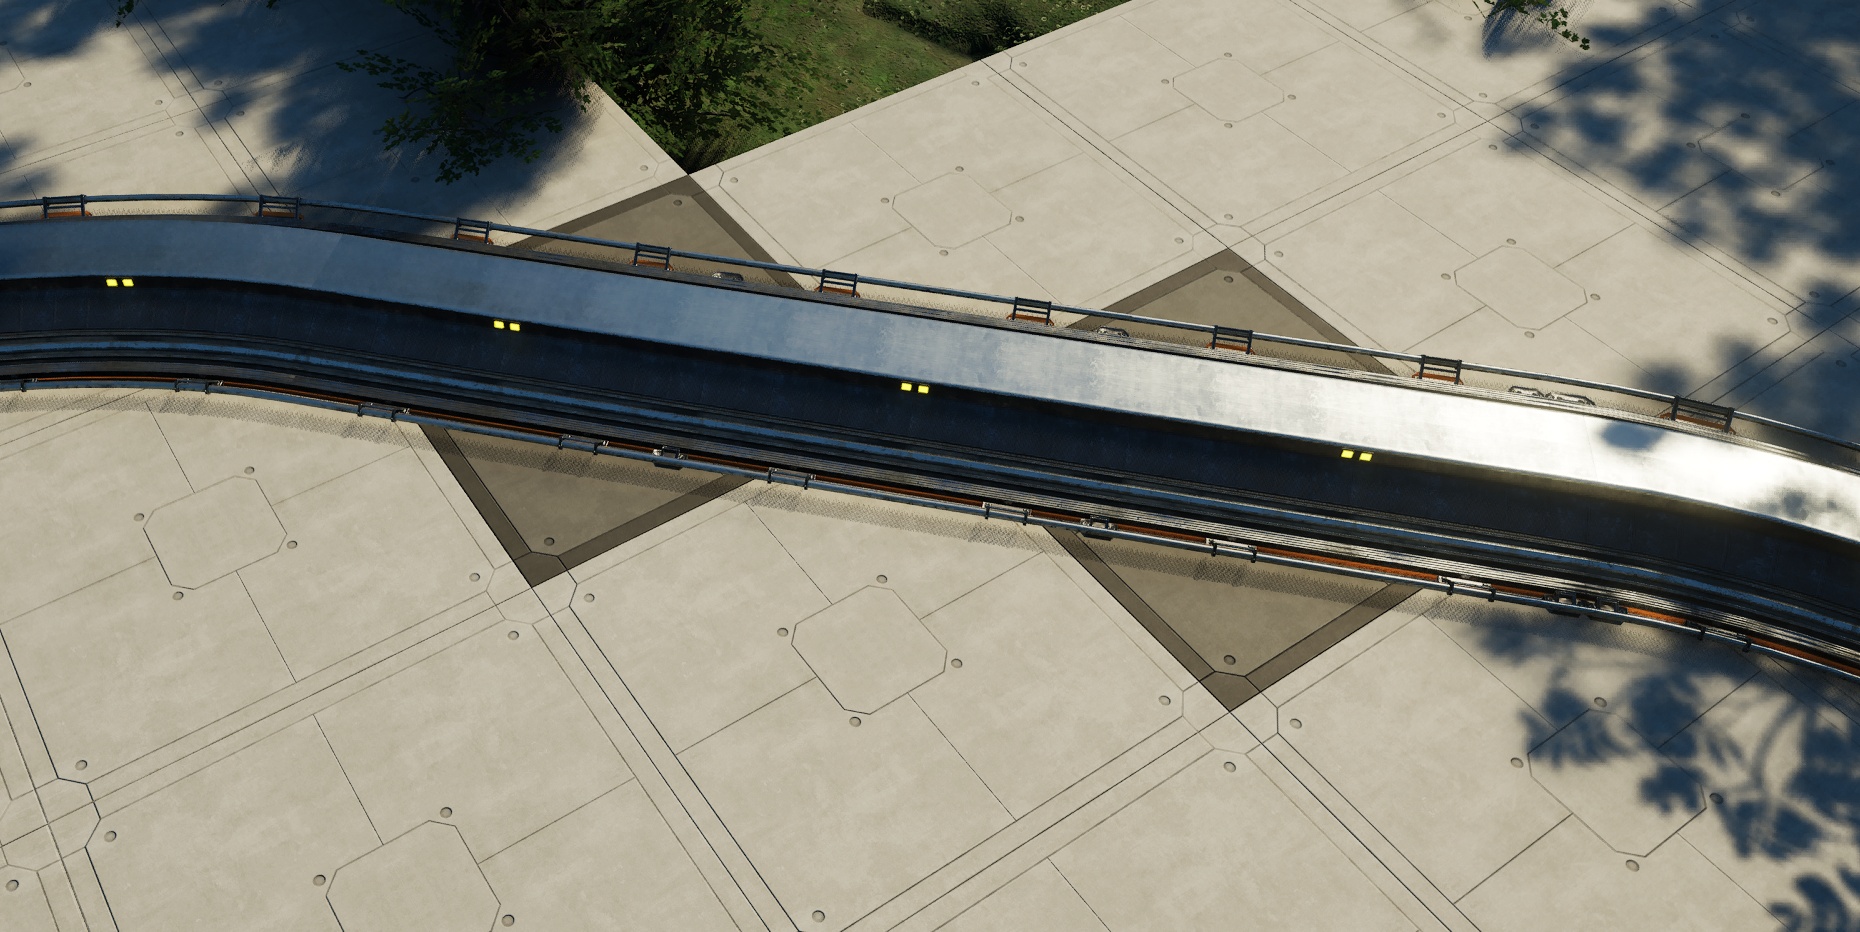
Once you have all four of those placed then it’s just a matter of connecting them in a loop, then connecting the inbound & outbound links to the blueprinted rail segments in the two, three, or four directions you need.
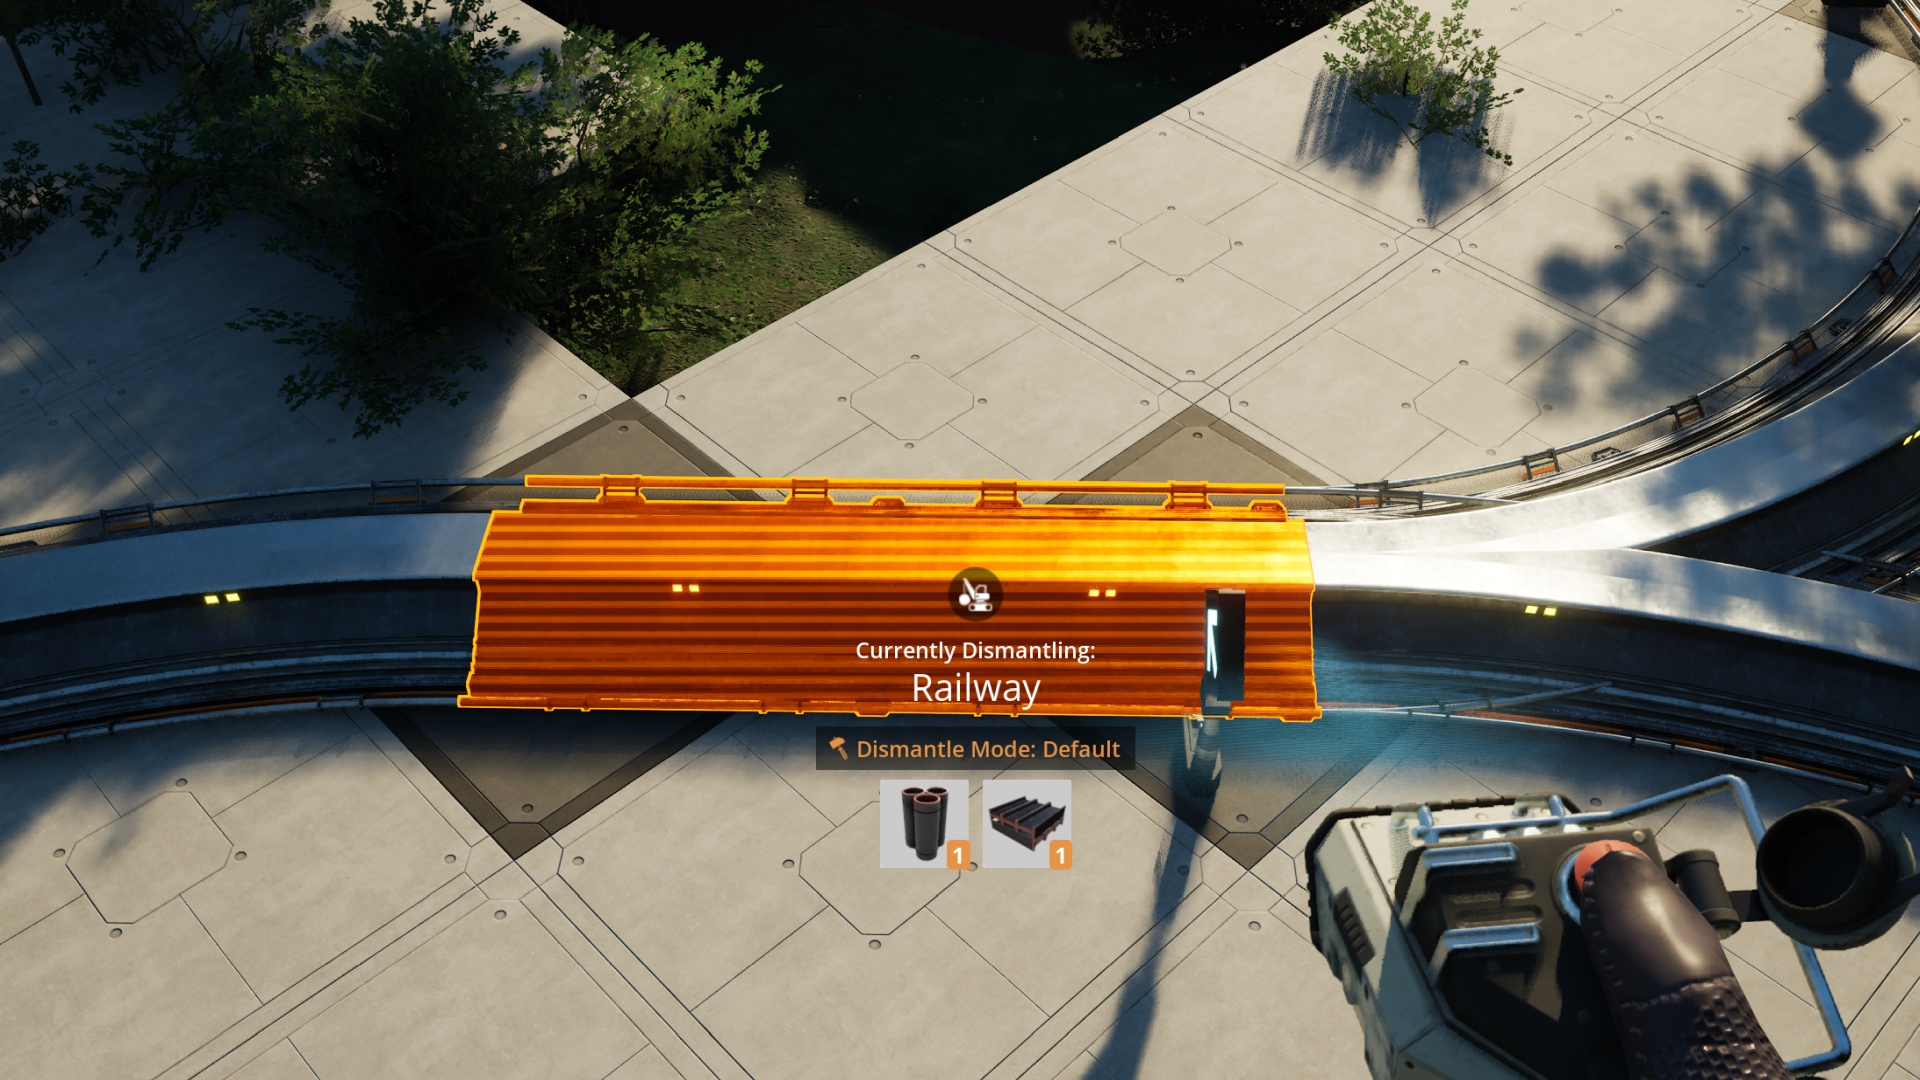
Now you can reclaim all the foundation tile concrete, place support pillars or other cosmetics, and make sure you have Path Signals on the inbound lanes and Block Signals on the outbound lanes. The prefabricated blueprinted support structures are a perfect place for those. Remember, never place signals inside the loop!
Overall? I’m pleased with this new method. It’s tidier, it’s more convenient, and it only takes a skosh more fuss and bother to get started than the previous method. I’m sold.