Normally I try to stay close to the ground when placing rail lines. My blueprint-based system already has some “that’s not how physics or engineering work” flavor to it and I don’t like exacerbating that element by running the track hundreds of meters above ground level.
But sometimes, needs must.
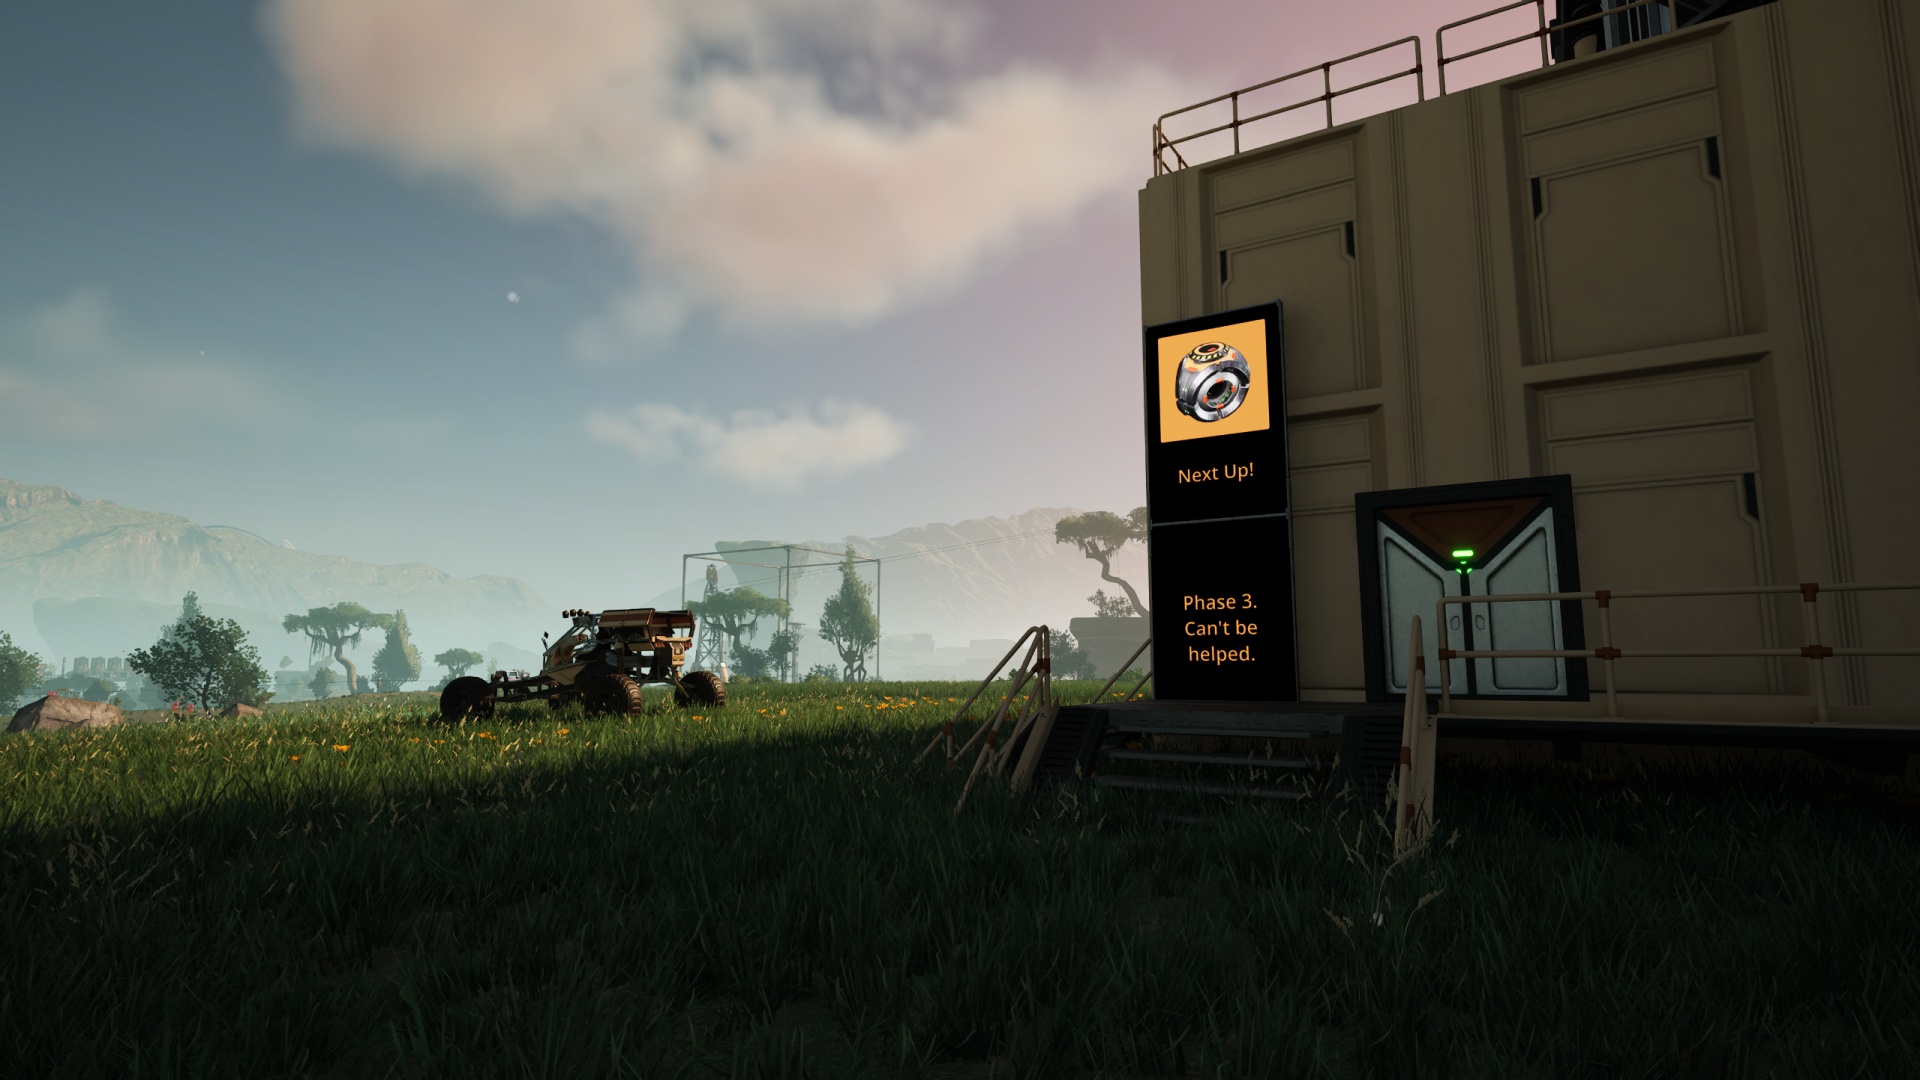
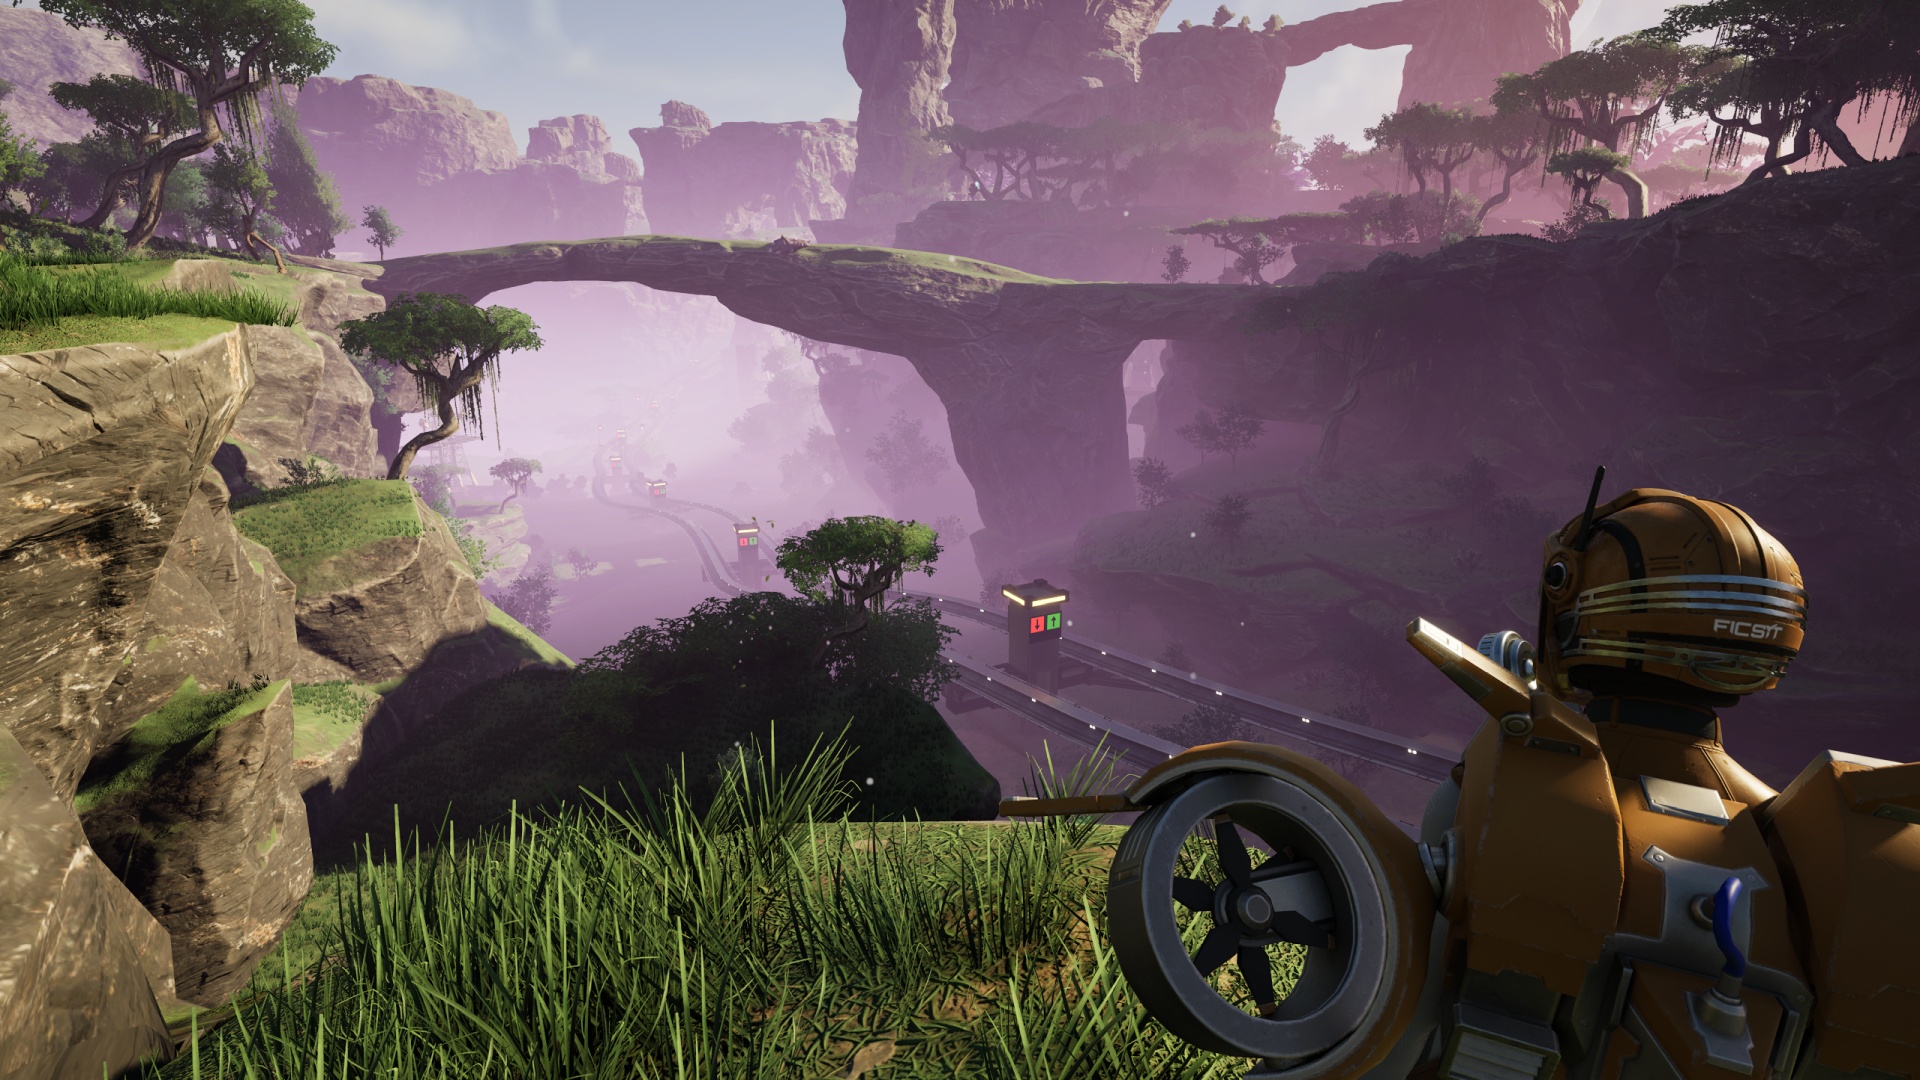
Among the first chunks of railroad I built in this “Upend Away” save was from the Space Elevator platform in the middle of the grasslands out to the Blue Crater zone in the far southeast portion of the playable game map. It included a modest downward grade, then a brief level portion (alongside a gaping maw of a bottomless pit), ending with a very steep climb up to a small lake. This last stretch was so steep that I couldn’t even make it work with my most sharply angled blueprint piece. I had to cobble together an ugly mess of painted beams at the absolute maximum grade the game would allow rail pieces to ascend.
All of this was done in a hurry so I could get Phase 3 completed and unlock more goodies, of course.
I’ve never been happy with the results.
The section closest to “home” was… wiggly. I kept getting the angles wrong and the result was basically a roller coaster ride for little kids, all mild bumps and wobbles.
The section going along the edge of the yawning chasm was… fine. It was going to get replaced as part of fixing the rest of the run anyway.
The section connecting to the roundabout at the top of the final climb was… a mess, albeit a functional one. I lost most of an hour just placing that railway the first time around and every time I went past that stretch of the track I grumbled to myself about how badly I wanted to fix it.1
So yesterday morning, after a week spent not really thinking about the game much at all (taking a breather before tackling the next big project) I decided it was time to Do Something About It.
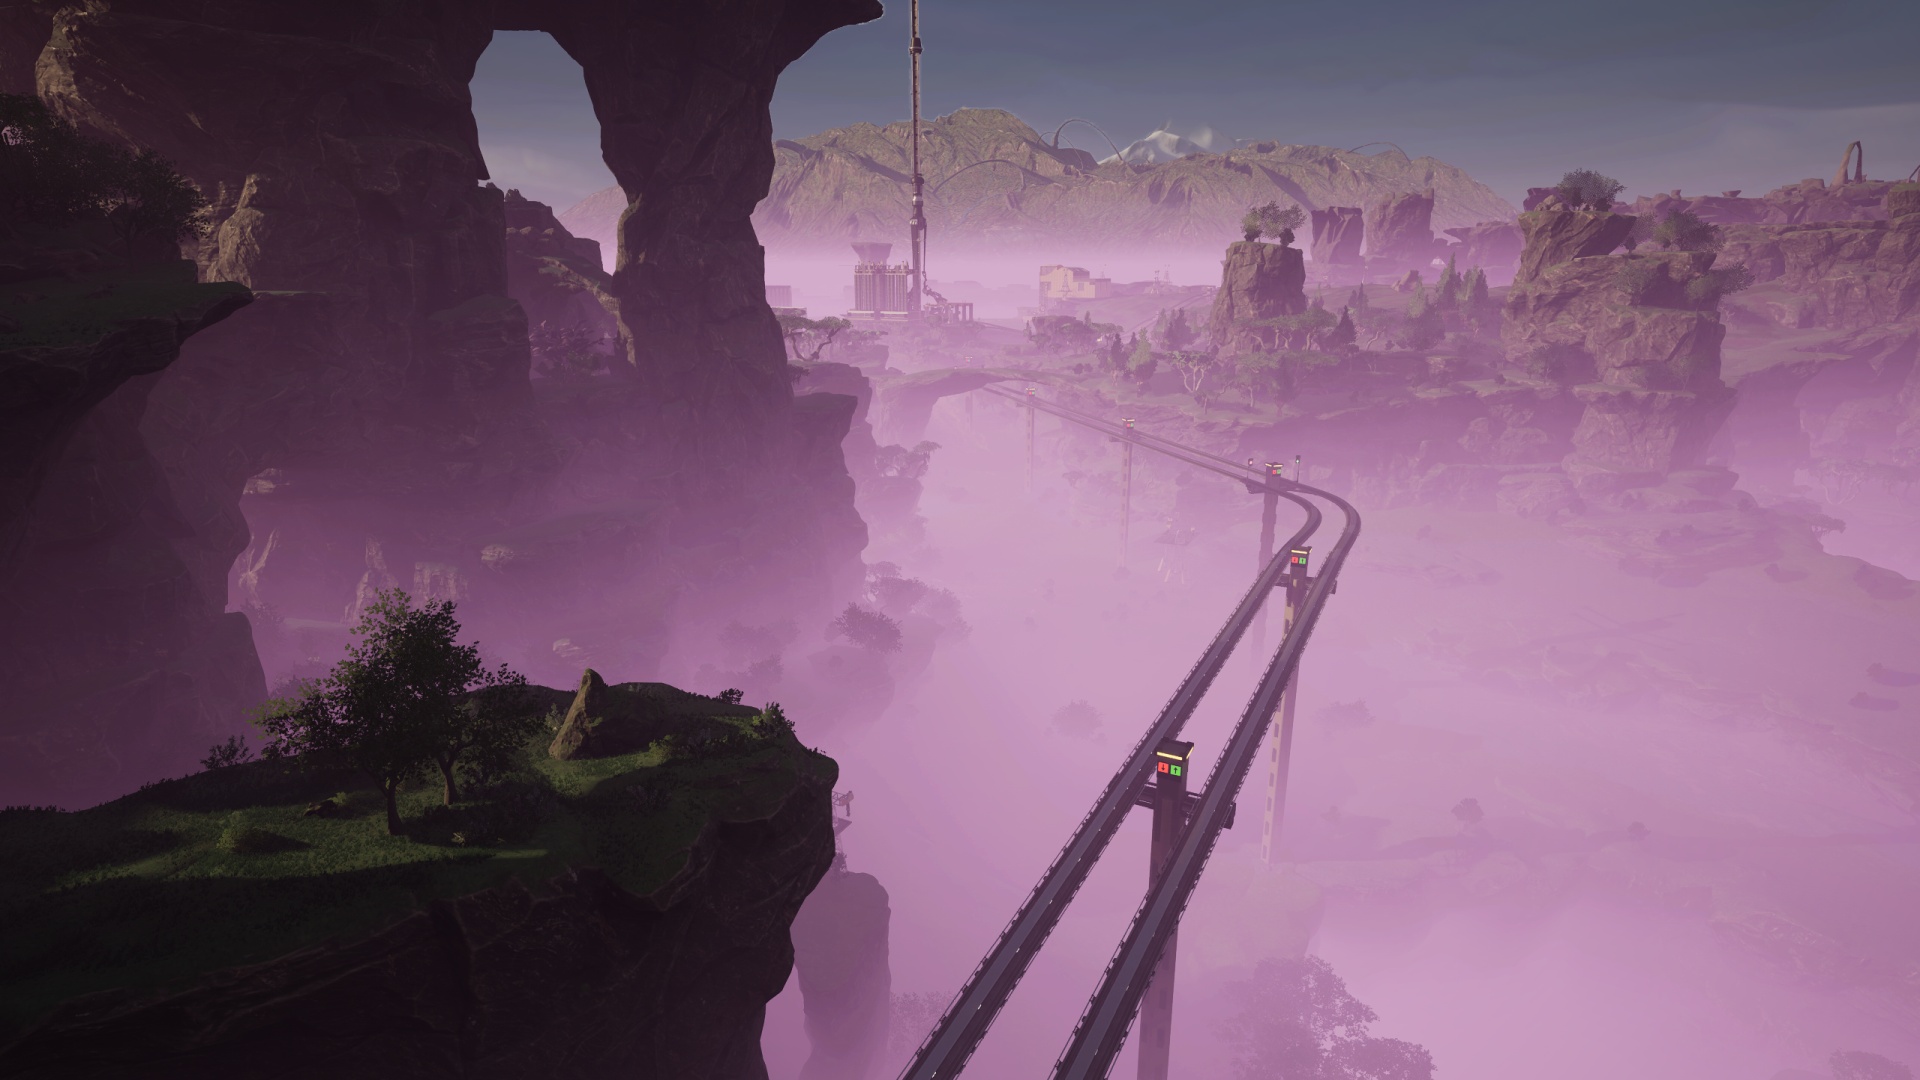
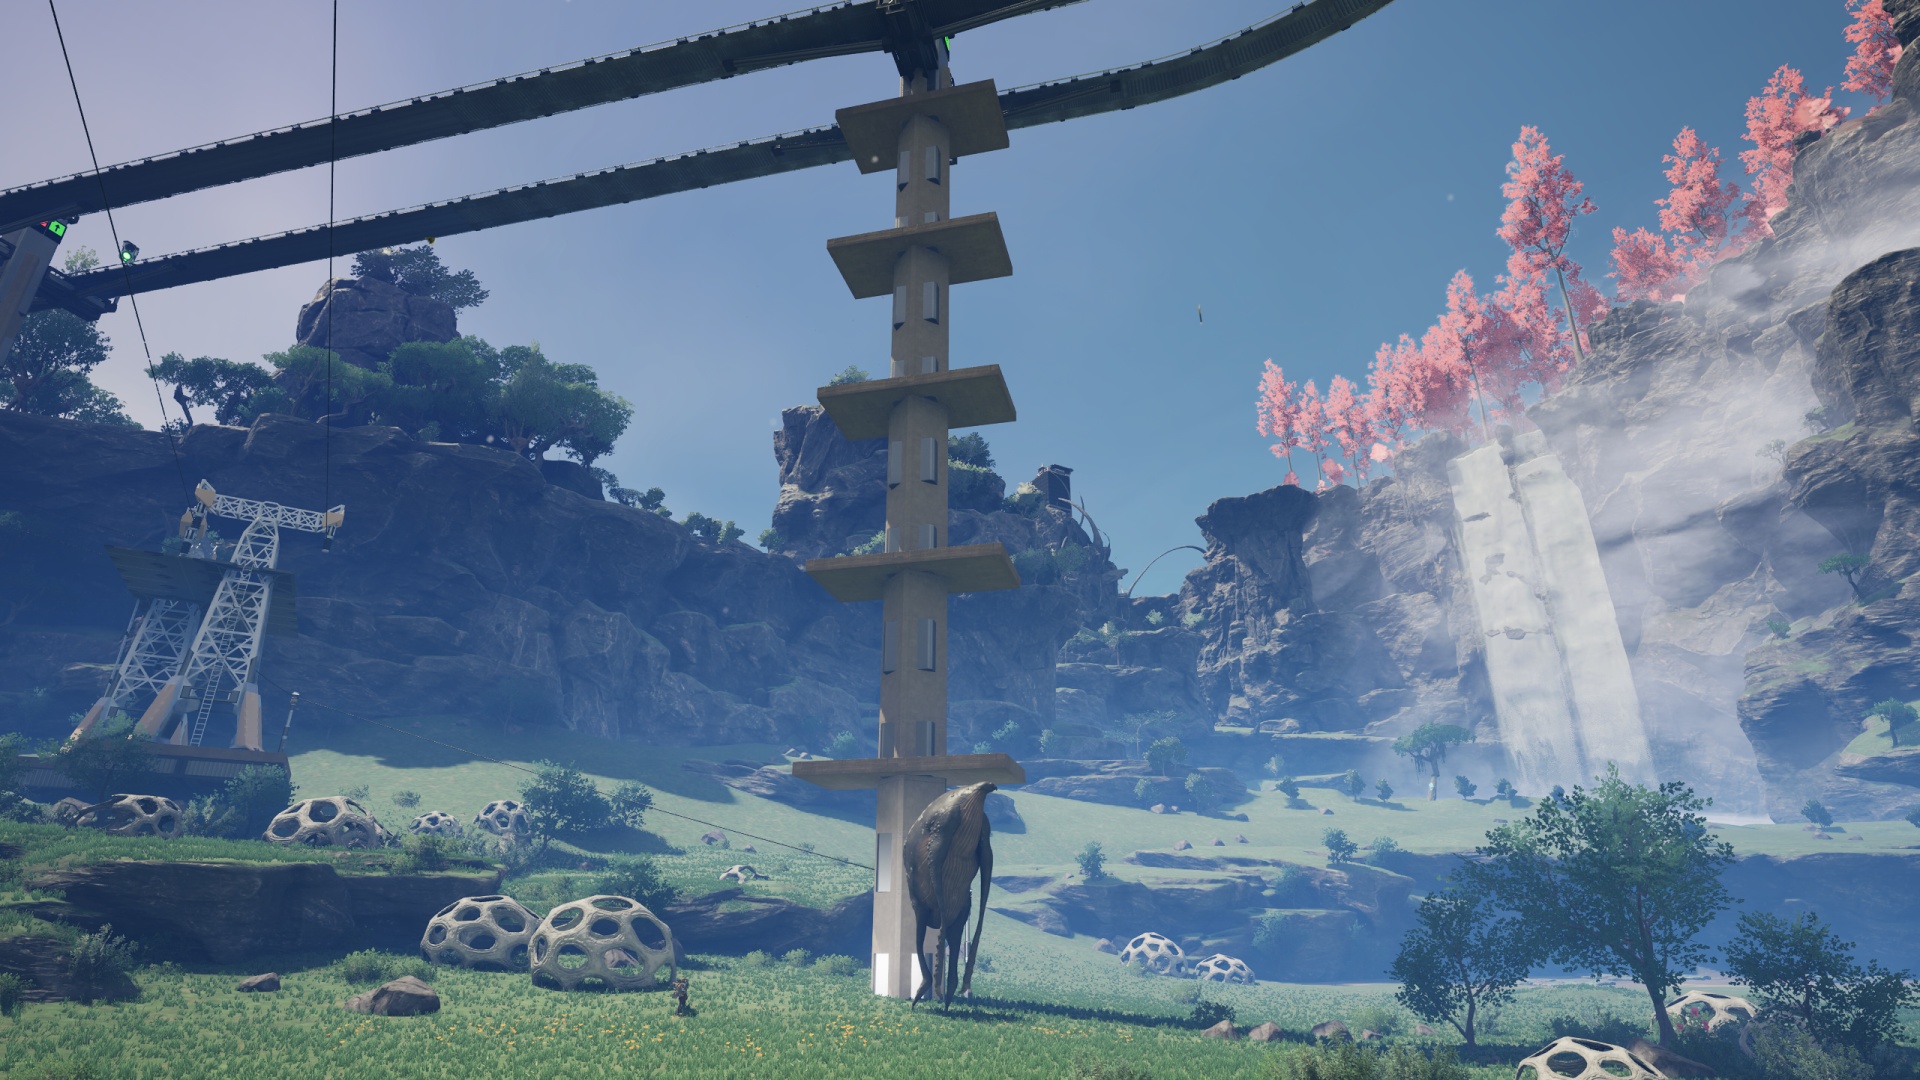
I started at the Space Elevator roundabout again, this time choosing a starting elevation which would (barely) clear the nearby rock bridge. I knew there’d still be a bit of a climb at the end but hoped I’d come in high enough that it would result in a smoother connection. I had pretty good luck with my initial placement and other than the main bend of this portion of the new run being a skosh wonky (see image at top of post) I feel like the results justified the effort.
Look, I just didn’t want to end up trying to place support pylons in, or even on the very lip of, the bottomless pit. That’s why I made that bend a bit “early”.
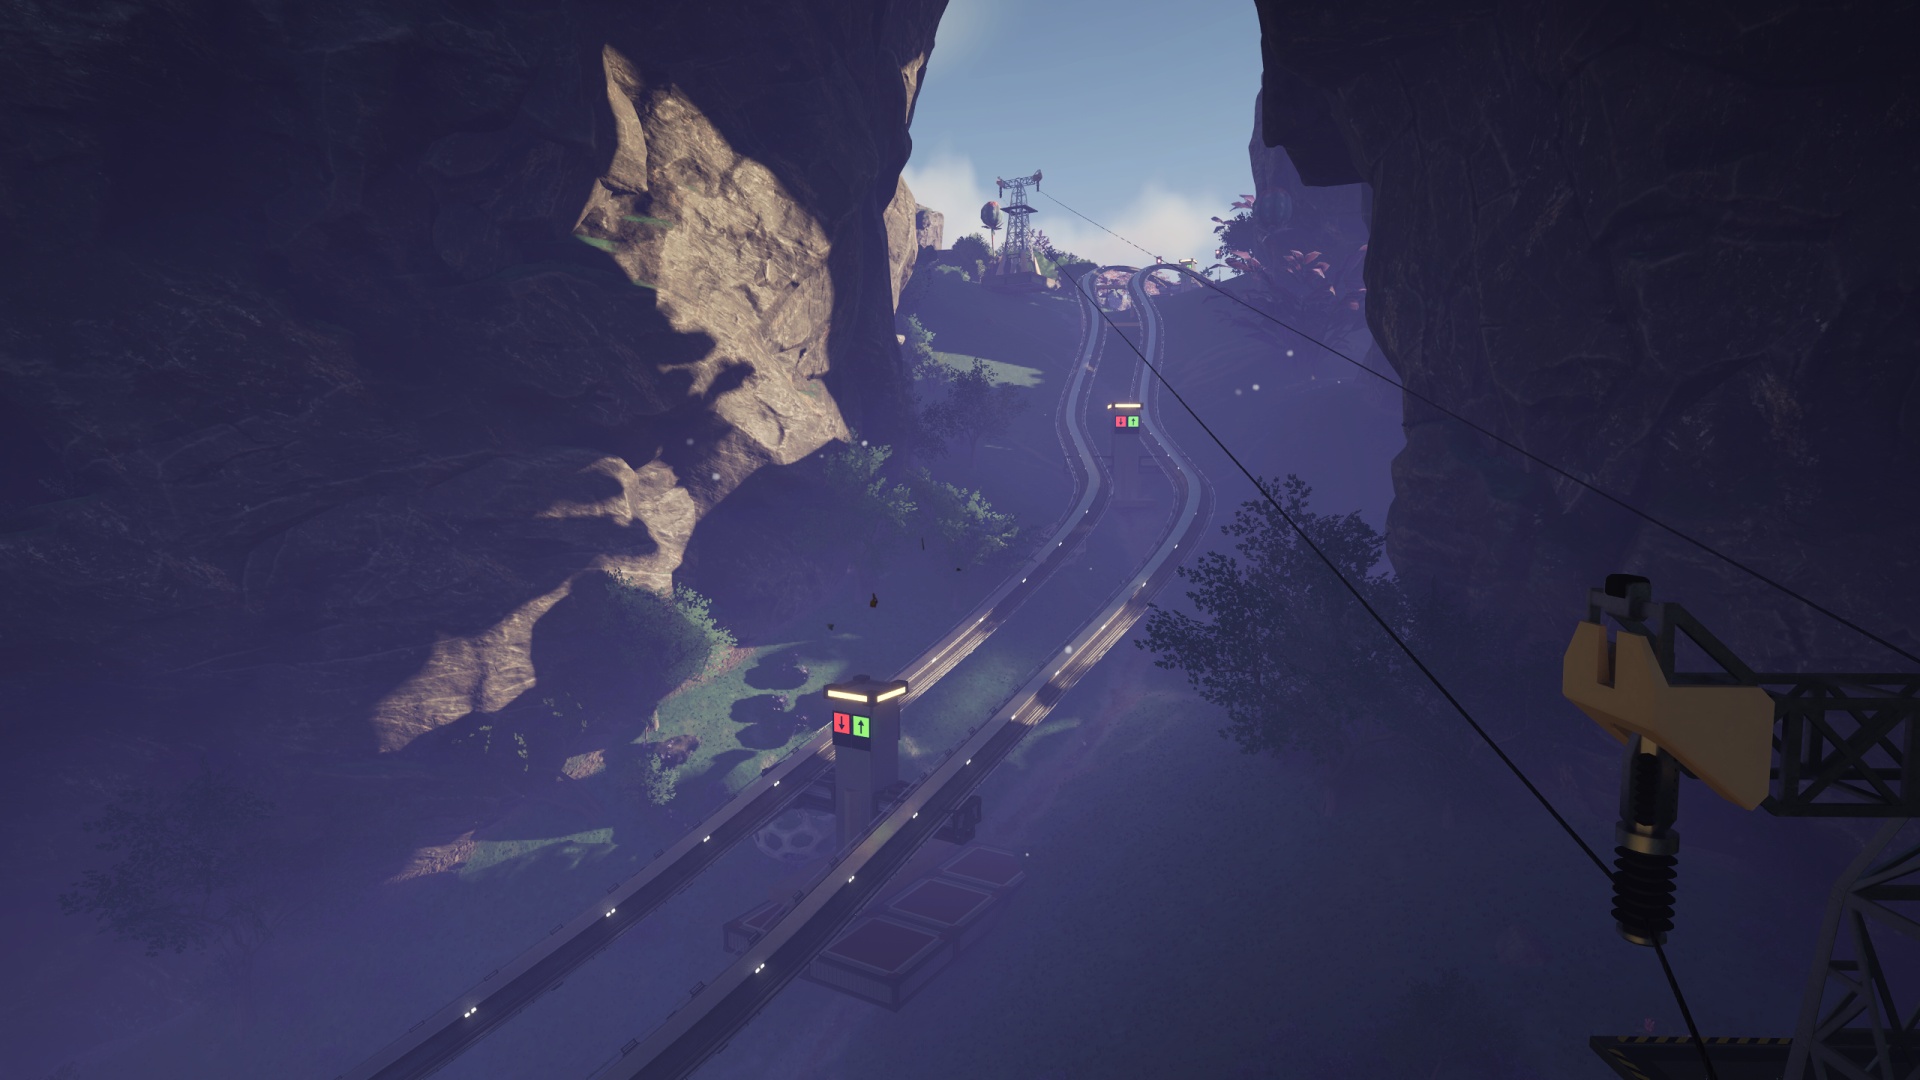
Speaking of support pylons: My current railway blueprint set involves concrete and metal pillars for the support, and Satisfactory has a bit of a quirk about blueprints made entirely from pillars. Which is to say… it refuses to stack them. If you aim a pillar blueprint at the bottom of another pillar it’ll try to make them join at the bottom of each, basically superimposing one over the other, whether or not there’s a foundation tile. So I have to start off to the side along one of the foundation tiles, then lock and nudge into place.
(Every now and then in one of the co-op sessions the pillars will snap properly into vertical position. I wish I knew what made them work sometimes so I could maybe get them to work all the time.)
The reason my main rail support blueprints include two pieces of foundation tile is so I have something to snap the pillar blueprint to, then I can “nudge” it into place. The more vertically placed the blueprint is, the more I have to add foundation tiles to allow snapping the next blueprint down, and so on.
It can get a bit ridiculous.
What’s weirder is that sometimes I’ll “nudge” the blueprint and it goes at a diagonal instead of straight over. I’ll cancel the build then try the process again and it works “normally.” I have no idea what that’s about, and it’s such an edge case that I can’t even bring myself to bother the Q&A site about it.
Luckily this blueprint stacking process goes fairly quick. Even a “tall order” like the support pictured above only took a couple of minutes to complete.
And now for a helpful railroading tip: Path and Block Signal management!
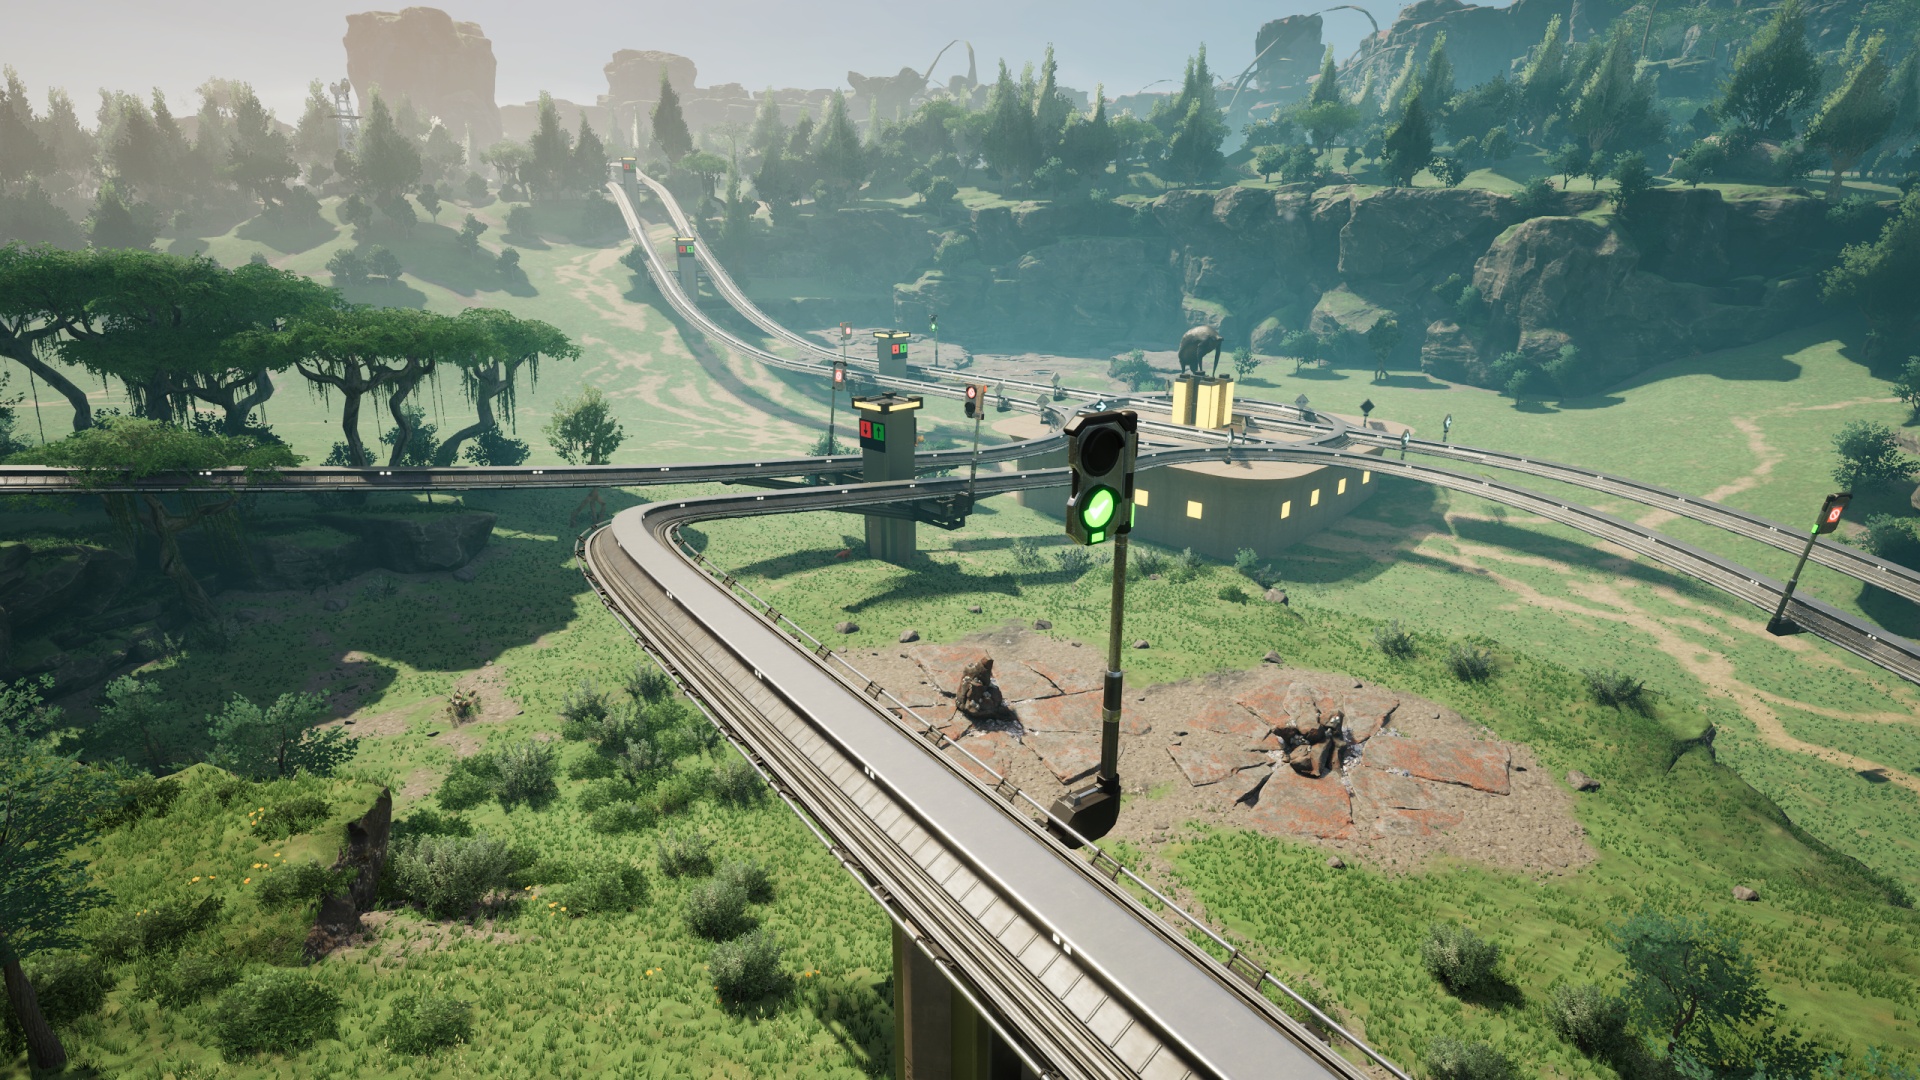
My “flat” dual-carriageway rail blueprint includes a Block Signal in each direction, preventing any situations where I run several kilometers of track and forget to sprinkle some signals in, thus ending up with a single train preventing movement along any part of the run. The flipside of that coin is that one can have too many signals, especially when there are Path Signals leading into junctions along the way.
We’ve discussed how you need to place Path Signals going into any situation where rail pieces crisscross, and you want Block Signals at each exit from those locations. What I haven’t talked about is the run-up to the Path Signals. Here’s the trick: You want to give yourself as much clear run-up as you can. If you have a Block Signal too close before a Path Signal, an approaching train might end up braking needlessly because it can’t “reserve” its way through the crisscross via the Path Signal until it’s on the final block of rail before that Path Signal. (Remember that a “block” is defined as a contiguous length of track demarcated by Signals.)
Or, put another way: The Path Signal doesn’t start to do its job (making sure there’s a clear path through the junction) until a train lands on the block leading up to it.
An approaching train, if it detects a signal in red-light “stop” mode, will apply its brakes at a certain distance away, regardless of block demarcation. And until a Path Signal is activated by there being a train on the “block” leading into it, that signal will always be red.
What this boils down to is that if you want trains from a particular direction going into a junction to get faster, priority routing through that junction, make sure that the “block” between the relevant Path Signal and the previous Block Signal along that length of track is reasonably long. You don’t want to go overboard, otherwise you can create traffic jams further back along the way, but a moderately long lead-in to the Path Signal can speed up the whole process by preventing unnecessary braking of the train engines. This also allows you to tune which entry to a junction gets priority, as whichever Path Signal gets a “customer” first will win. So if you have a major thoroughfare, give it lots of run-up, and make a shorter “block” between Path and Block Signals coming from directions that aren’t as critical to move through the intersection quickly.
Happy railroading, everyone! Next up? Nuclear power. Finally.
- It’s worth noting that I could get a train up to a ludicrous velocity by starting down the almost-impossibly-steep grade westward toward the bottomless pit. I’ll miss that, if nothing else. ↩︎
Leave a Reply