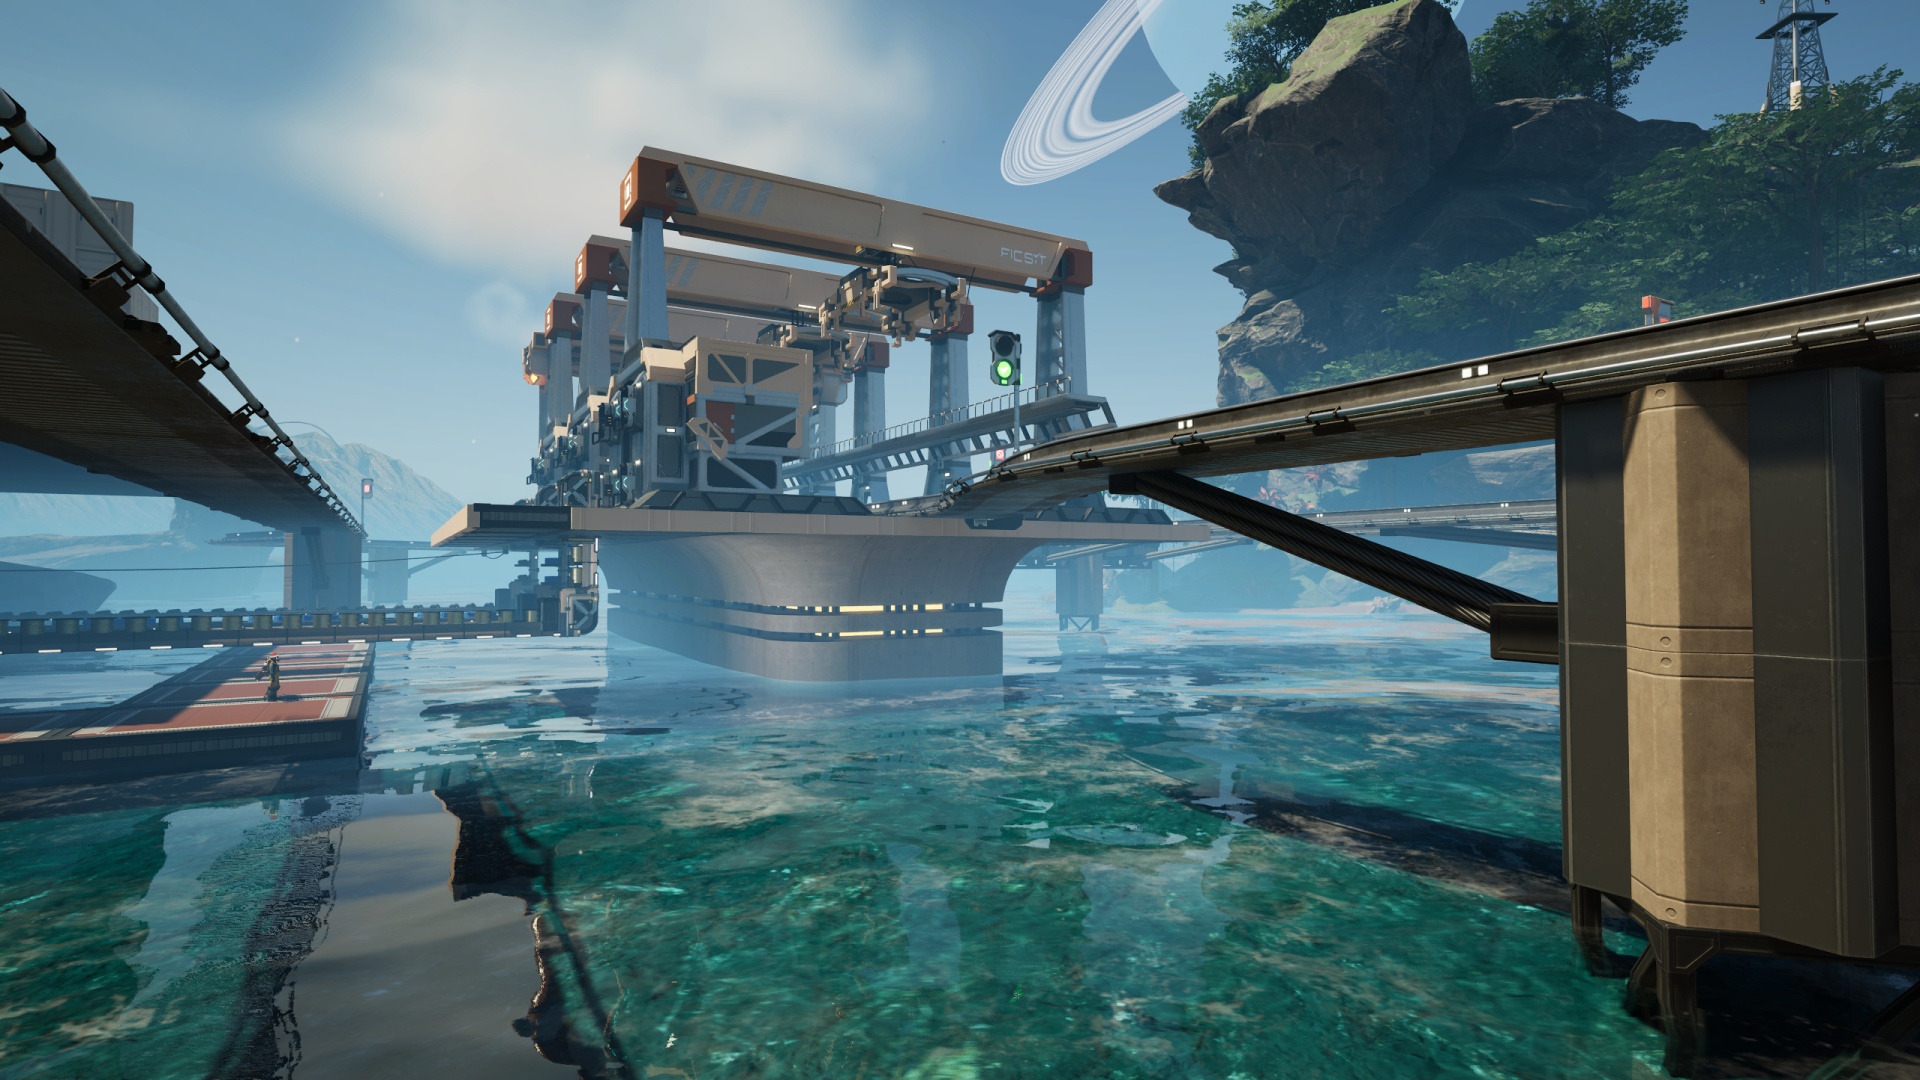
“The ships hung in the sky in much the same way that bricks don’t,” reads a great line from Douglas Adams’ The Hitchhiker’s Guide to the Galaxy. I wonder what he’d have made of Satisfactory, a video game firmly in the realm of science fiction that also doesn’t mind if you pin foundation tiles, pieces of equipment, or even entire megafactories in the air with no physical tether to the world’s surface. And yet, I can’t bring myself to build factories or even run train lines high up in empty air just to avoid the frustrations that come with working on the bumpy, obstacle-strewn chunk of real estate that is our assigned patch of the planet designated MASSAGE-2(A-B)b. Something about leaving things hovering in the air bothers my brain.
Dealing with that can indeed be frustrating, though.
Early in your time with the game, you have two primary means of running your rail lines:
- Follow the curve of the ground. Just, slap those rails right on the rocks and grass and sand in the direction you’re headed.
- Lay out a long, long row of foundation tiles some distance above ground level and run the railway along that. No need to worry about how high up you go, just use ramps to change elevation as needed, but nothing’s actually stopping you from building an entire “sky train” network if you want.
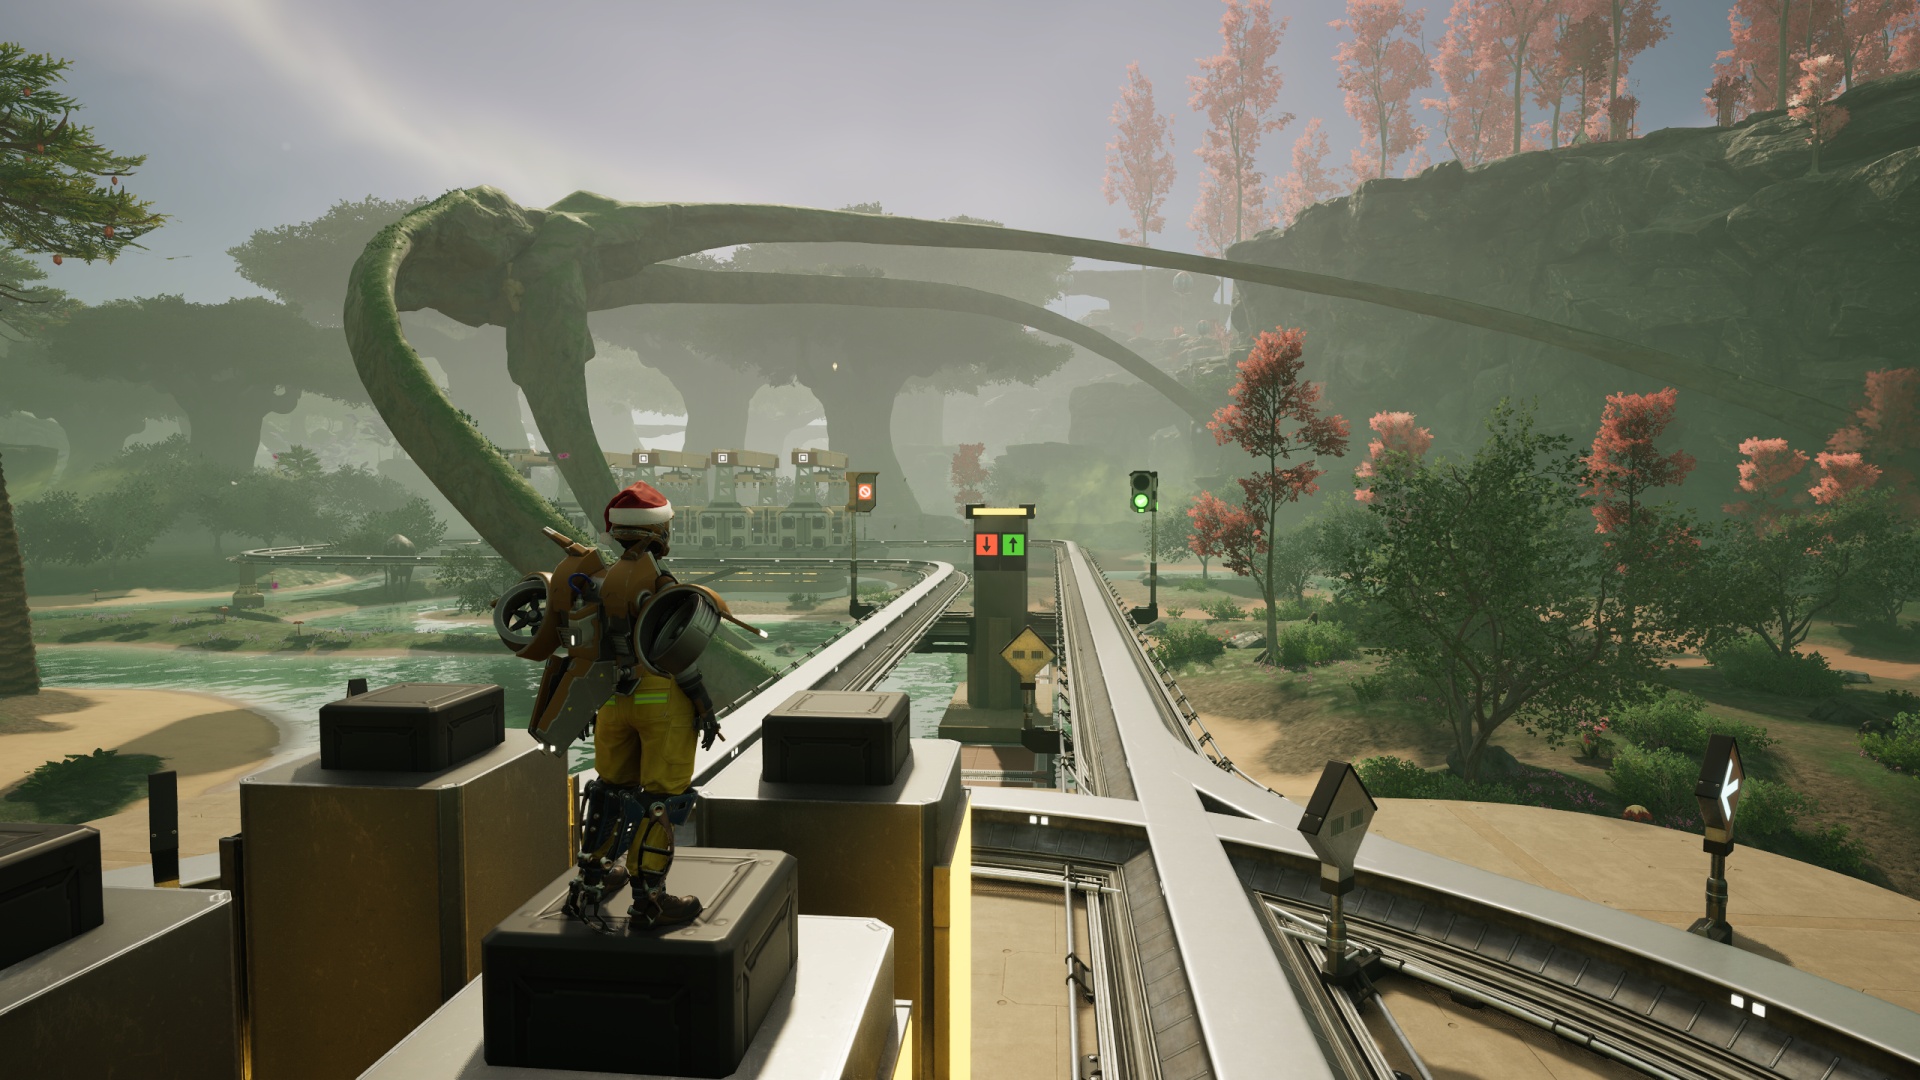
I started out doing a lot of that second option, very little of the first. For whatever reason, however, I enjoy train travel in the game more when it’s down in and around the terrain features of the game. (But… not directly on the ground. It should be supported by something.) I’m happiest when I can thread the needle of getting a dual-carriageway rail line through trees and cliffs and rocky outcrops. Maybe this is the closest I’ll ever get to actually enjoying a roller-coaster ride. Who knows?
Nowadays I have access to blueprints. This allows me to follow my dreams with… relative ease. The terrain features don’t get any less frustrating to navigate through, of course.
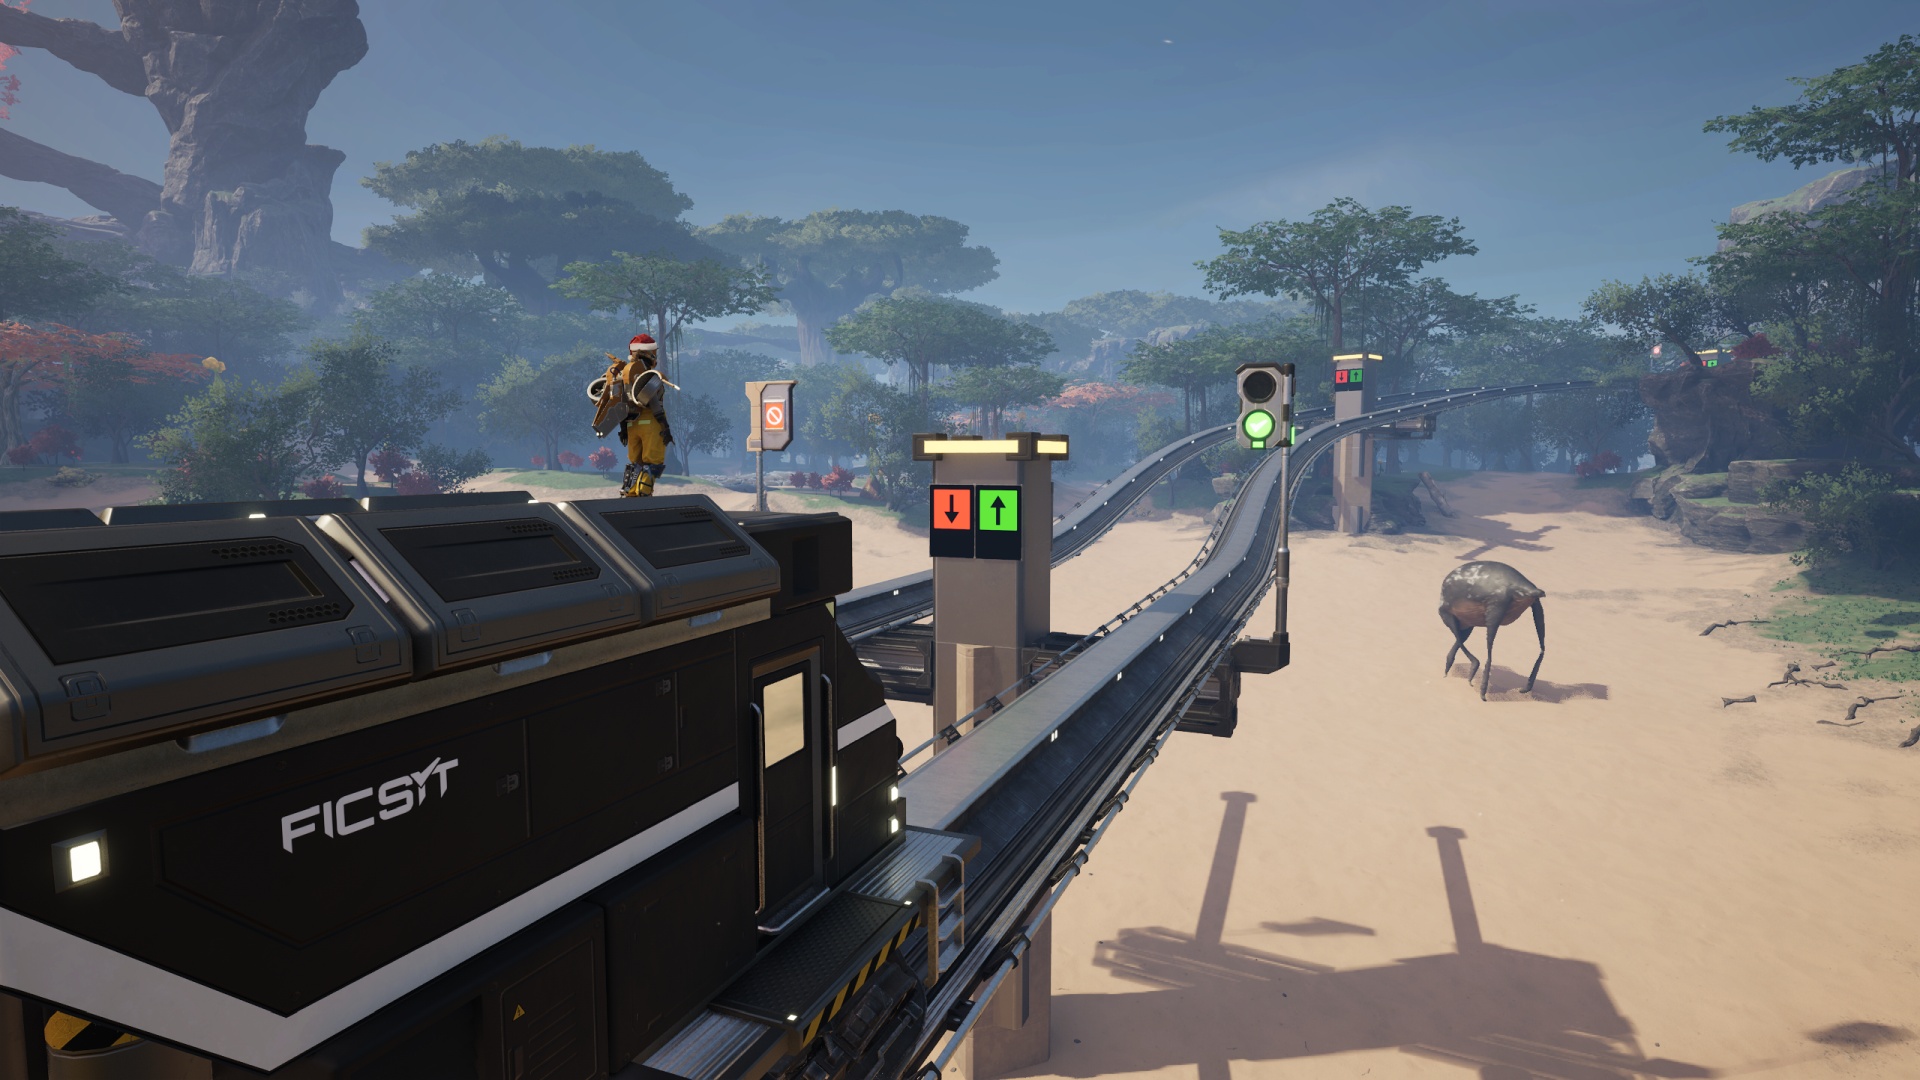
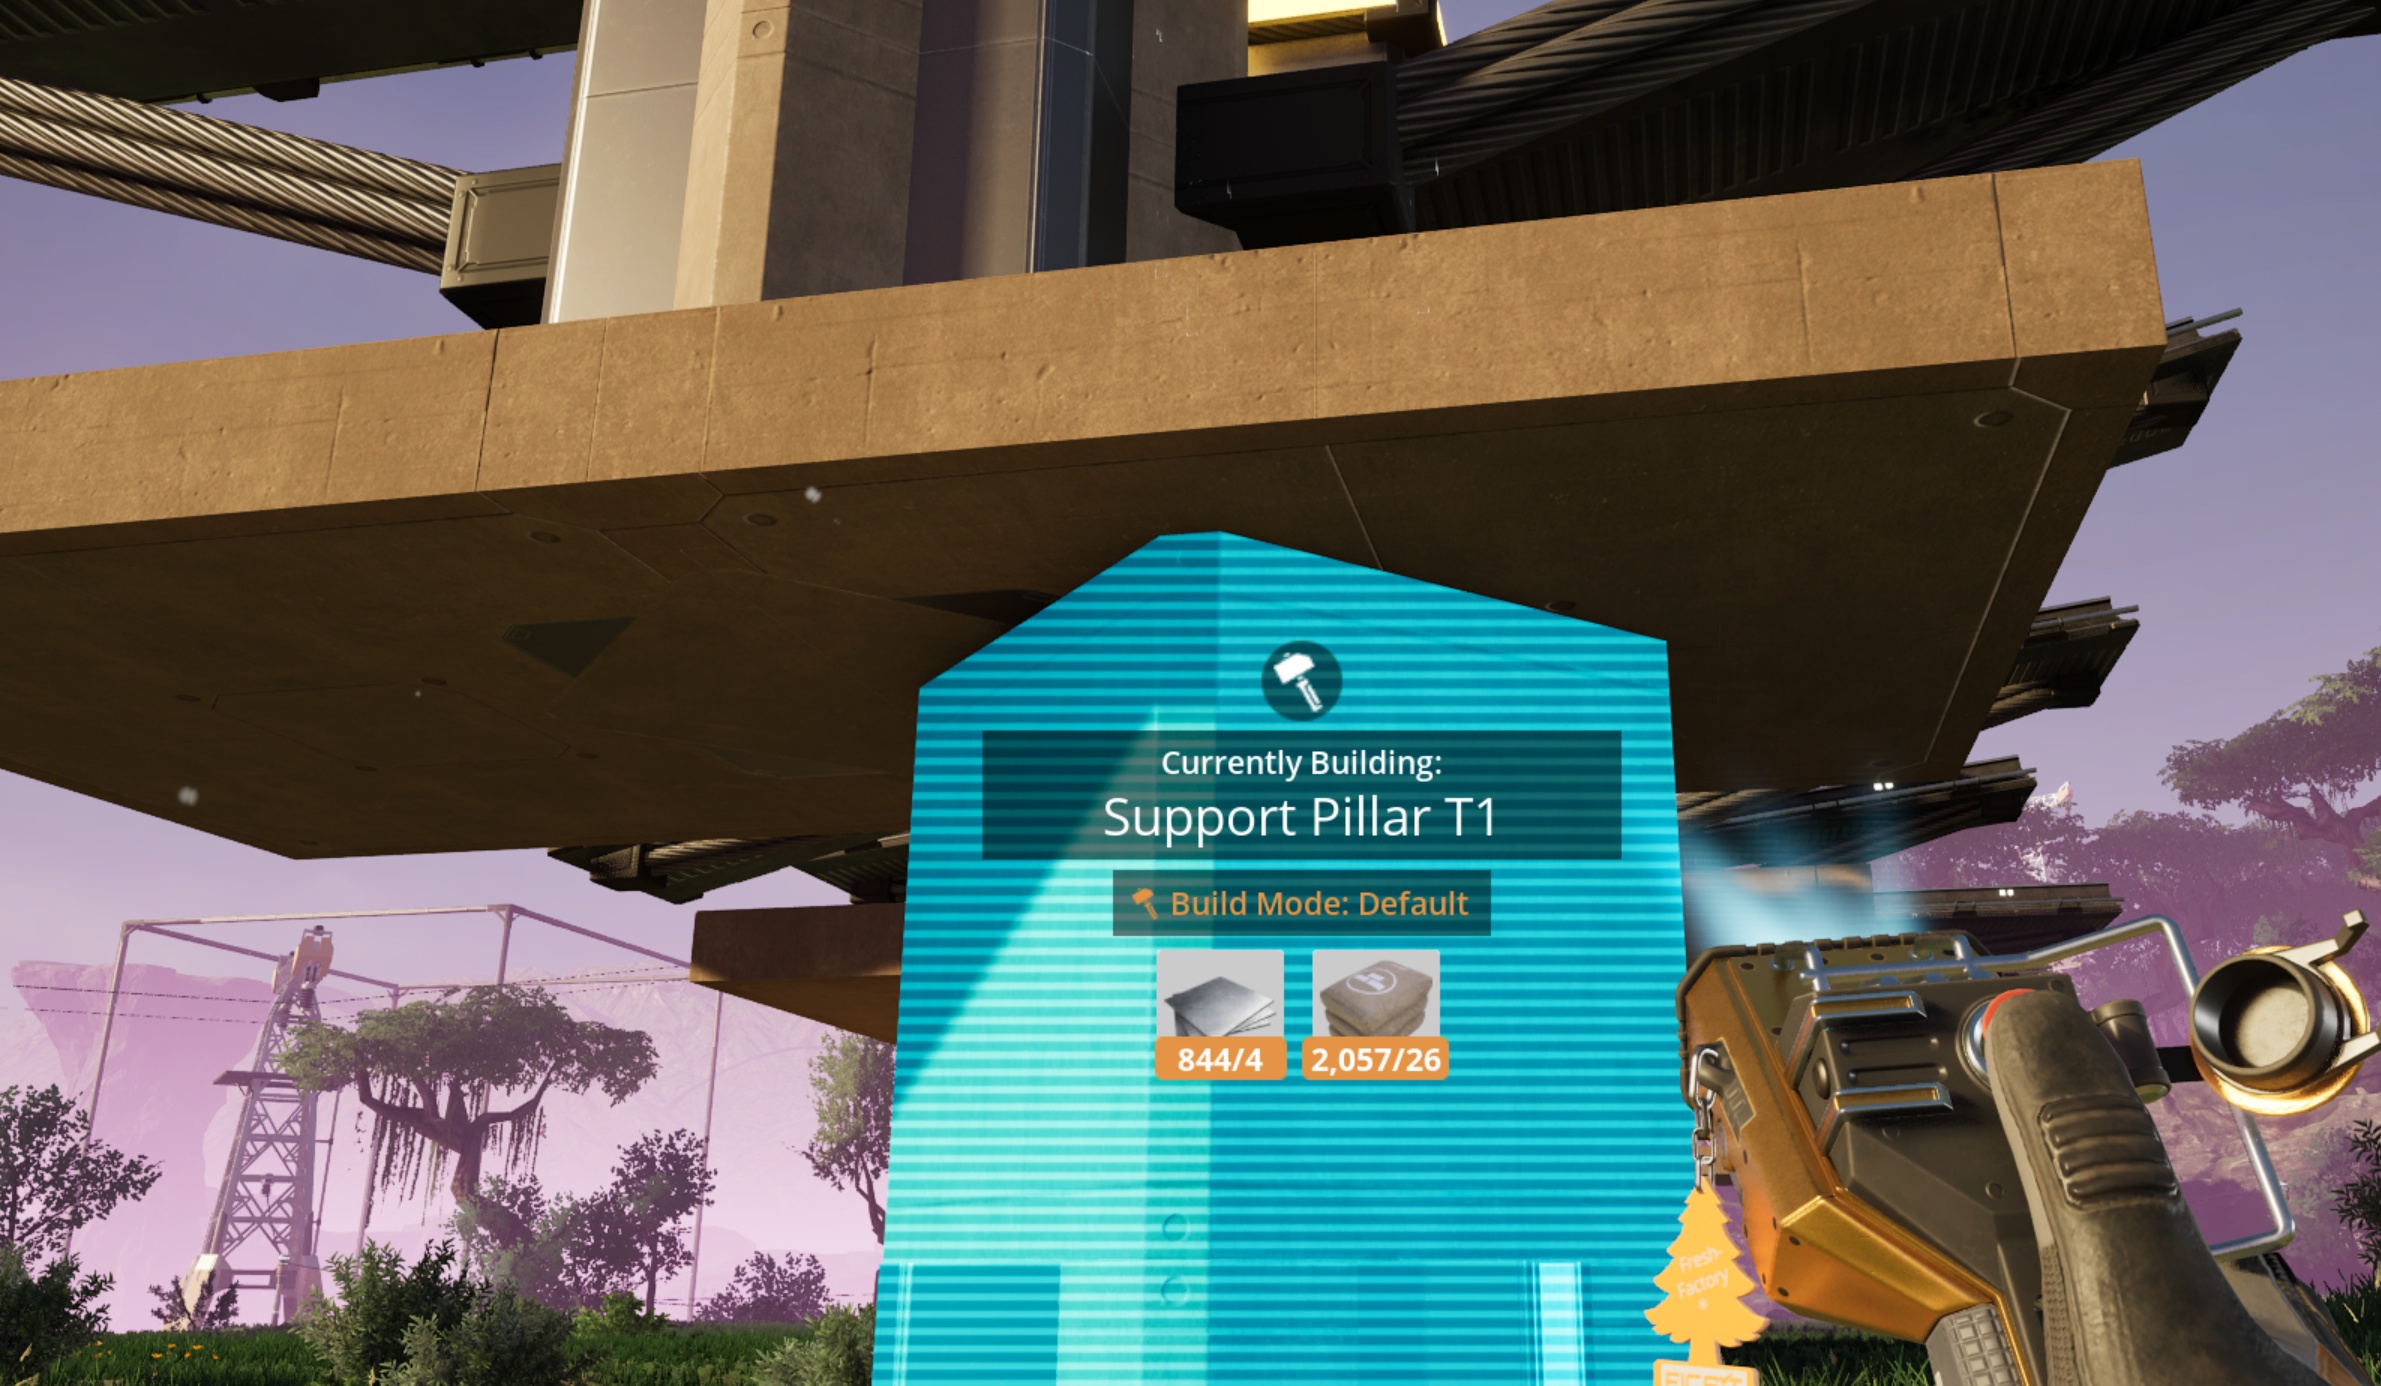
Some folks use blueprints to create entire end-to-end roadbed structures with rails on them. This is certainly the best way to add realism to the look of your train network! The amount of blueprinted segments needed to pull it off is daunting, however, and involves a lot more fussy fiddly work than even I would ever feel like putting in. My option is instead to build support pillars between which I run connecting lengths of rail, then attach those pillars to the ground. These main supports come in flat, shallow angle, and steeper angle options.
(I also recently had to cobble together an “extreme steepness” piece of scaffolding made from painted beams to solve a particularly obnoxious elevation change situation. I’m not showing that one. It’s ugly.)
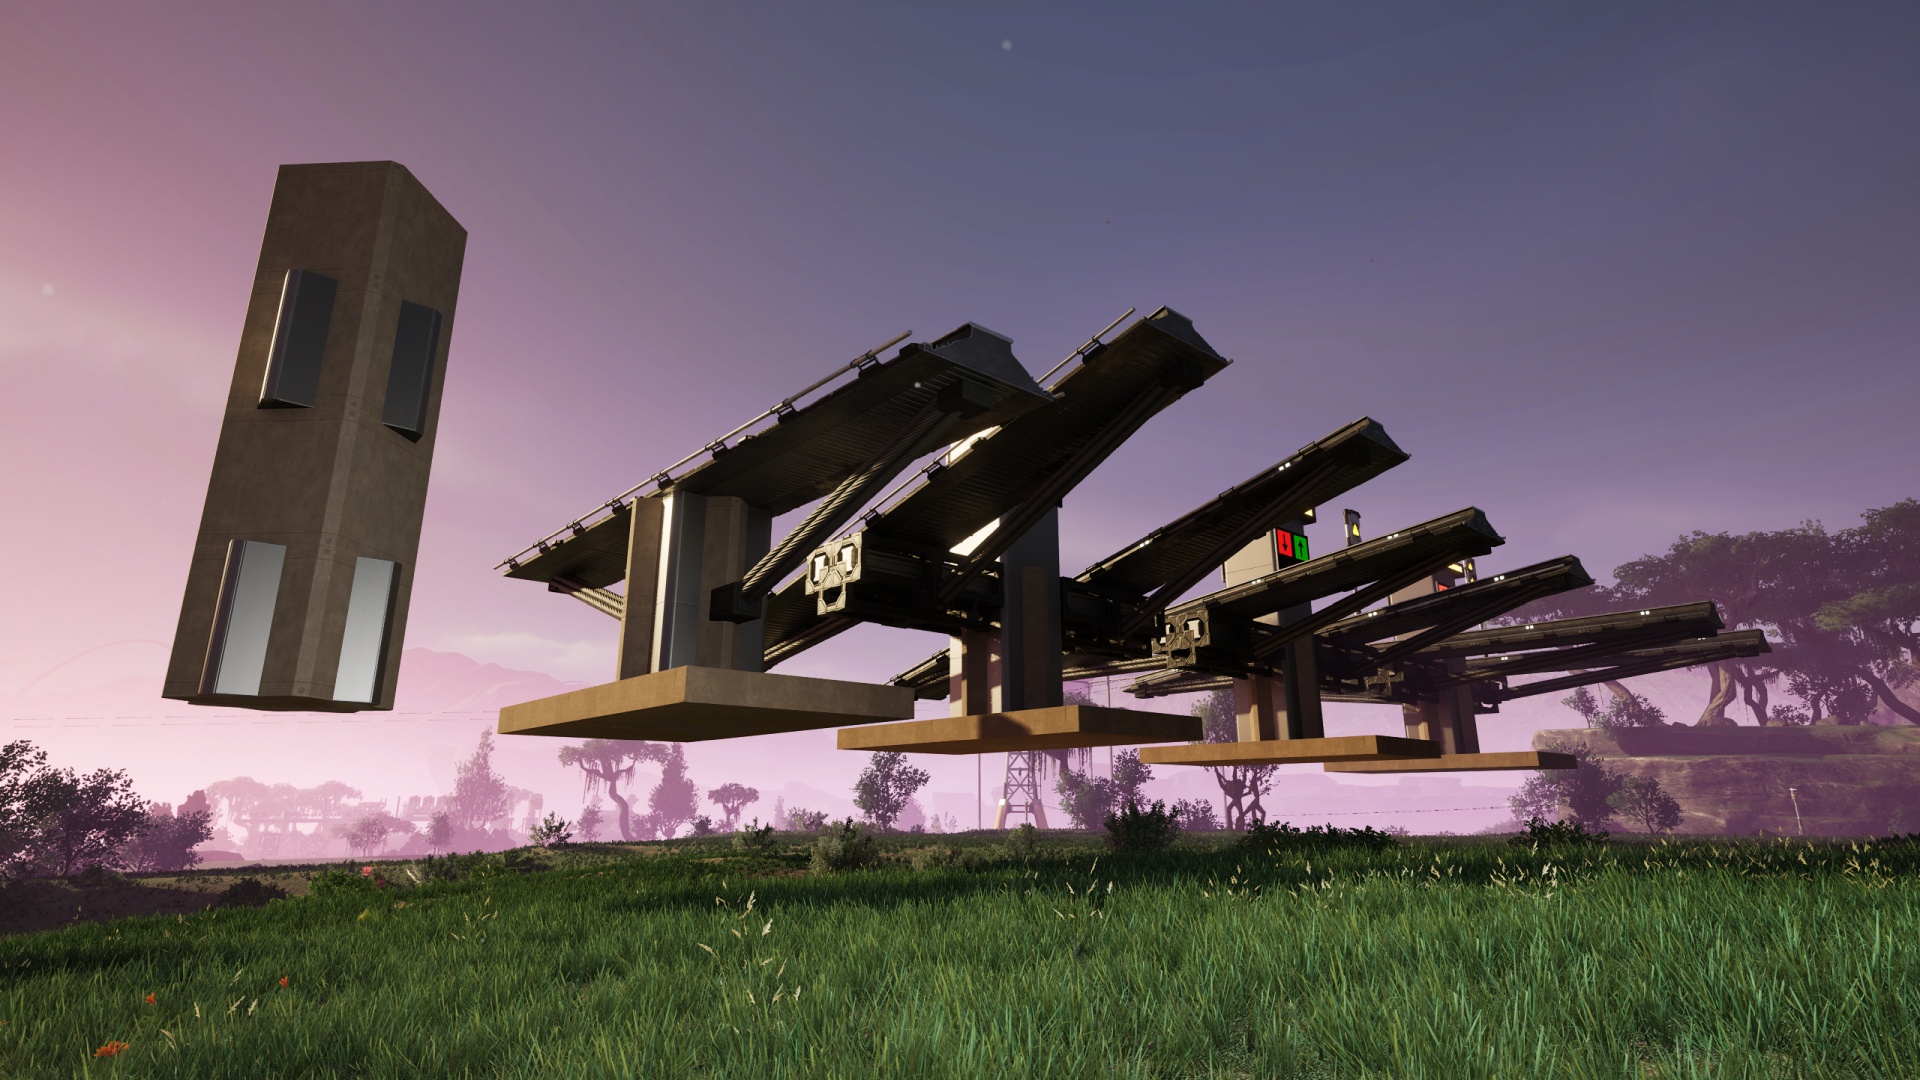
The support blueprints include foundation tiles at the bottom as something to connect the “rest of the way to the ground” pillar to, as you can’t snap a blueprint to the bottom of pillars, only to the bottom of foundations. Once the pillar’s placed I simply remove the vestigial foundation tiles.
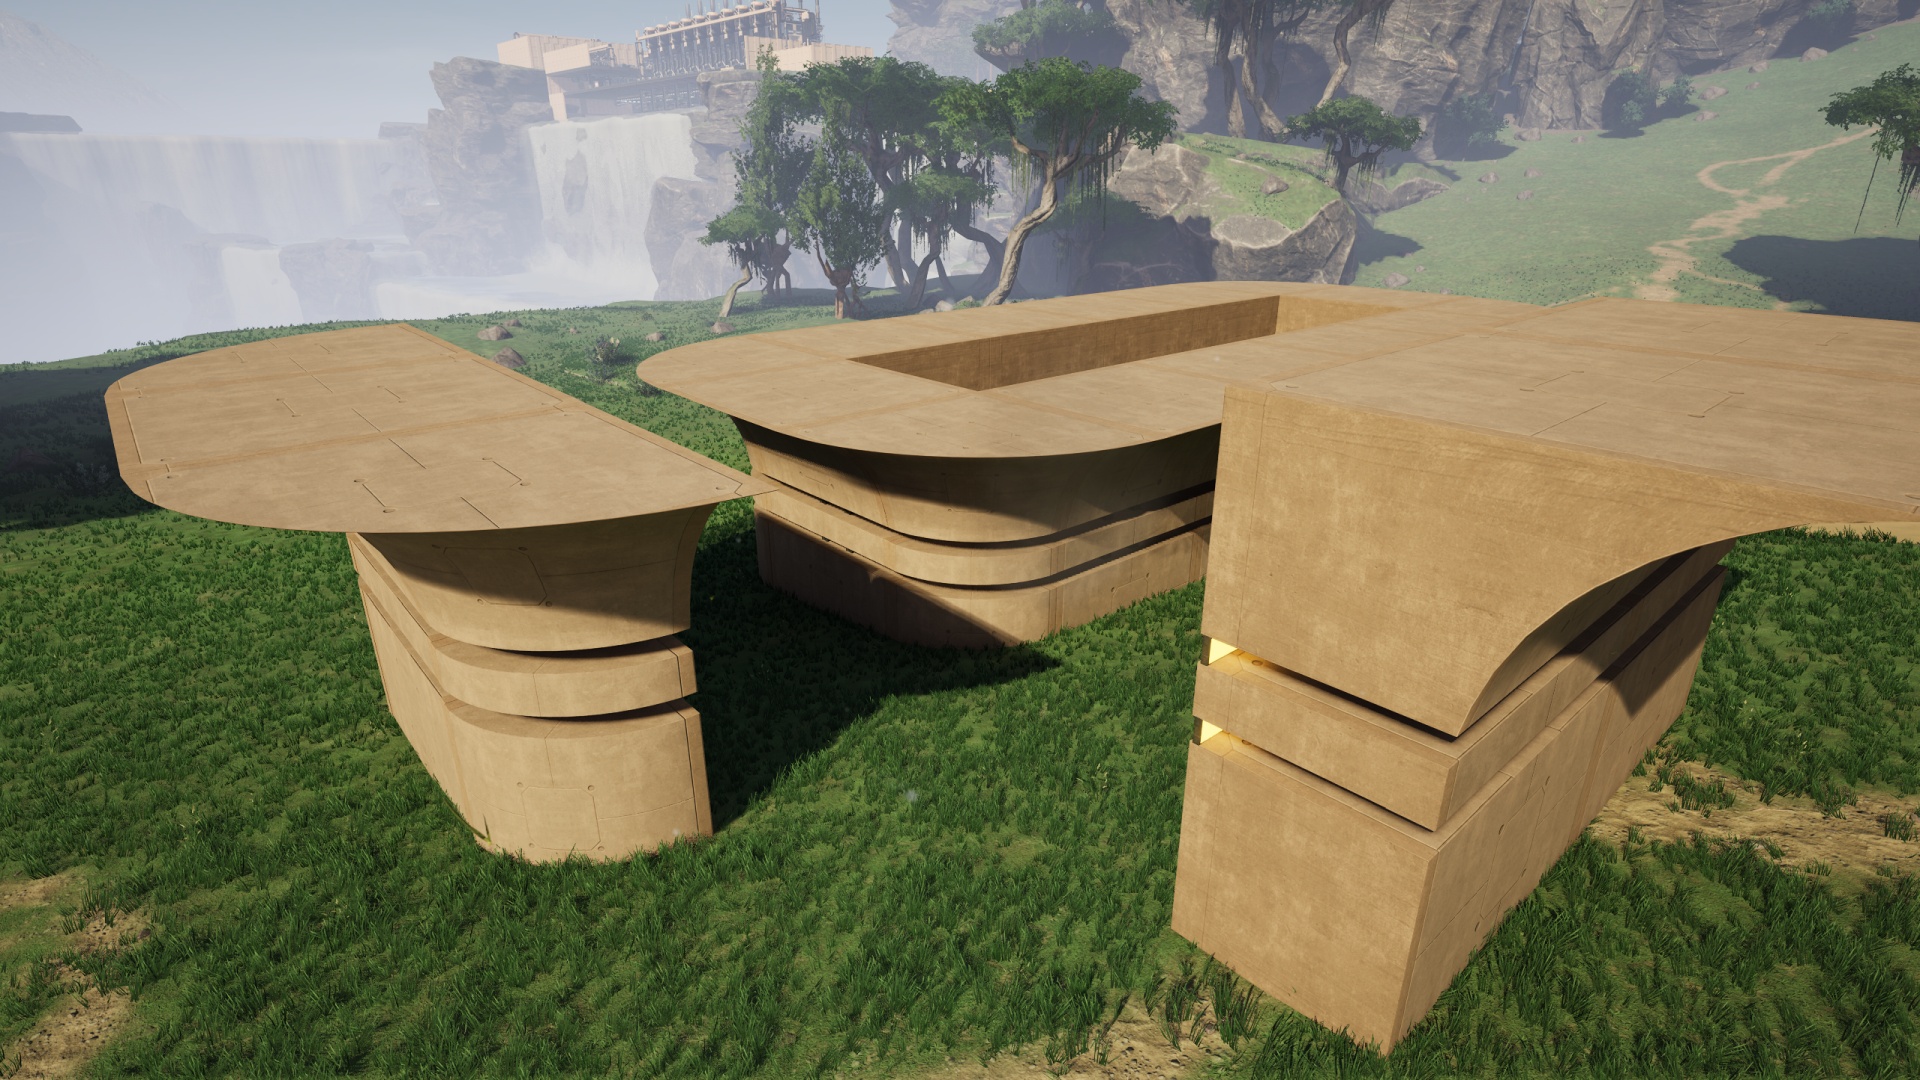
Speaking of snapping blueprints to foundation tiles, I finally figured out a way to “ground” my railway stations in a far less tedious fashion than I used to. For a couple of years I simply ran steel framework pieces between the foundations supporting the train station and the ground below. It accomplished the basic goal but lacked anything resembling design flair. This, however, works marvelously:
It’s just two pieces, an “end cap” for the front and back of the station site that’s three tiles wide and one deep, then a “side” piece that fills in the spaces two tiles at a time between the end caps on left and right. As a train station will always be an even number of tiles long (the station terminal and all loading platforms cover two foundation tiles of length) this “two end caps, everything else side pieces” setup works like a charm. If I still need to “reach the ground” I can extend the various lowermost piece selections downward as needed around the structure.
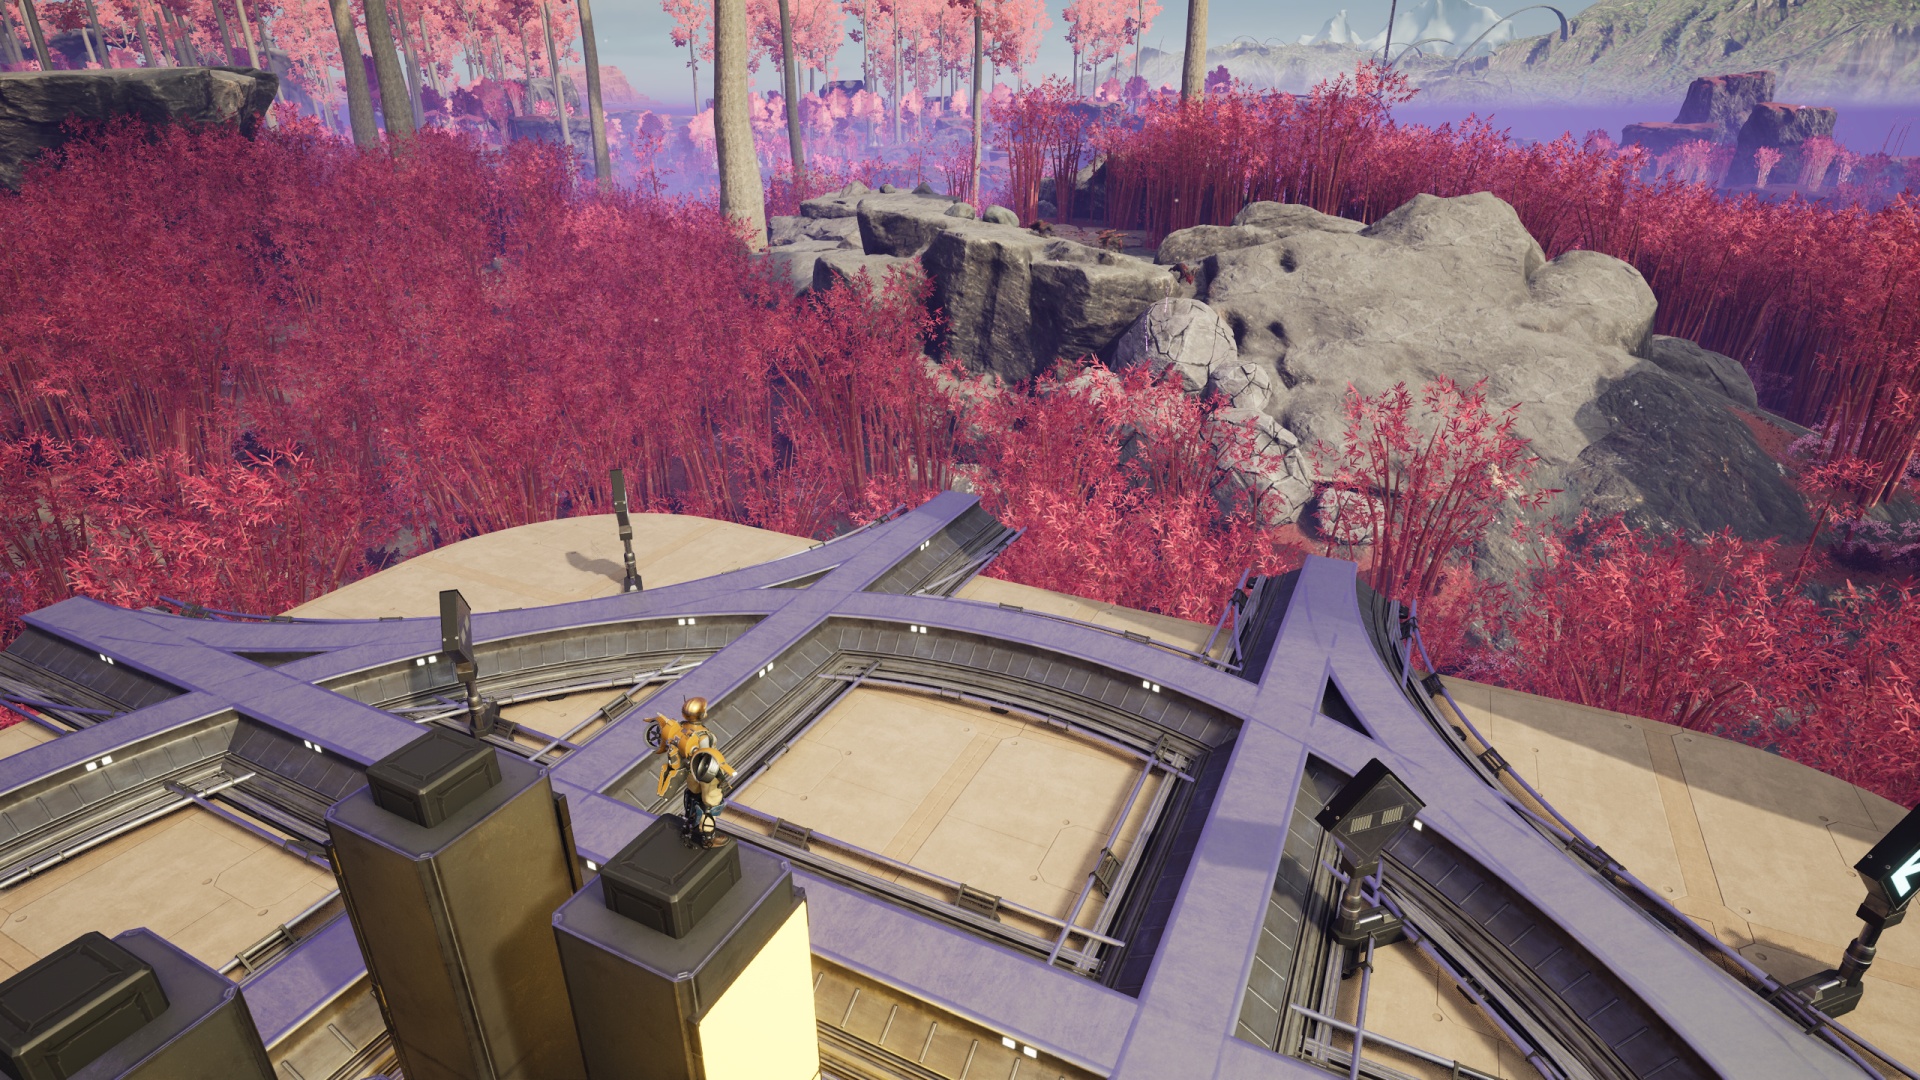
And yes, the design I’m using for the roundabout/junction sections you’ve seen in previous posts uses the same basic styling as these new train station pieces, though that’s an earlier iteration. I might go back and update those for this new look. I’m quite pleased with the embedded lighting and steel pillars in this setup. Not that I think the sectional roundabout blueprint came out badly!
Maybe this approach isn’t for you, however. If you want to see a great example of a “skytrain” approach that leans heavily into the sci-fi aspect of the game setting, check out this amazing factory tour video. It’s absolutely marvelous and is chock full of ideas… that I’ll probably never get around to experimenting with…