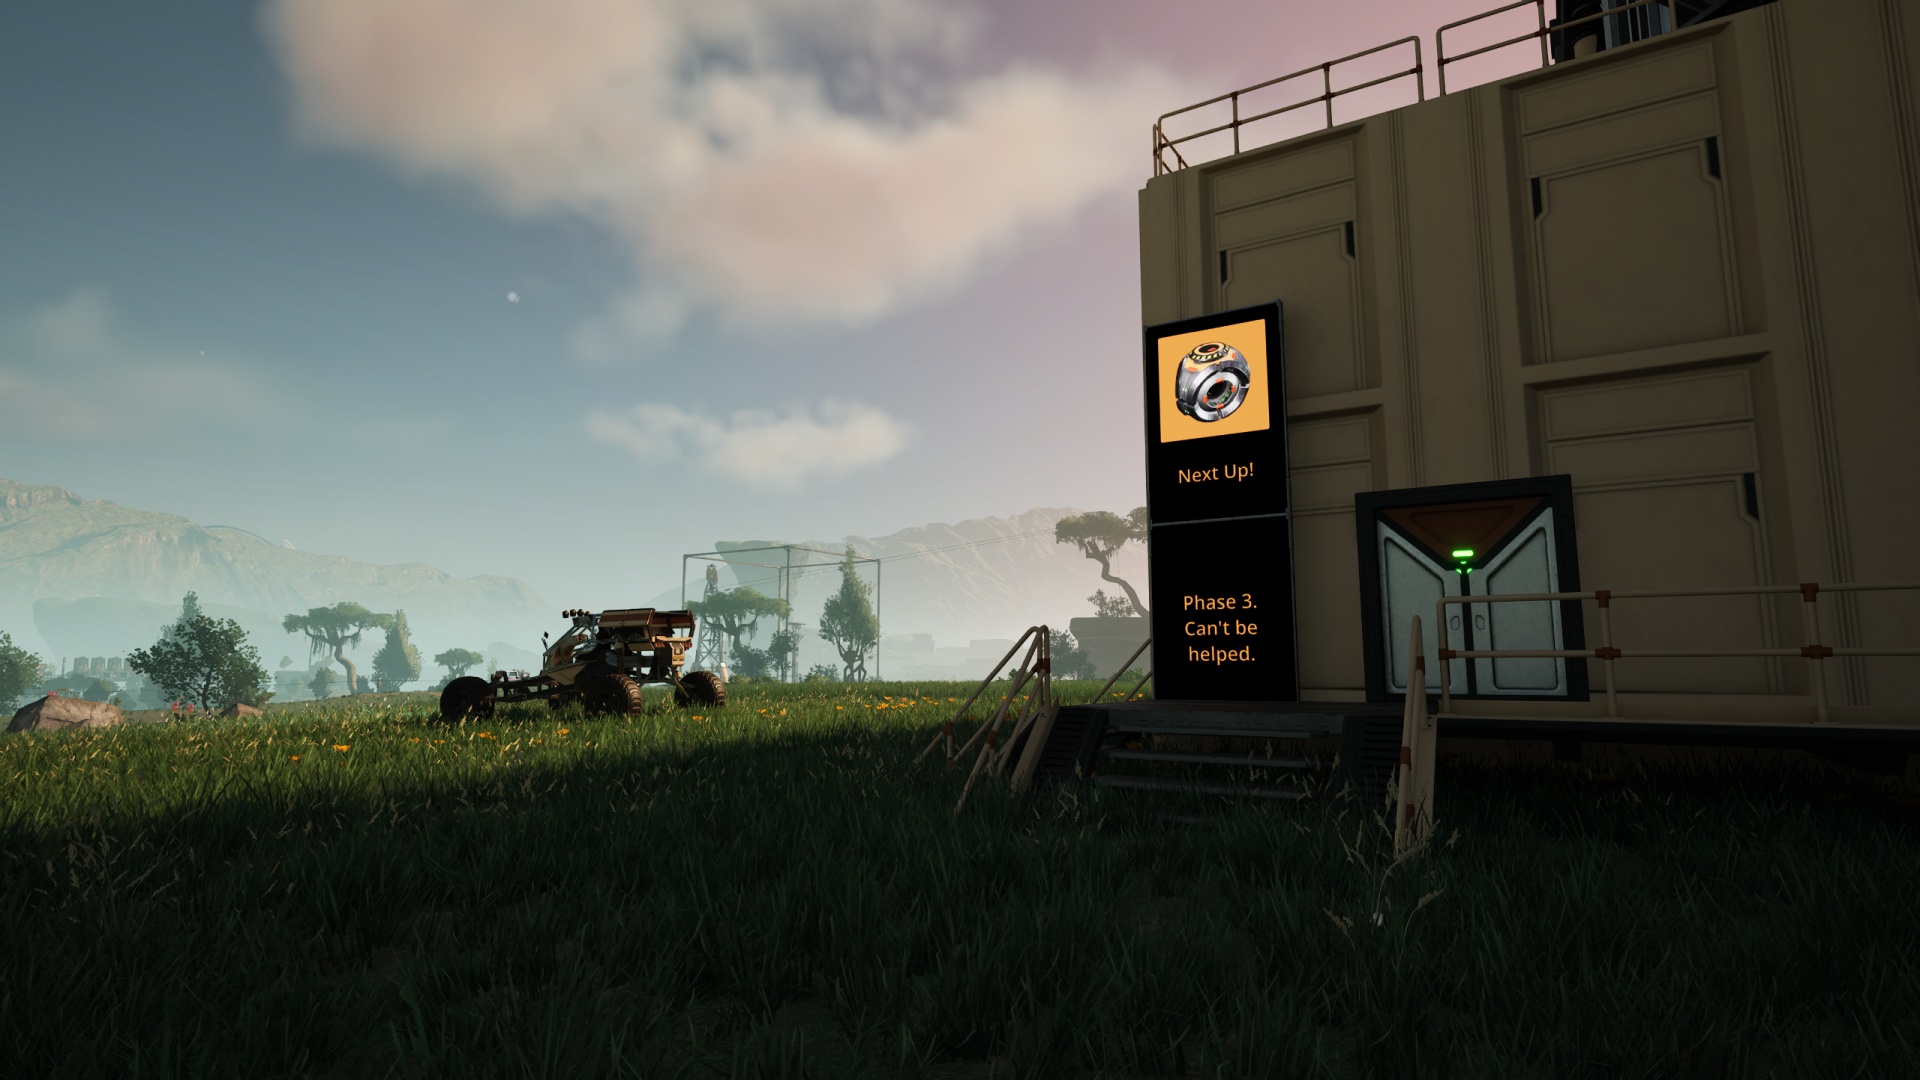

When you break past the point of sending the Phase 3 shipment up the Space Elevator in 2024’s Golden Joystick Award Game-of-the-Year-winning Satisfactory, what you’ve mainly done is unlocked the twin titans of the mid-to-late game: Aluminum and Uranium. I have a couple of posts about nuclear power in the archives, and yes I’ll need to revisit that topic at some point because things have changed with the advent of Version One Point Oh. Today, however, I want to talk about waste water reclamation, a key part of the Aluminum production process.
Let’s get into it.
The clever folks at Coffee Stain Studios waited until you’re solidly into the “mid-to-late-game” stage before hitting you with a whole new problem: You can’t “sink” water. Which is to say, there’s no way to feed fluids into the Awesome Sink as a convenient method of dealing with the waste output from a Refinery or other machine. It’s possible to package the water (or other fluid) and then “sink” those packages, but there are two key problems with that idea:
- Now you have to provide materials for a Packager and get the canisters to your Aluminum production site. More complexity is not what an Aluminum factory really needs.
- There’s a better use for that “waste” water, since the first stage of Aluminum production requires water anyway. So why pump more water out of your source than you need to?
So, just recycle the waste water from the 2nd refining stage into the 1st stage’s refining equipment. Easy, right?

Waste fluid recycling is absolutely the thing I’ve seen frustrate the most players on Discord servers and on social media. You can try to use valves to limit how much source water enters the system but valves are… weird. Inevitably someone’s aluminum (or batteries or whatever) site will simply stop working because waste fluids aren’t being consumed as the player expected. Heck, it’s happened to me a bunch of times over the years… until I got the hang of what is termed the “Variable Input Priority” pipe arrangement.
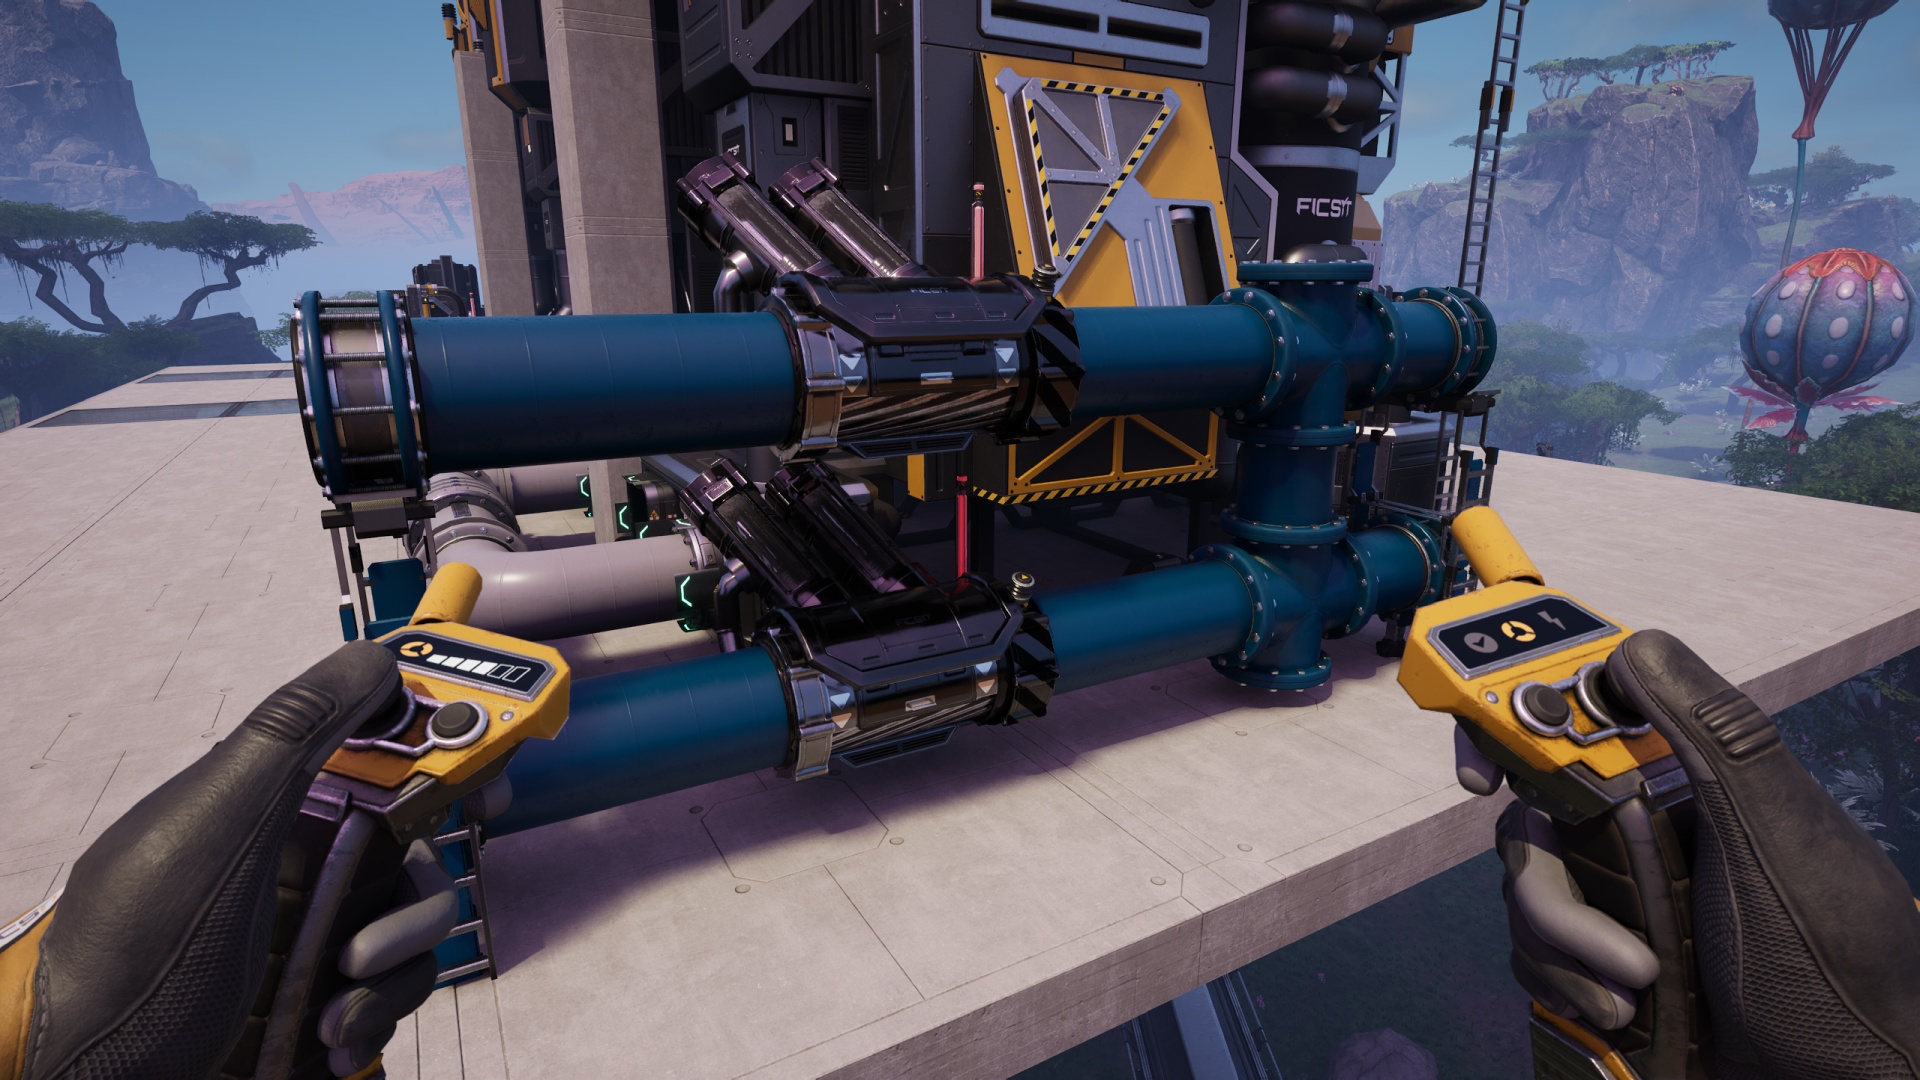
In short, what you do is place one length of pipe above another length of pipe, joined by cross fittings, and mount pumps just before the cross fittings both above and below, thus “forcing” the water from both upper and lower pipes to go through the intersection at max speed, with the trick being that the lowermost pipe will be prioritized due to… whatever the physics in the game is doing to the fluids. So the lowermost input is where you direct your waste fluid and the uppermost where you direct your “new” sourced fluid. Your waste fluid pipeline never gets backed up (thus halting production), and the machines which want all that fluid are never thirsty (provided you’re making up the difference with sufficient quantity of fresh sourced material).
Let’s build one!
Start by finding a sensible location with enough room for all of this. If you have an area roughly 4 foundation tiles long with nothing else using any of that space, that’s probably sufficient. Make sure you’ll be able to effectively route both fluid sources to where the inputs go, and of course the build’s exit should be conveniently located to the inputs which are waiting for their fluids.
Place basic Pipeline Supports 2 foundation tiles apart, then on the same spots also place one Stackable Conveyor Pole each. On top of those, place Stackable Pipeline Supports.
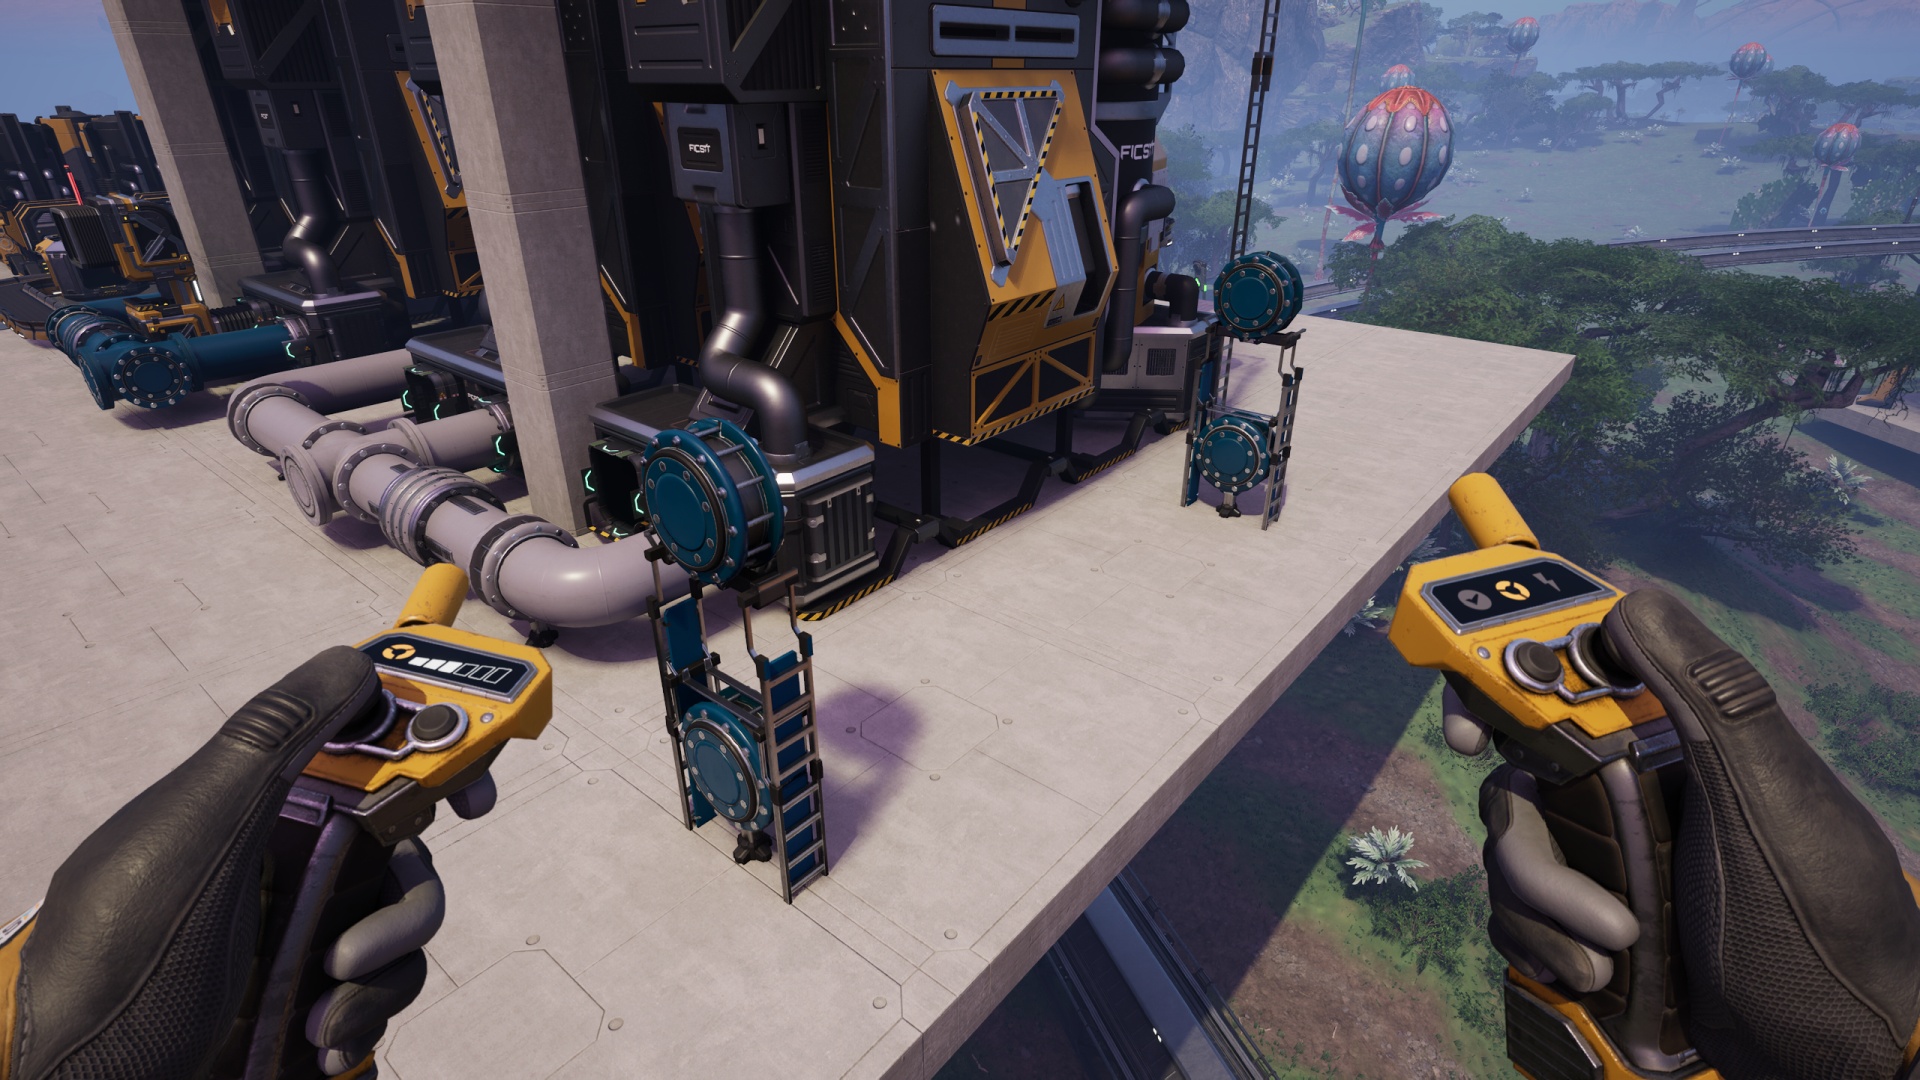
Join the upper and lower pipeline supports with pipes. Then, near (but not directly up against) the “exit” end of each pipe, place a Pipeline Junction (the crossways pipe fitting) and rotate it (use the mouse wheel while it’s in “hologram” mode) so you can create a vertical link between the two pipes later. Try to align them as best you can to one another.
Please take note that at no point in any pipe-related build do you want to place anything (junction, pump, valve, etc) too close to a Pipeline Support or Junction! Making too small of a pipe segment by “chopping” them up this way can do very weird things in the game. Hopefully you won’t have to remember to thank yourself later because you won’t waste any future game time tracking down which tiny chunk of vestigial pipe is causing your fluids problem.
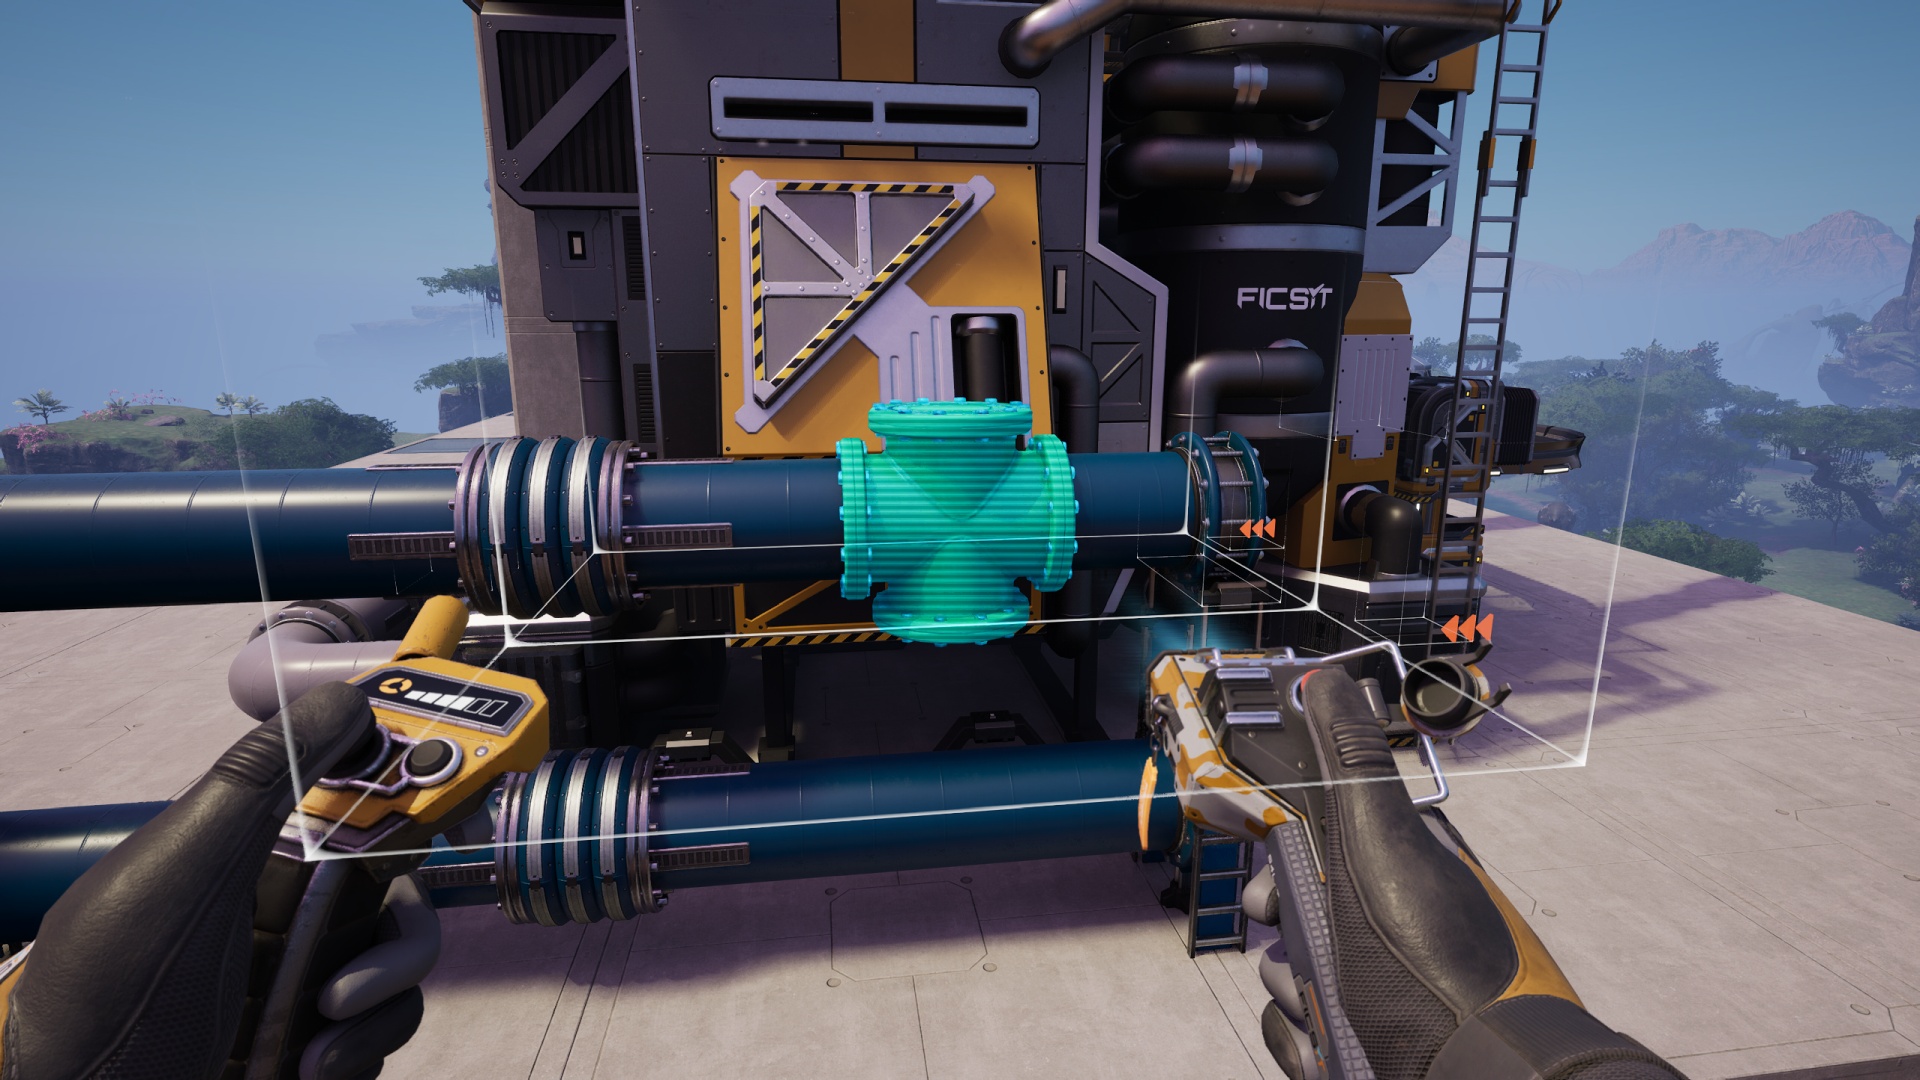
Anyway: Now join the upper and lower junctions with a pipe segment.
Add a Pipeline Pump Mk1 to the upper and lower pipe segments behind the junctions, roughly midway along the length, making sure that the output flow is pointed in the correct direction for each of them.
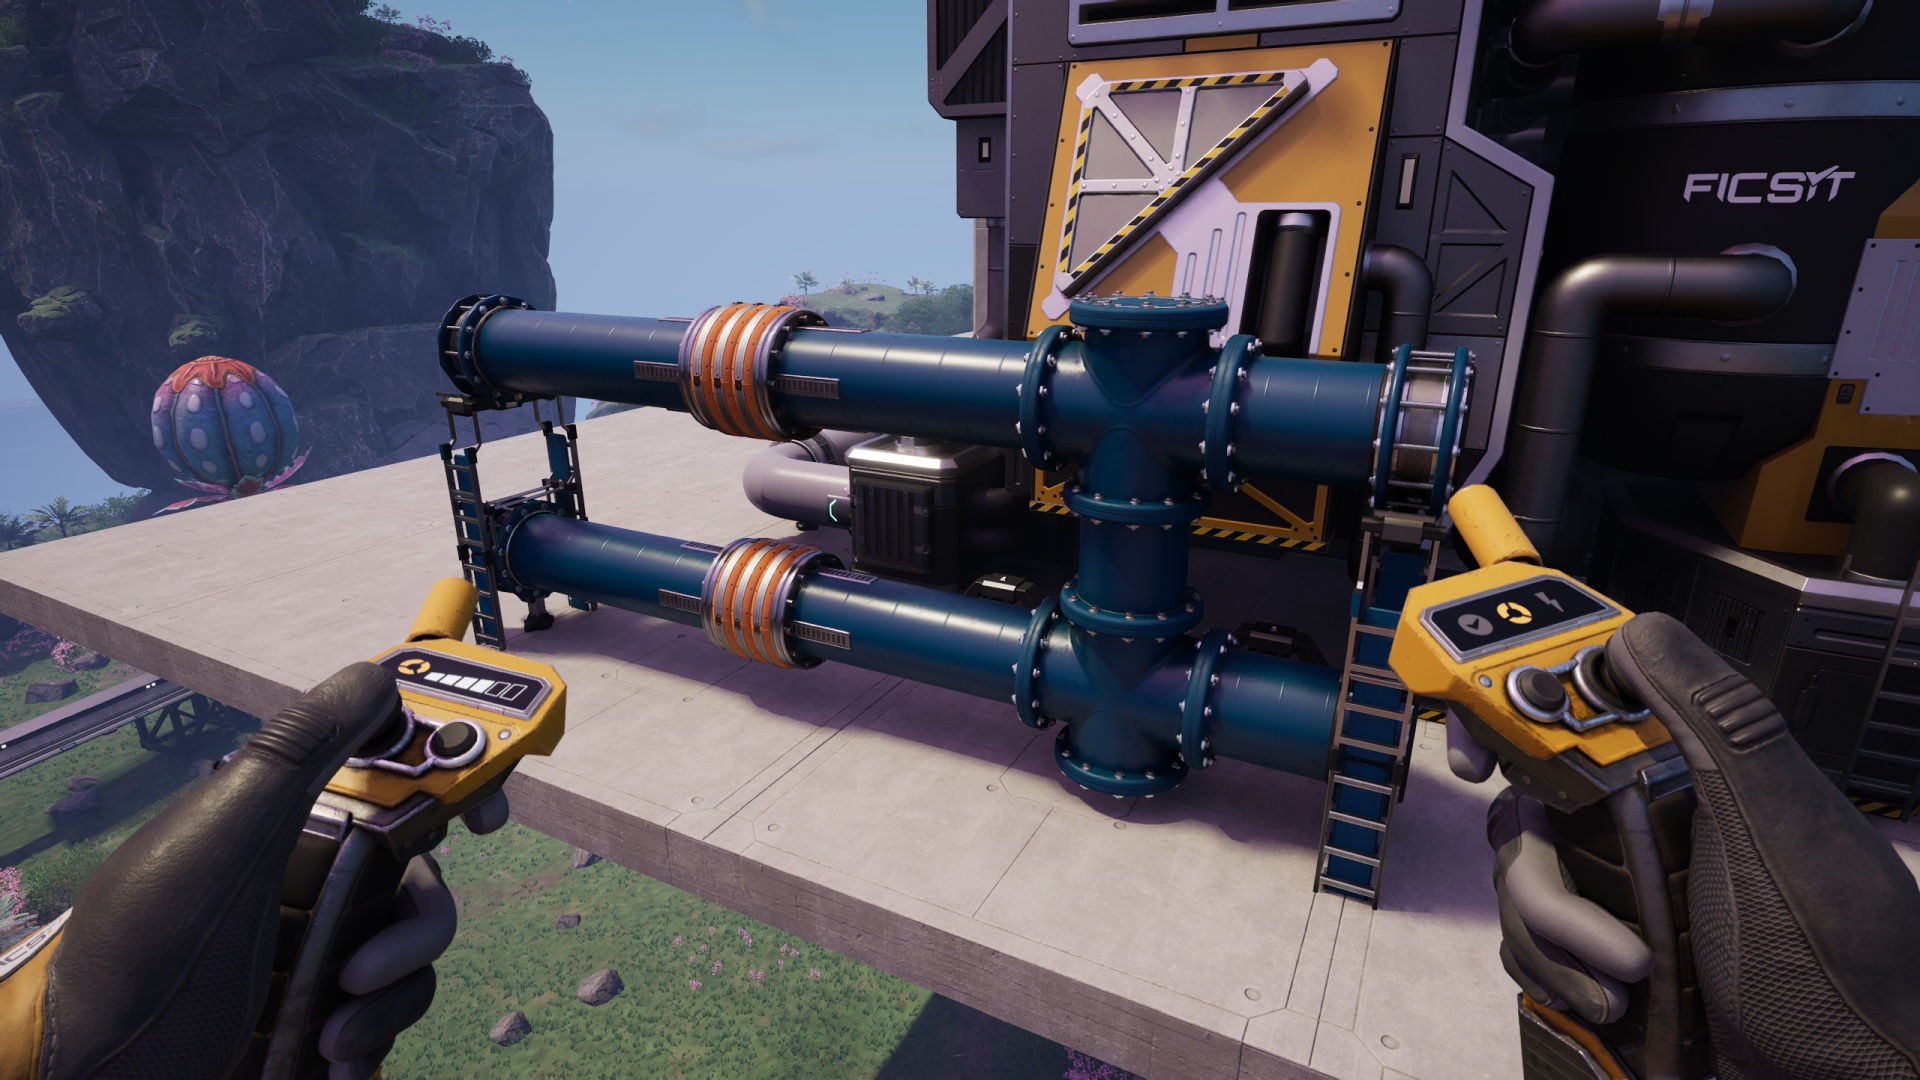
You no longer need the upper “exit” support structure, so remove the stackable elements and the unneeded leftover bit of pipeline from the output end of the build. This step isn’t technically required, but I recommend taking any opportunity to reduce fluid slosh (“backflow”).
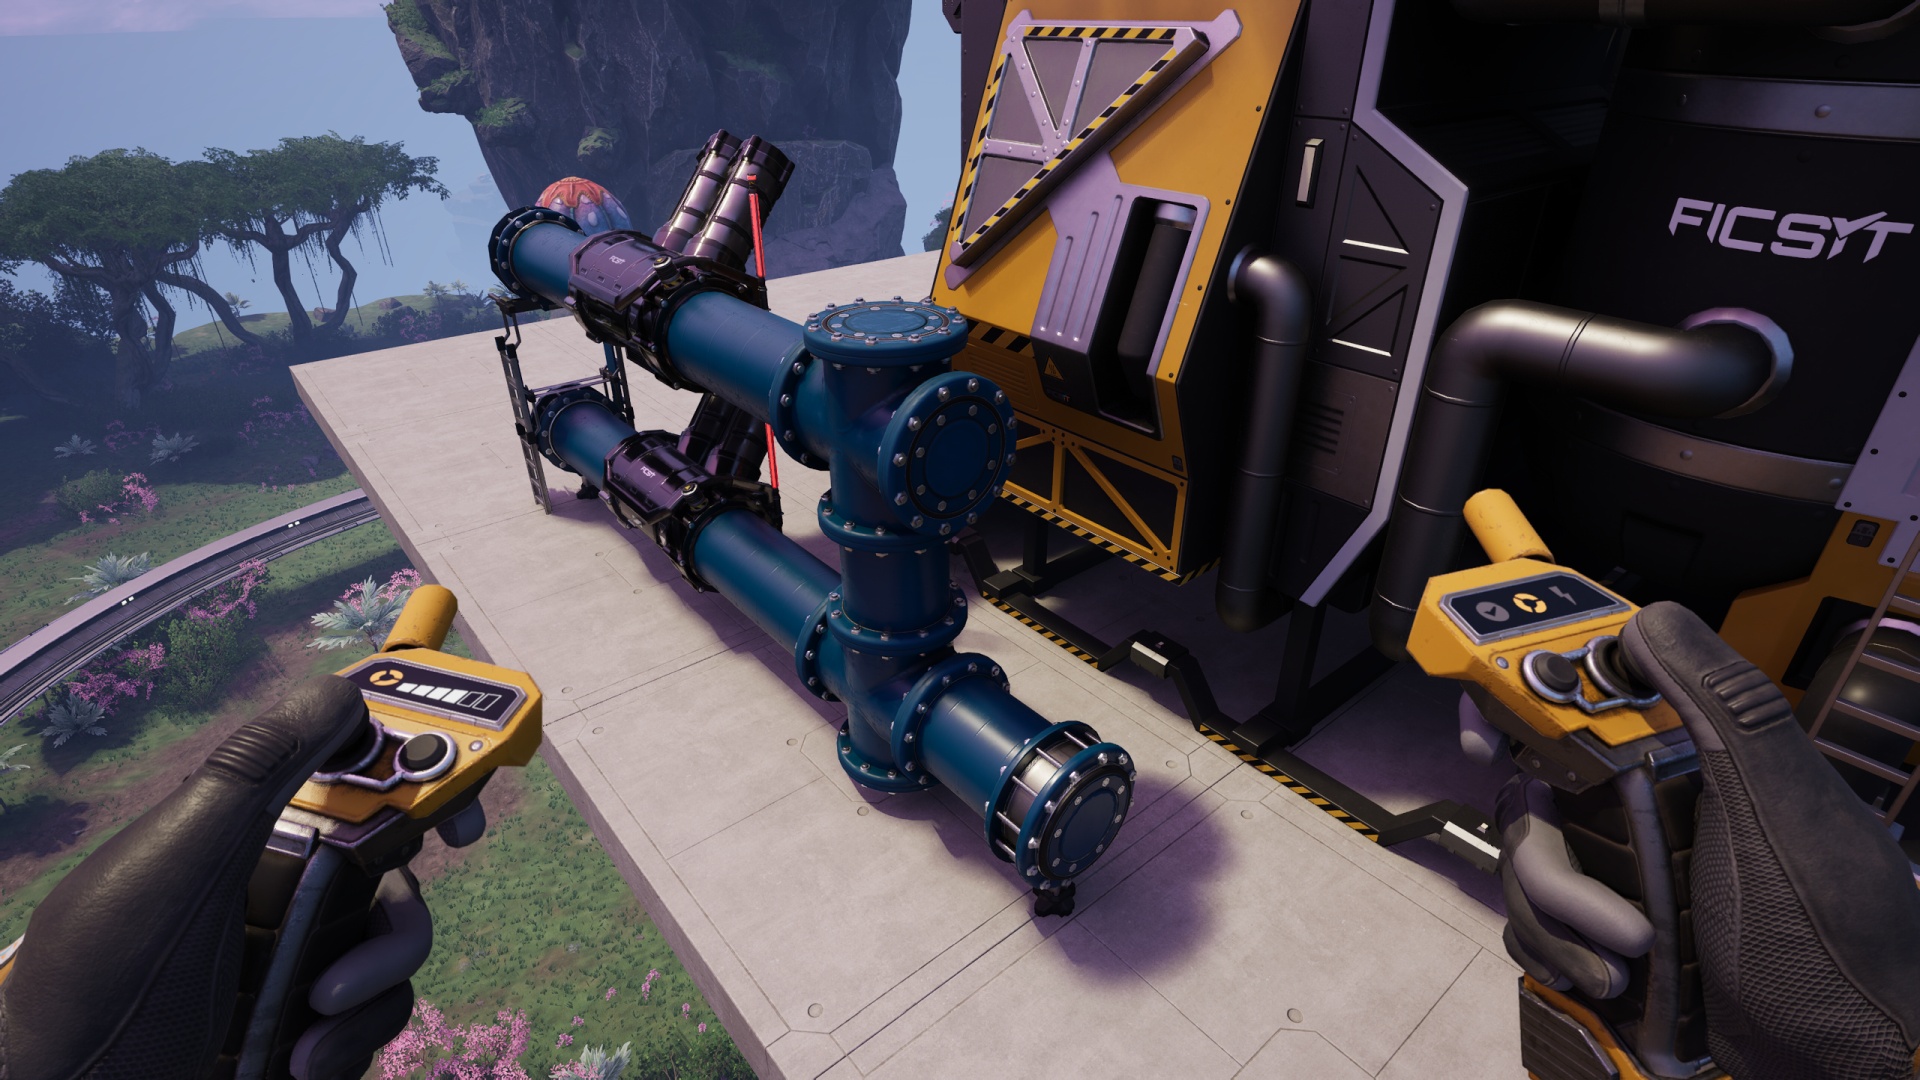
Route your waste fluid source into the input end of the lower pipe.
Route your fresh/source fluid pipeline into the input end of the upper pipe. You may need a pump placed earlier along that line to ensure the water will reach the required height. When placing that pump, watch the headlift animation (the “holographic ring”) to tell if the fluid will make it to the upper pump in this assembly.
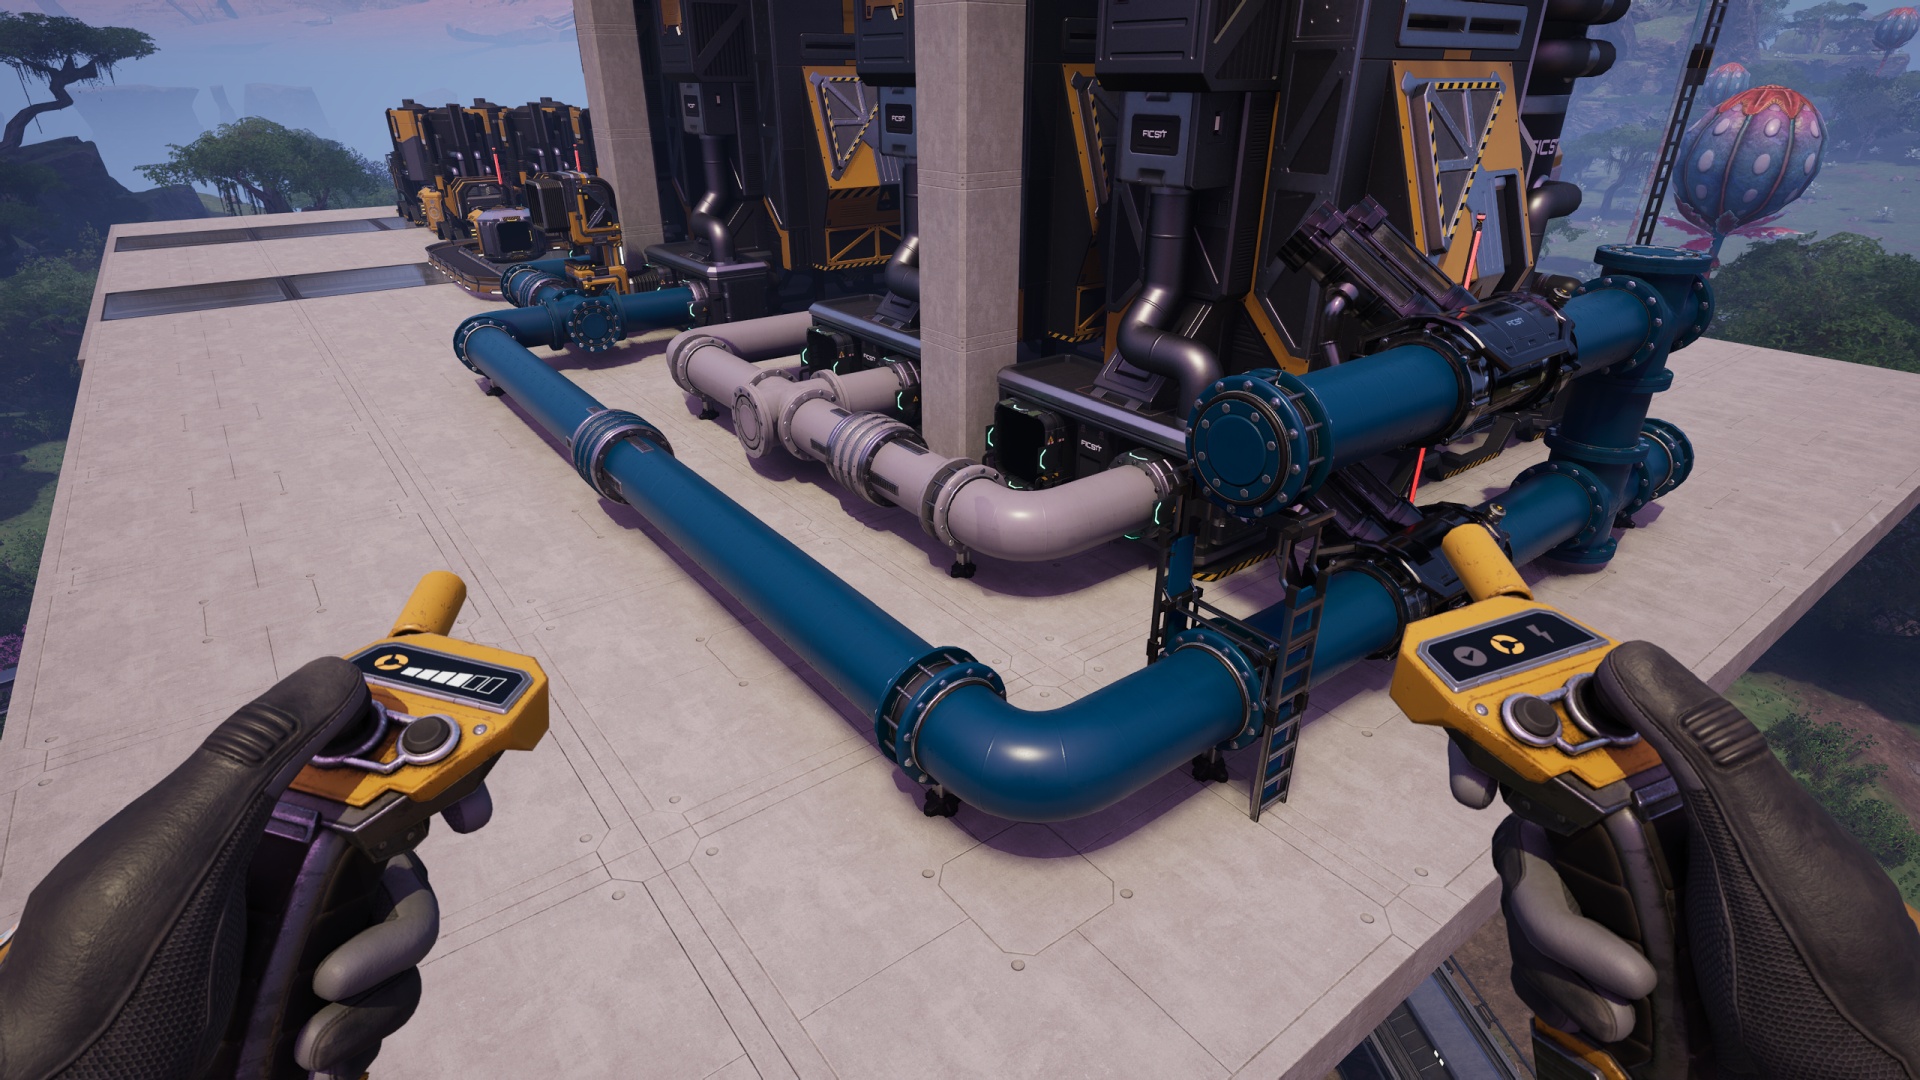
Somewhere in all of this you’ll want to provide power to the various pumps. Don’t forget that part.
Now, route the output into the machines that need it, and you’re all set!
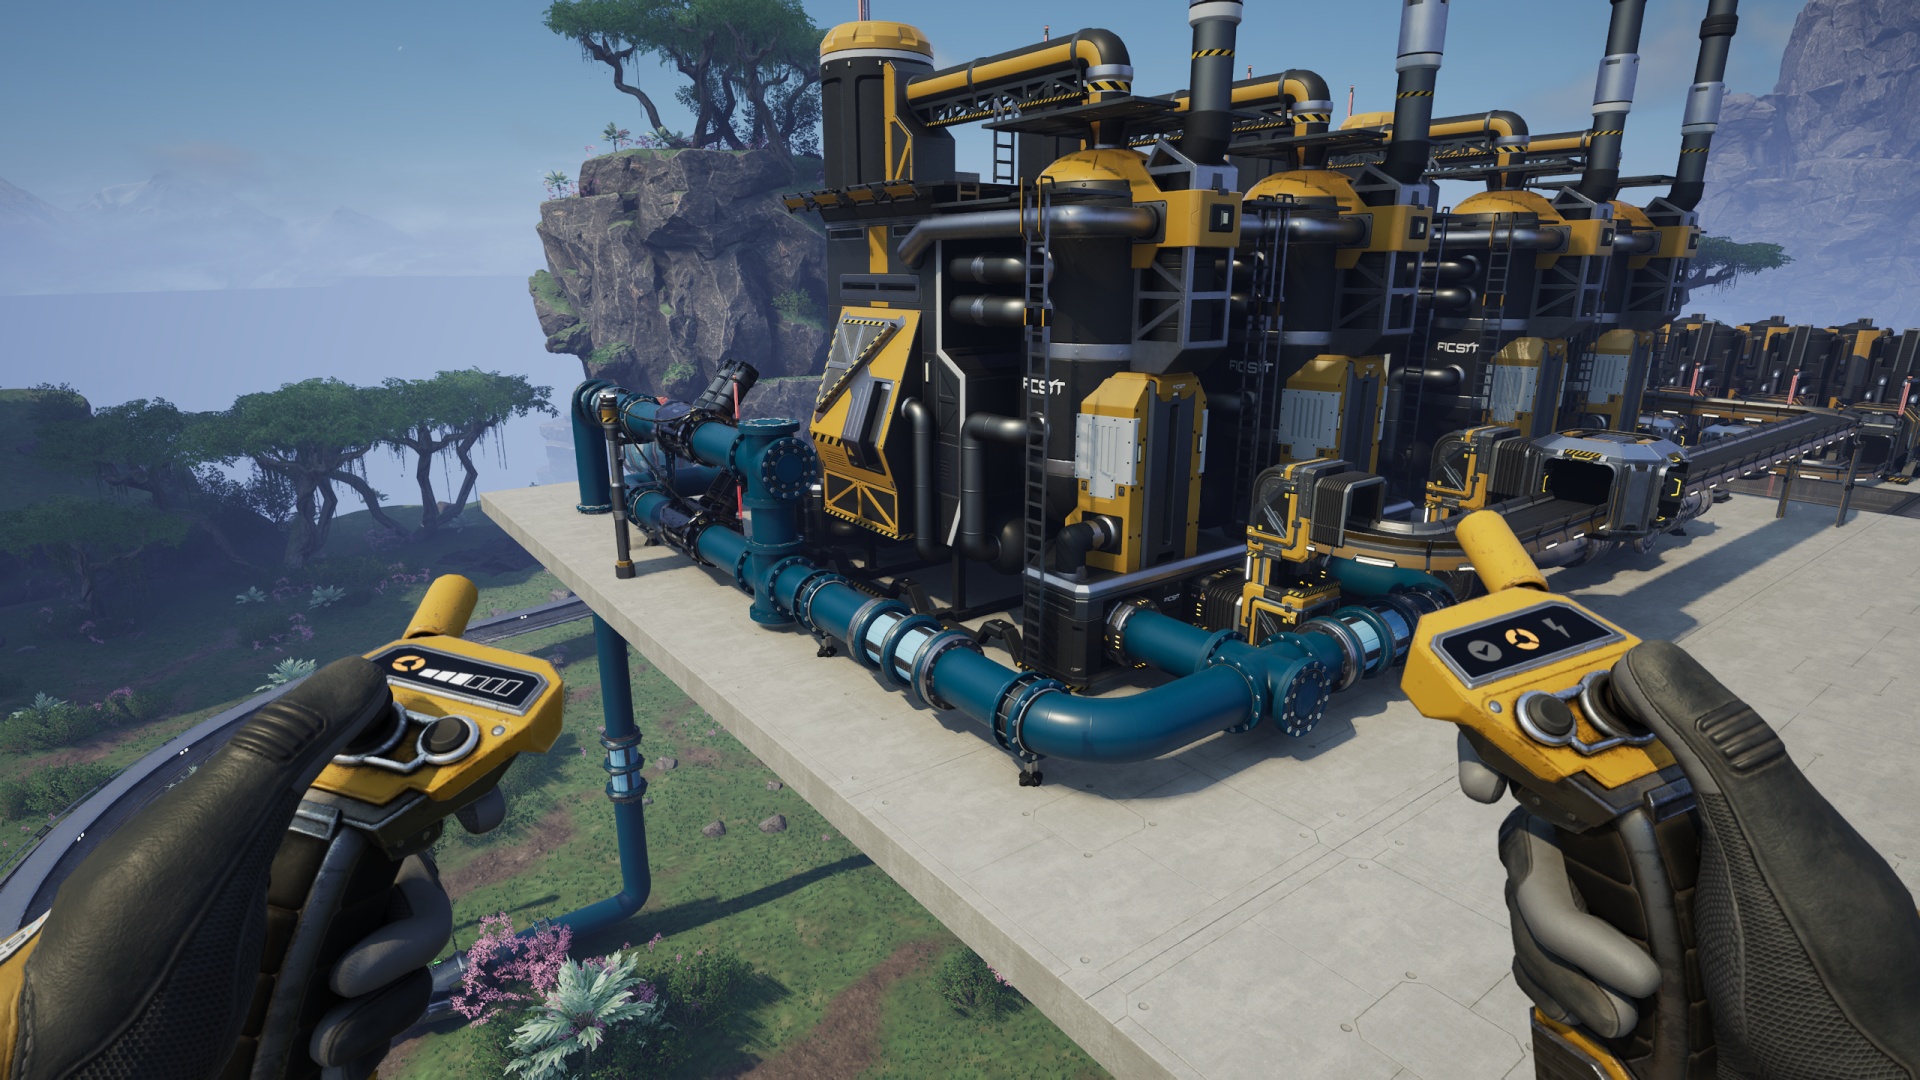
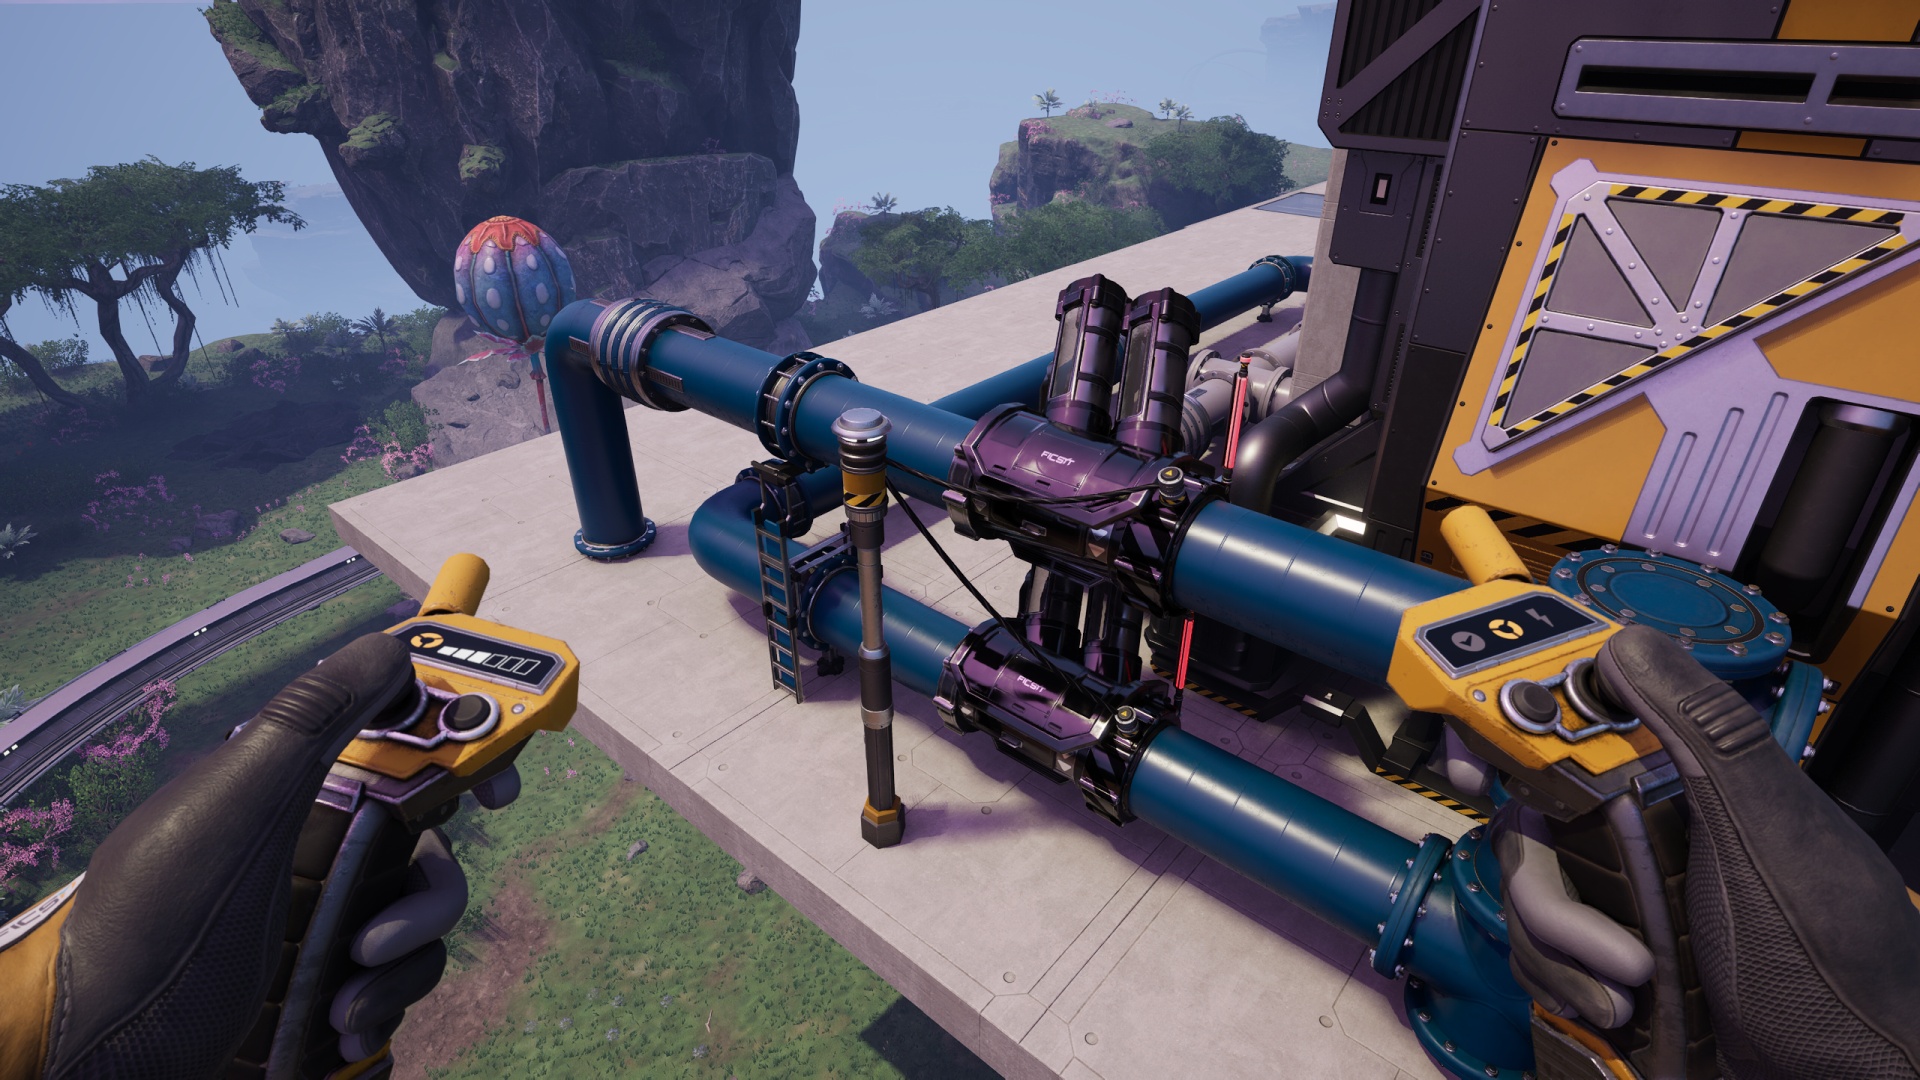
It’s worth noting that you have options for how to supply the initial fluid, in this case water, to kickstart the whole machine. I have two Water Extractors out in the lake nearby to the factory you see above, and they’re clocked for “enough to make up the difference” rather than “enough to completely supply the first stage of production.” This means that the early spin-up of the factory might be a bit wonky but since I’ve started the Extractors long before any waste water comes into play, the input lines are actually completely full before I power on any Refineries at all. (It’s worth remembering that Pumps also function as Valves: None of that fresh water is feeding backward into the waste-water pipe system.)
You can clock the Water Extractors high enough to meet all the 1st stage needs, they just won’t be needed all of the time so will spin up and spin down periodically. The choice is yours, really.
I’ve used this method for several aluminum and battery production sites over the last couple of years and it’s never let me down yet. May your builds be equally successful.